How to install Solus in 15 easy steps!
Solus is an independent, rolling-release distribution based on the Budgie desktop. This Linux distribution is geared to desktop computers and aims to provide users with a cohesive experience. Let’s take a look at how to install it.

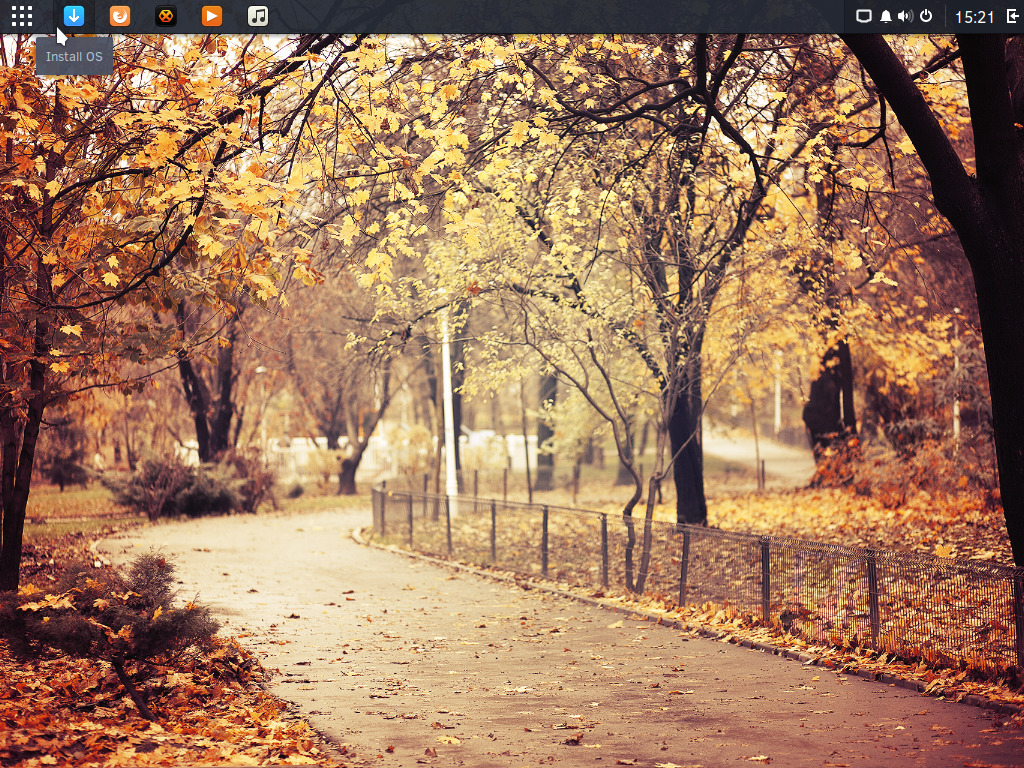
2) Welcome
Once you have booted from the live media you will be in live mode. Everything you do here is ephemeral and won't last a reboot. Take advantage of the live mode to check everything is working (e.g. audio, monitor, network, peripherals etc.). Once you're sure you want to install Solus push the Install OS button in the taskbar (highlighted in the screenshot).
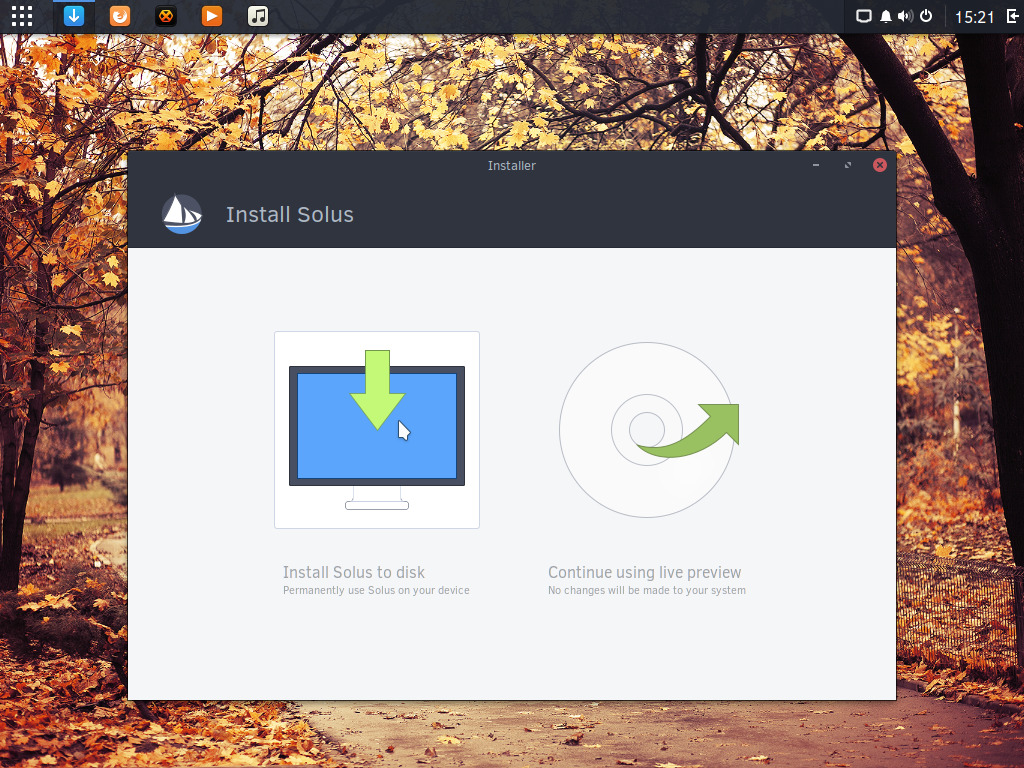
3) Install
In this step you should simply confirm your will to install the operating system. If you want to continue just click Install Solus to disk. If you still have something to check you can go back by clicking Continue using live preview.
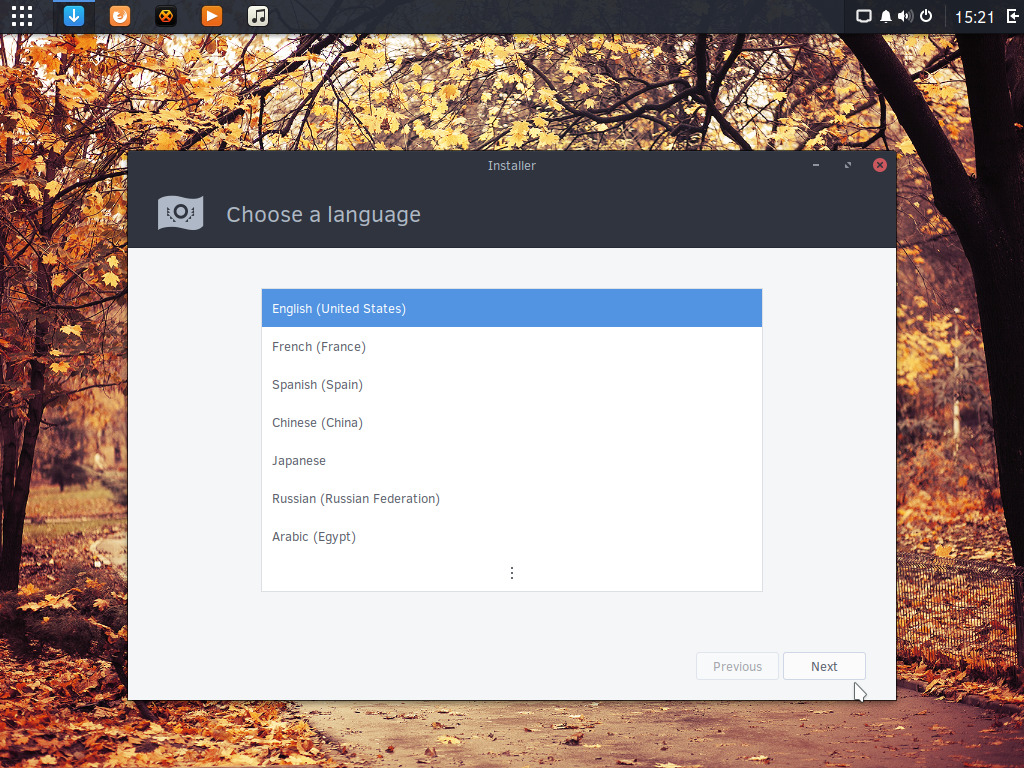
4) Language
In this step you will select the language of the operating system (the one that will be used during the installation and after).
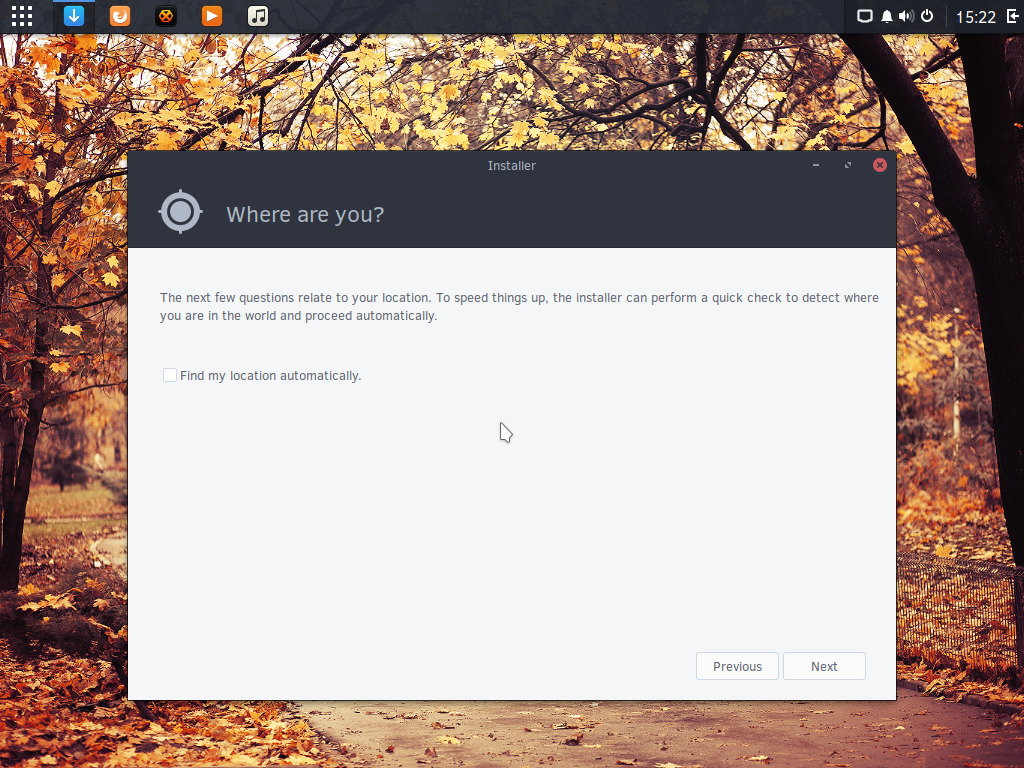
5) Auto-positioning
In this step you can check the box to let the installer detect where you are. If you're concerned about privacy you can safely ignore this.
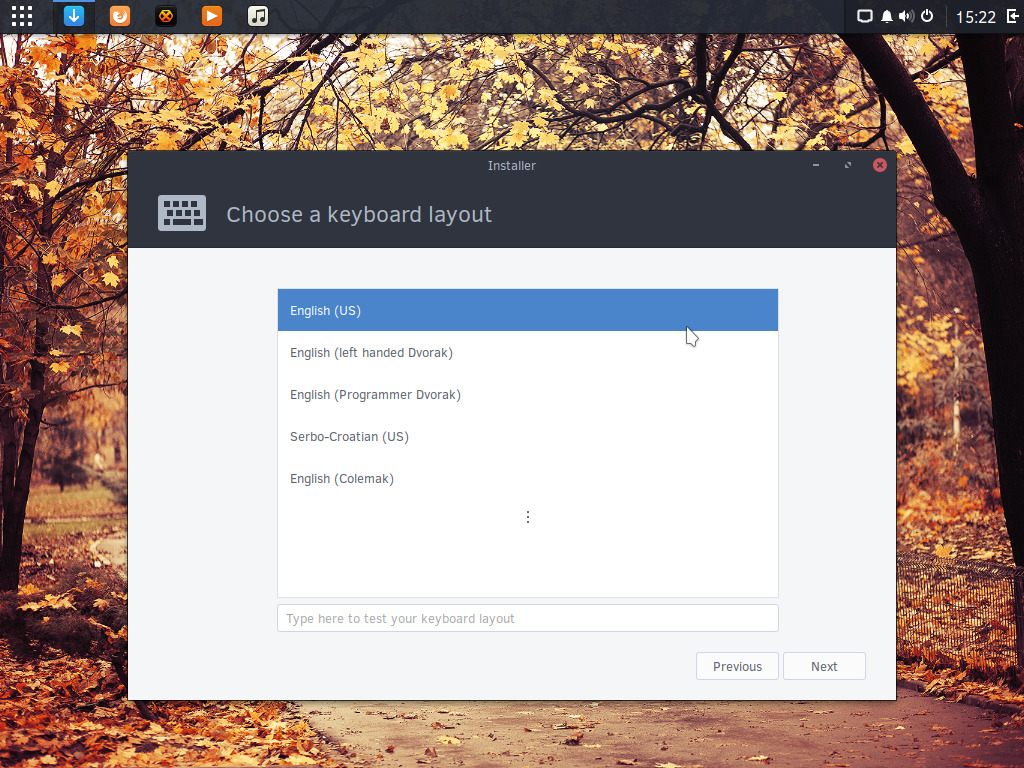
6) Keyboard Layout
In this step select the correct keyboard layout for your keyboard model. Most of the time it will be the same keyboard as the language you set previously.
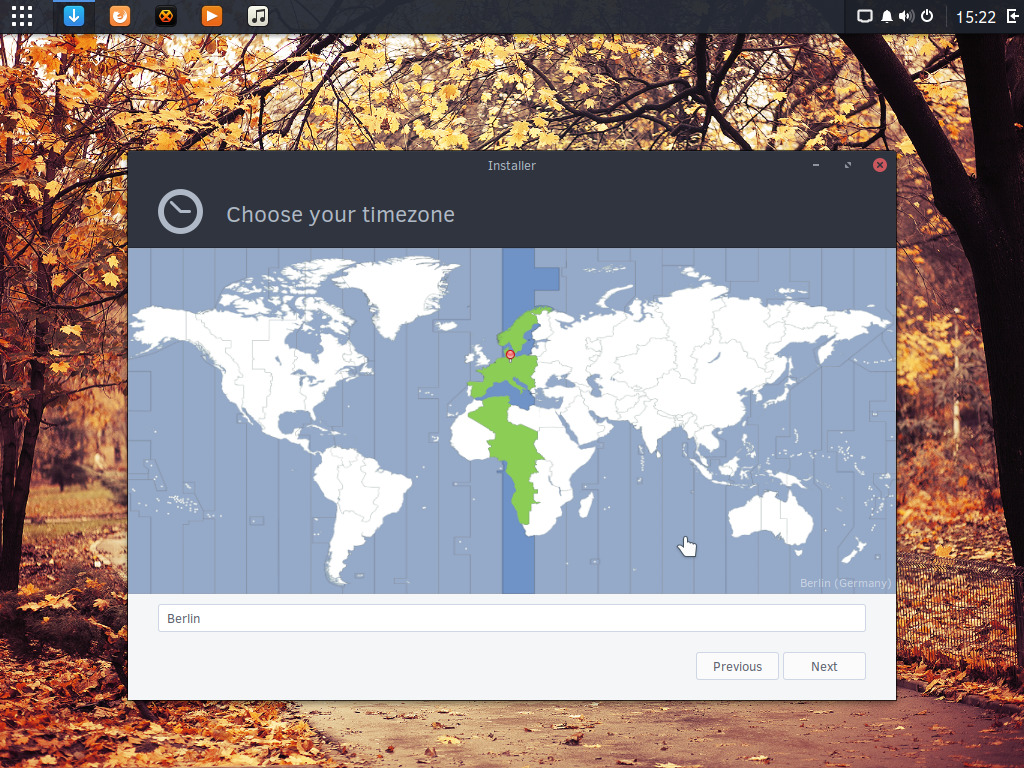
7) Localization
In this step you just have to select the time-zone you belong to in order for your clock to be correctly set. Once done you can continue.
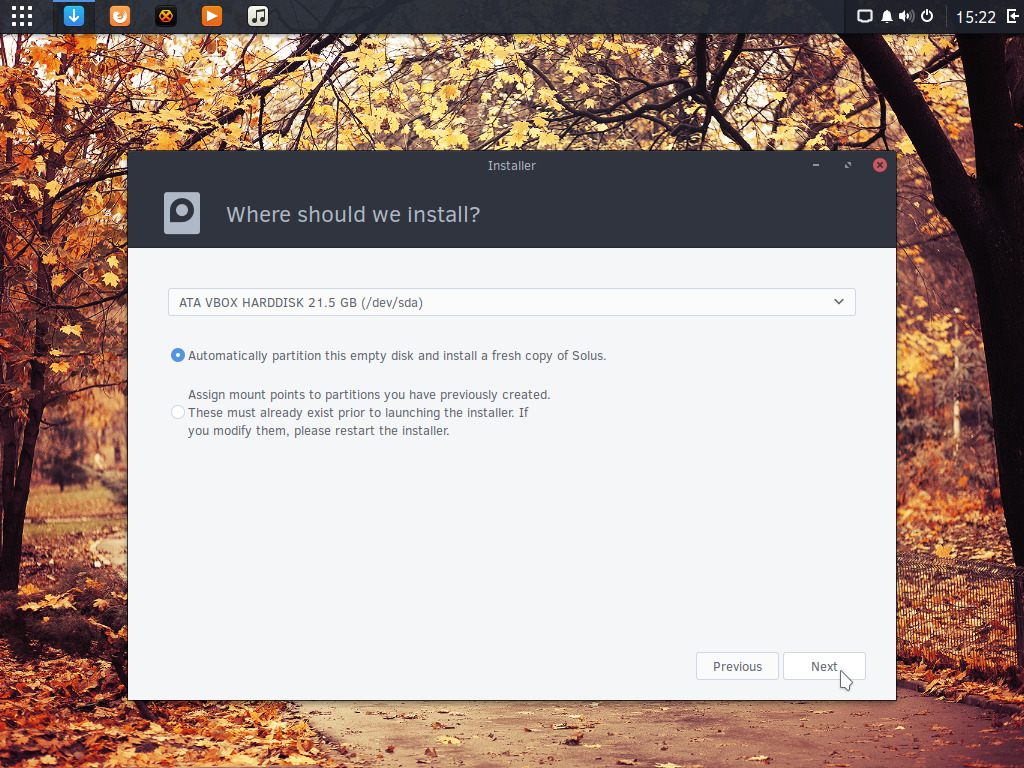
8) Disks
In this step you need to select the disk where you want to install Solus on. Notice that you don't have many choices and if you want to use different partitions you must have created them using another tool. If you don't know what a partition or a filesystem is, I wrote a good article about them.
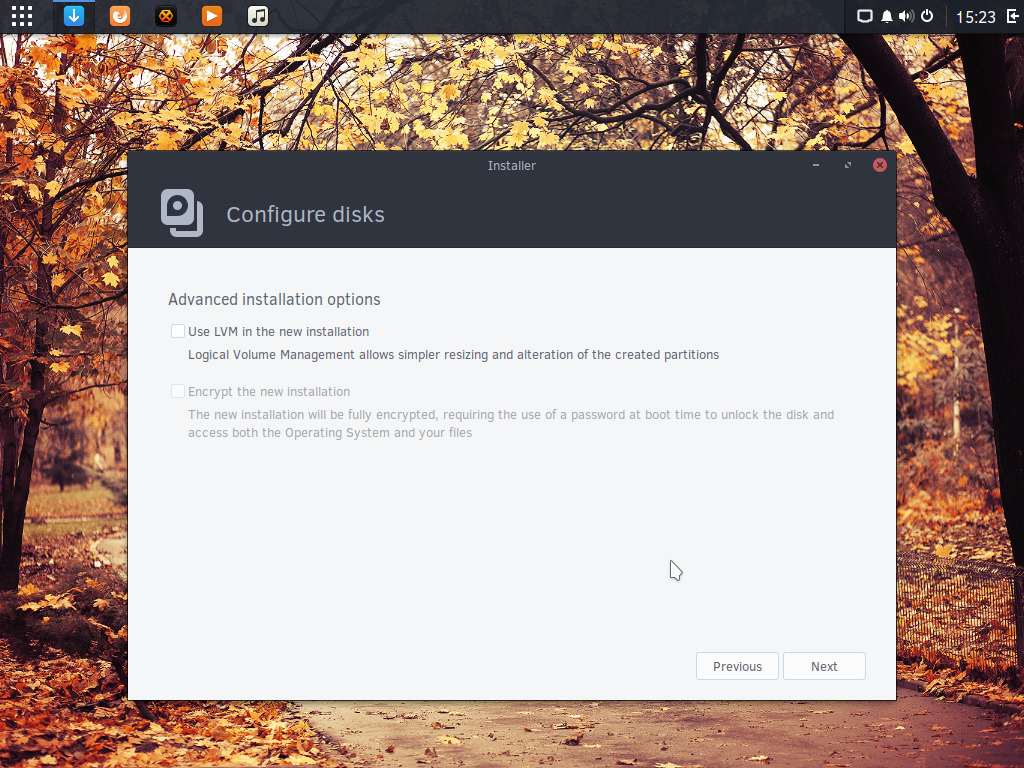
9) LVM & Encryption
In this step you can choose whether to use LVM or encrypt your data. If you don't know what both of these do and you are a beginner, it's best if you don't check them.
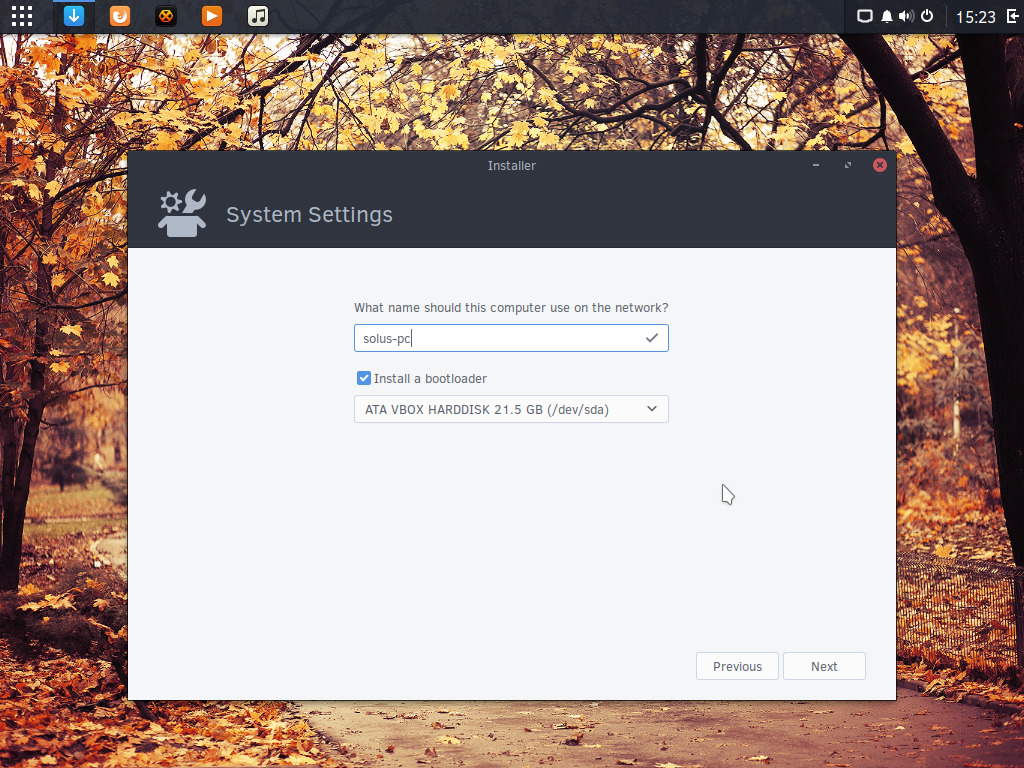
10) Hostname & Bootloader
In this step you need to give a name to your computer and select a place for the bootloader. Usually it is the same spot where the partitions created during the installation are.
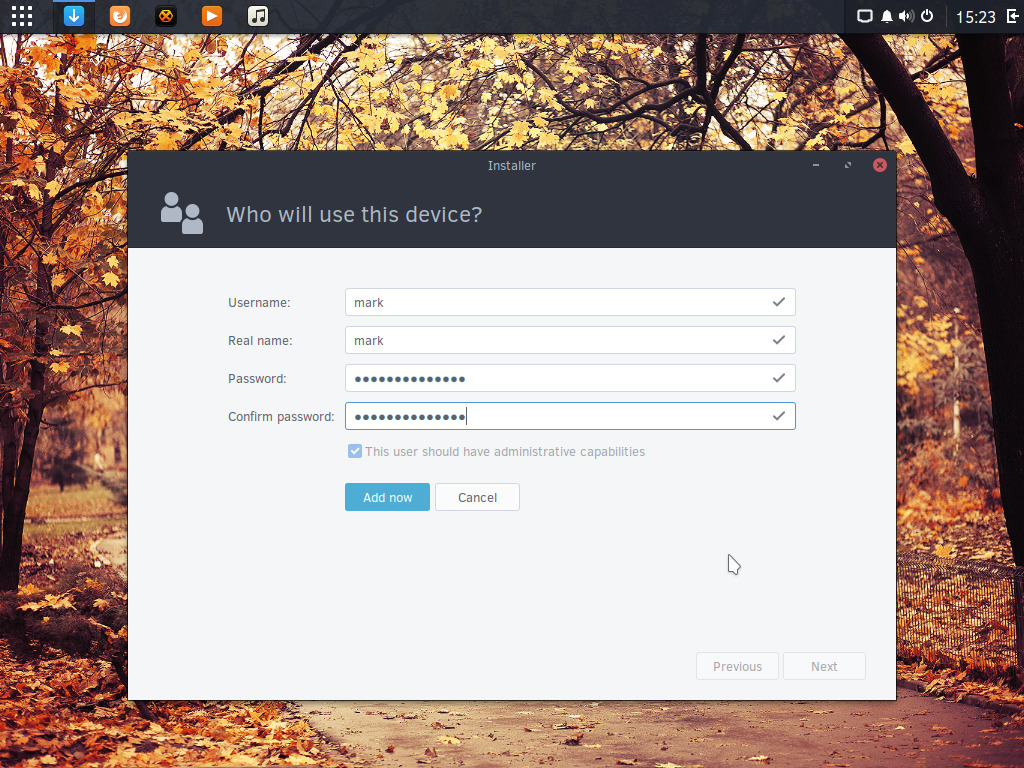
11) User
Here you can specify your user credentials (and can make the user an administrator). Click on Add now to continue.
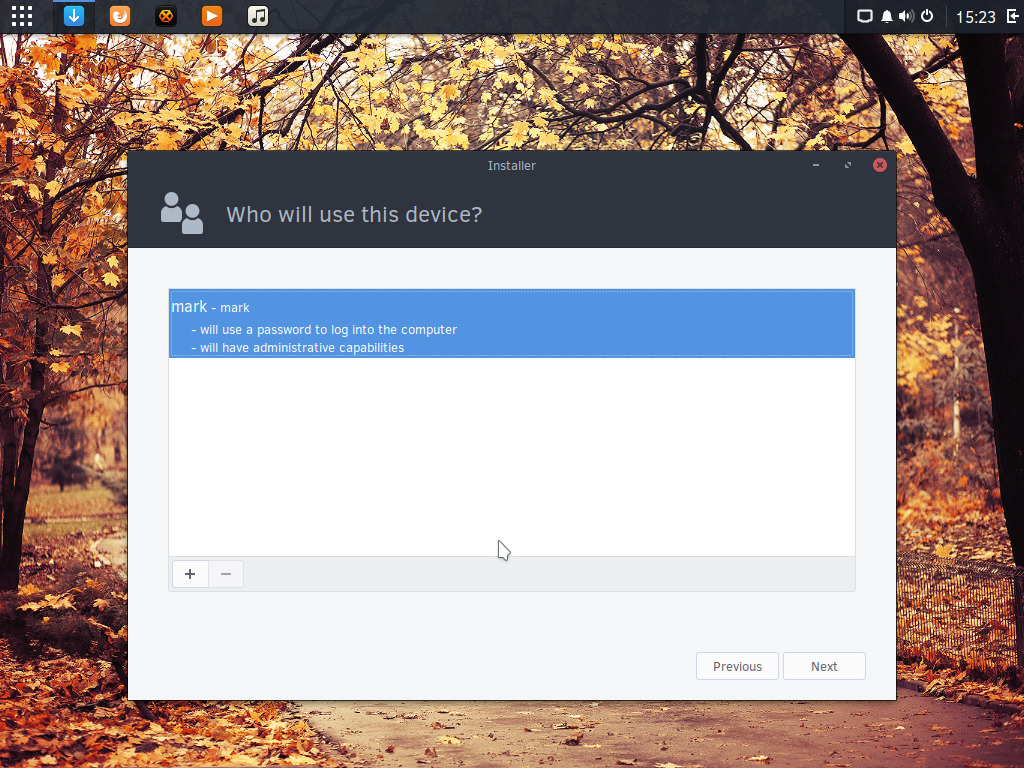
12) More Users
Here you can add more users if you want to. To be able to see this screen you should have at least added one user.
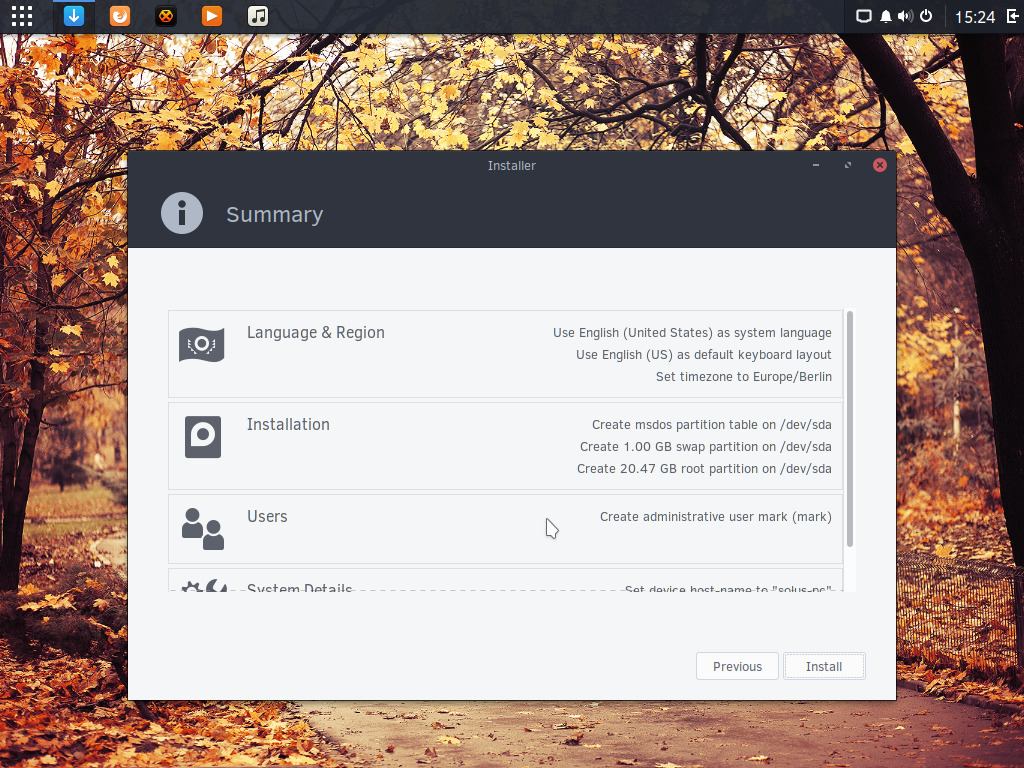

Conclusions
The installation of Solus feels a bit awkward compared to Ubuntu’s and Fedora’s. It is rather simple and misses the possibility to edit partitions through the installer, delegating the operation to another tool and ultimately to the user.
- 2020 A year in review for Marksei.com - 30 December 2020
- Red Hat pulls the kill switch on CentOS - 16 December 2020
- OpenZFS 2.0 released: unified ZFS for Linux and BSD - 9 December 2020


Recent Comments