How to install Ubuntu 20.10 Groovy Gorilla in 10 easy steps!

Ubuntu 20.10 is the first second release of the year 2020 for one of the most popular Linux distributions in the world. It
Ubuntu 20.10 Groovy Gorilla what’s new?
In the case you missed it, I wrote an article about Ubuntu 20.10 new features.
Ubuntu 20.10 Installation
1) Get the image, create media support, boot!
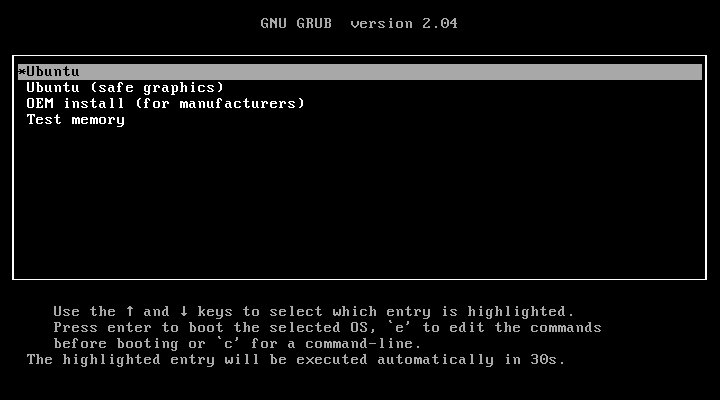
As always you should get the image of the live media to be burned onto a USB or CD or whatever. You can do it by going here. Once done, follow this guide to create a bootable media (USB or CD). Now plug your USB/CD in the computer you want to install Ubuntu on. The next step is to boot from the media support. Power up your computer and press F10 (sometimes it is F11 or F9 or F8, rarely it is something else); if the computer starts the operating system you were too slow and will have to restart, repeat the process until you get the menu. Select from the list the media you created and press enter. In case you are on an EFI system, well it might be a little bit more complicated, search on the Internet for a tutorial for your motherboard so that you can understand better the process (since it is specific). Basically you would have to do the same thing but with EFI enabled.
After that you will see the typical dark purple screen with two icons on the bottom. Press any key to configure the language and enter in the screen shown in the slide. You can also wait and go directly to slide number two. In both cases the disc will be checked for defects.
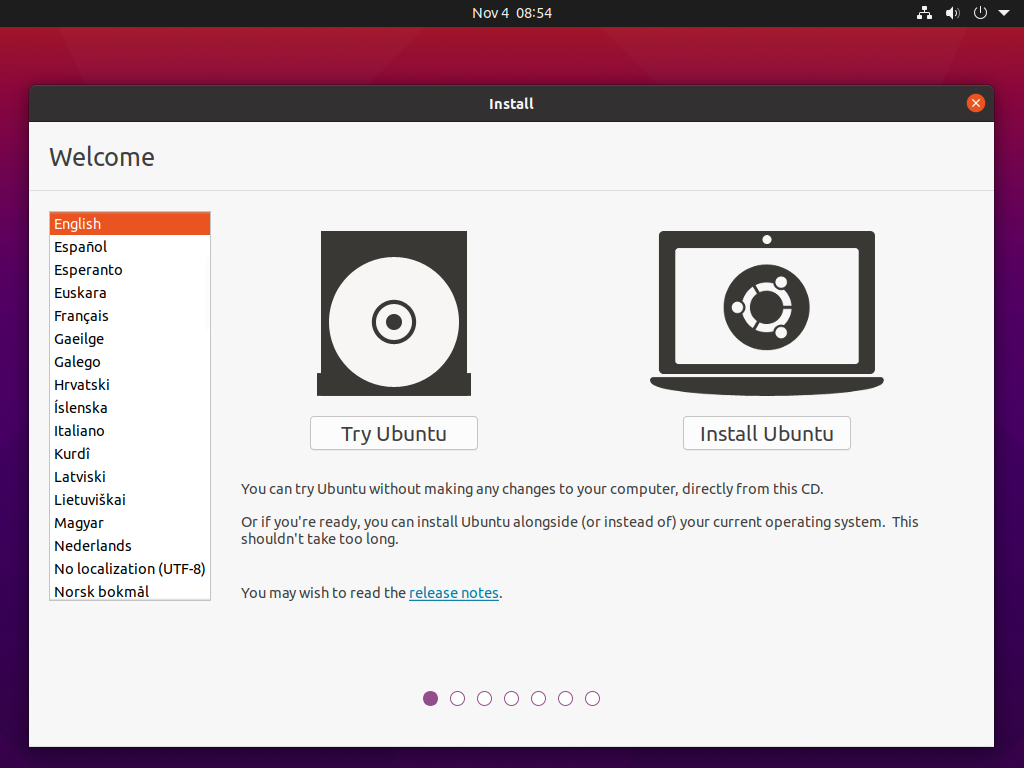
2) Ubuntu 20.10 Groovy Gorilla
If everything went good you’ll just have to wait a bit before you can see the image above. Be sure to select the language now. As always I suggest to press Try Ubuntu before installing it, since some of your devices might not work correctly. We’re far from the age when even most common Wi-Fi adapters weren’t supported out of the box, so do this only out of precaution. When you’re sure everything is good click on the icon on the desktop. If you are sure about installing Ubuntu click Install Ubuntu.

3) Keyboard Layout
In this step select the correct keyboard layout for your keyboard model. Most of the time it will be the same keyboard as the language you set earlier. If you want you can also click Detect Keyboard Layout, this way you will be asked to type a few keys and the system will automatically guess what your keyboard is.
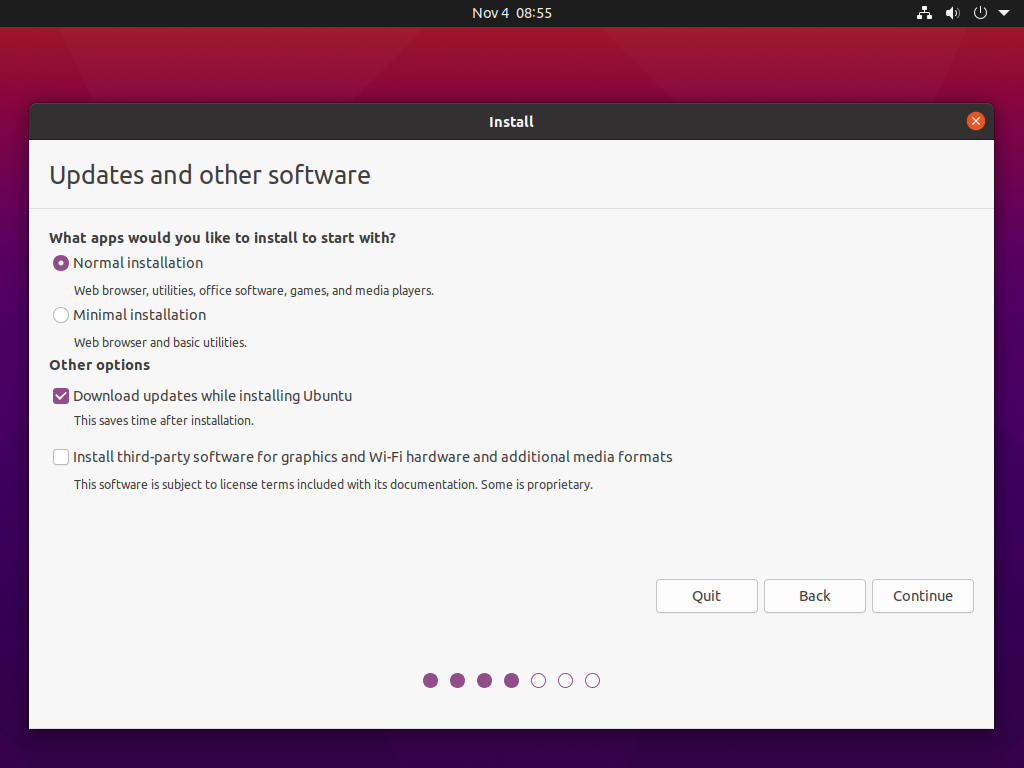
4) Software Selection
In this step you can decide which installation you want to perform:
- Normal Installation: will install common software such as Firefox, LibreOffice and VLC. (suggested)
- Minimal Installation: will only install the browser and a few utilities, suggest for people who know which software they want in each category (e.g. music player).
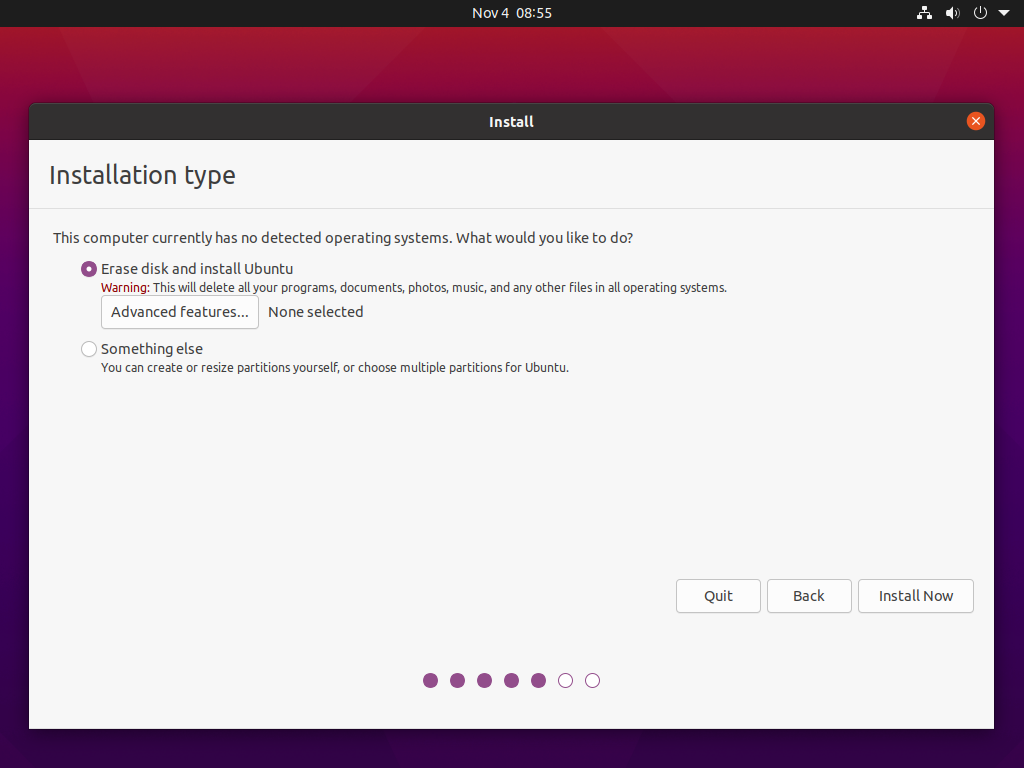
5) CASE 1 - You have an empty disk
Dealing with disks is the most delicate part of every installation, so be careful. I highly suggest you to read this article before operating disks. In this case you have no operating system or data on the disk you're using, you can just use the default option Erase and install Ubuntu. If you want you can also encrypt the Ubuntu installation or use LVM or ZFS, these are advanced options however and you should not touch them if you don't know what you're doing. Once you proceed, there's no going back, so you will be asked once more if you're sure.

5) CASE 2 - One or more OS installed
In this case you have one or more OS installed on the disk. In my example I installed Ubuntu beforehand to show what the installer will show you. In this case you can just go with the default option. If you wish to you can also erase the whole disk to give Ubuntu more space. Once you proceed, there's no going back, so you will be asked once more if you're sure.
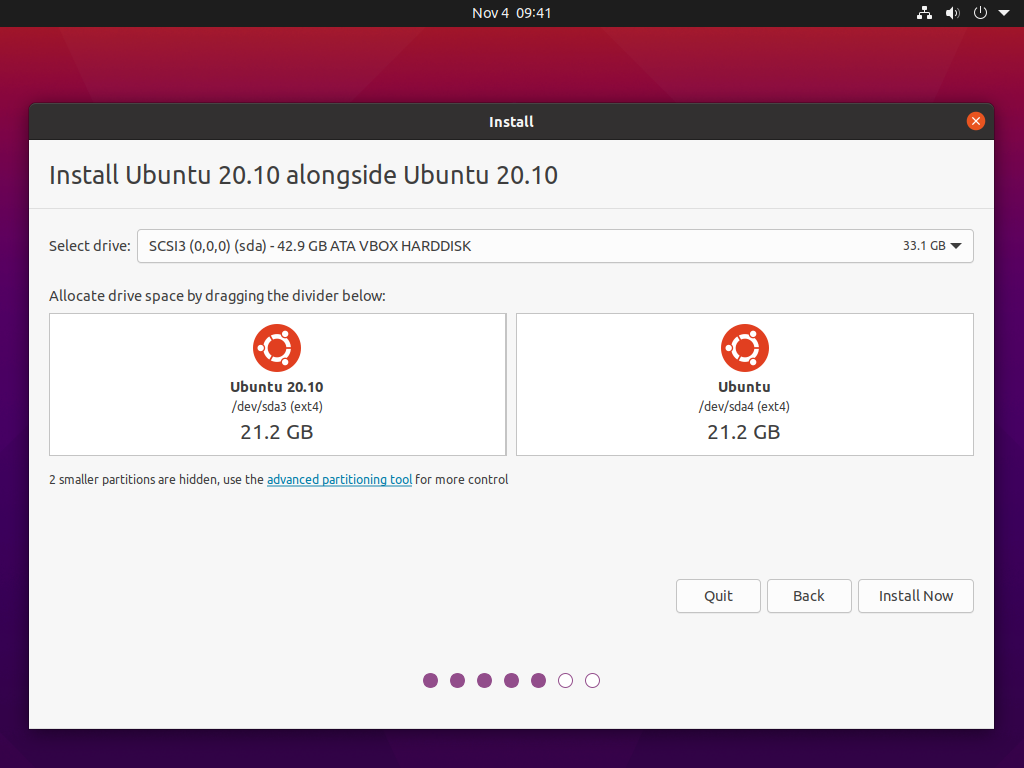
5) CASE 2 - Resizing
In the case you have selected to install Ubuntu alongside another operating system, you might see this screen to help you resize the partitions. By dragging your mouse clicking in the gap between partitions you can easily decide how much space each installation will have.
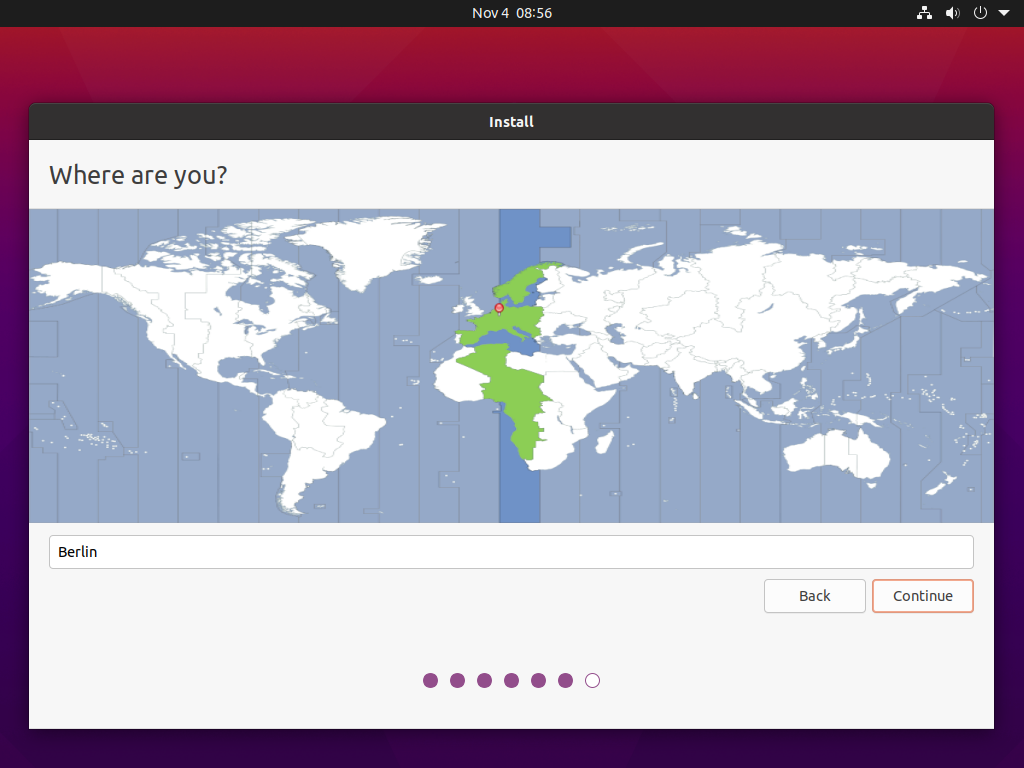
6) Localization
In this step you just have to select the time-zone you belong to in order for your clock to be correctly set. Once done you can continue.
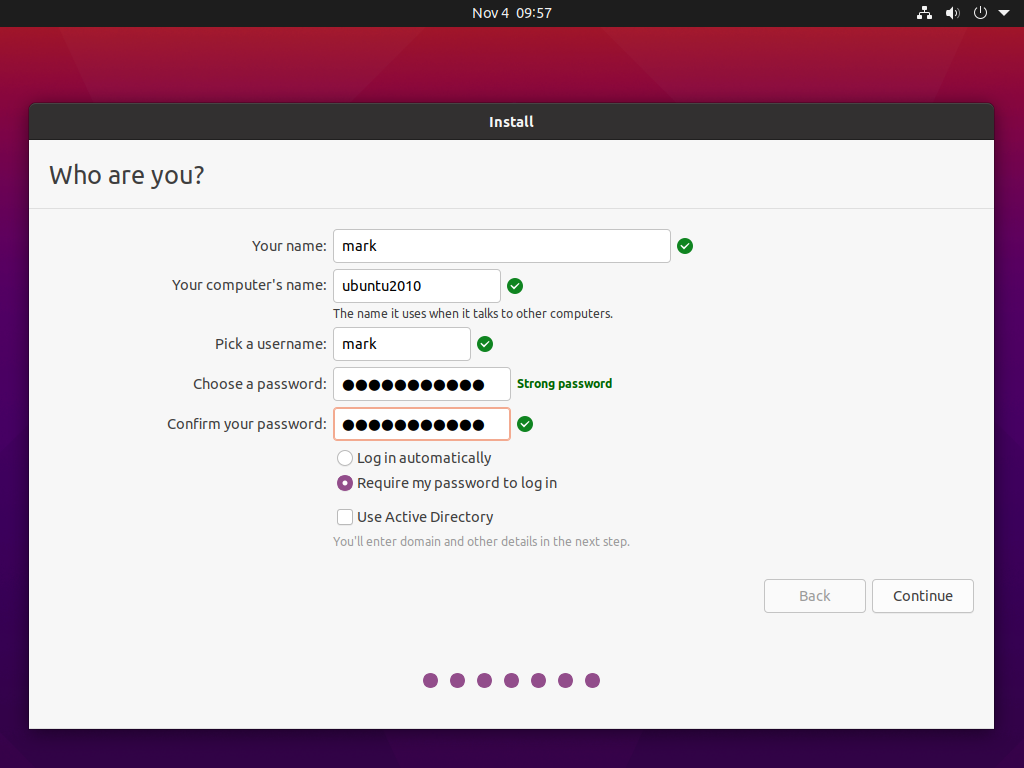
7) Username and Hostname
This is the last step before installation, pick a username, a computer name (hostname) and a password. Be sure to pick a strong one if you want to be safe. If you decide to encrypt your folder it's even more important. When you're ready, click continue to start the installation.
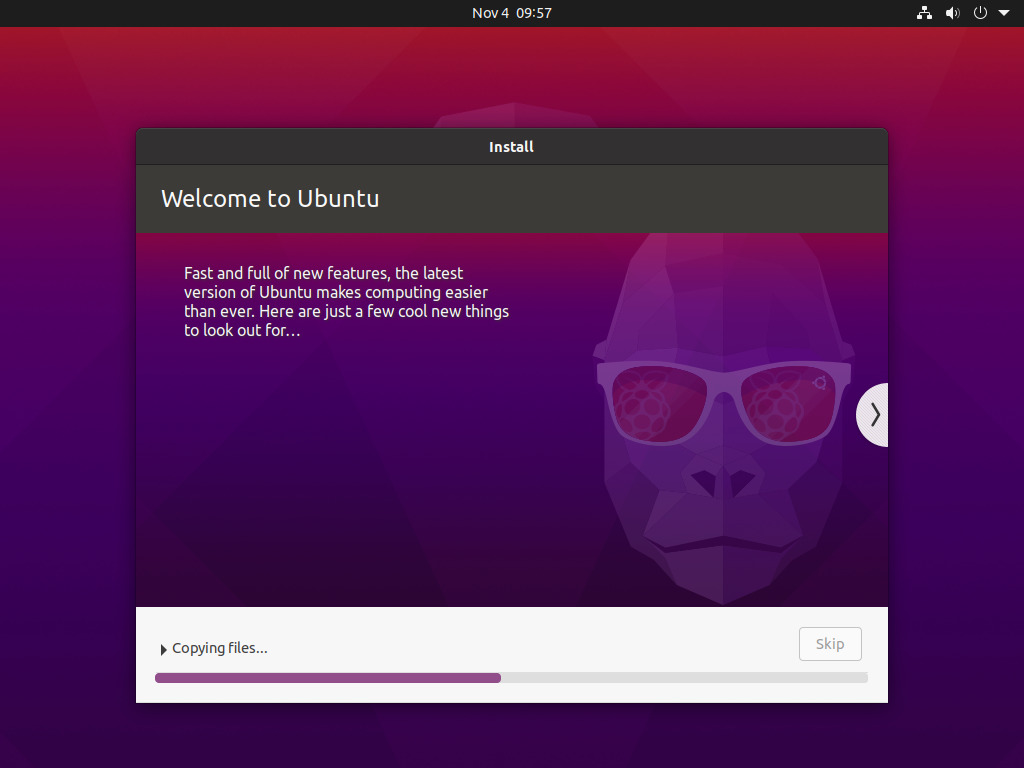
8) Installing
If you did everything correctly up until now, you are now facing the installation process. You can go and grab your coffee or wait until the process is done. Upon completion you will be prompted to reboot your machine.
9) Done! Everything installed
Once again, if everything went correctly you will be facing the login screen. Once you will have inserted your password you will be facing a welcome screen that allows you to set up your online accounts.
In the same wizard you will get a chance to setup telemetry settings (you can disable it outright) and get a glance of available software on the GNOME store.
Conclusion
Ubuntu 20.10 stays on the safe side, just keeping the changes to a minimum. Under the hood, however, there are many improvements and the Raspberry PI has become one of the main targets of the Ubuntu operating systems.
- 2020 A year in review for Marksei.com - 30 December 2020
- Red Hat pulls the kill switch on CentOS - 16 December 2020
- OpenZFS 2.0 released: unified ZFS for Linux and BSD - 9 December 2020


Recent Comments