How to install Fedora 20 in 10 easy steps
In the years installing Linux has been seen as a difficult task, today almost everyone can use Linux and enjoy its advantages. Fedora is a Linux OS which follows the FOSS philosophy, and one of the most popular Desktop distributions. In this post you’ll understand how to install it in a few simple steps.
Important: I take absolutely NO responsibility of what you do with your machine; use this tutorial as a guide and remember you can possibly cause data loss if you touch things carelessly.
1) Boot from a support
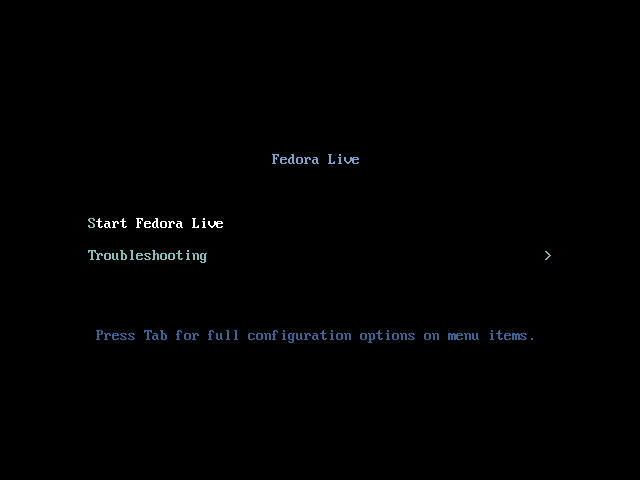
The boot screen from Fedora 20
The first thing you have to do to proceed with the installation of Fedora 20 is boot it from a support (CD/DVD and USB Pendrives are today the best options), if you don’t know how to burn the image onto the support find a tutorial on the Internet or use this tutorial. Once you have your support, reboot your machine, select an option like “boot options” or “boot priority list” and select your support, in this way you should see this screen. Just select “Start Fedora Live” to get to the next point.
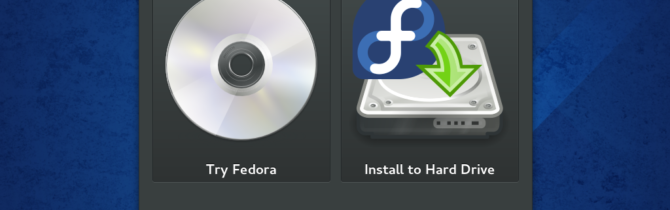
2) You’re now in Fedora Live

Fedora 20 – Live media
At this step you can choose to try Fedora or to start the installation process. You’re still loading everything from the support, so don’t disconnect it! If you decide to try it for a while (maybe to check everything is working fine) you can start the installation process through the Desktop Icon which will appear short after selecting “Try Fedora”. If you’re ready to go, just click “Install to Hard Drive” and head to the next step.
3) Welcome to Fedora 20

Fedora 20 Installation’s welcome screen
By clicking install you’re now starting the installation process (Anaconda is the name of the program which makes everything so smooth). You still haven’t modified anything on your computer, so relax. In this step you’ll just select your language and your keyboard layout.
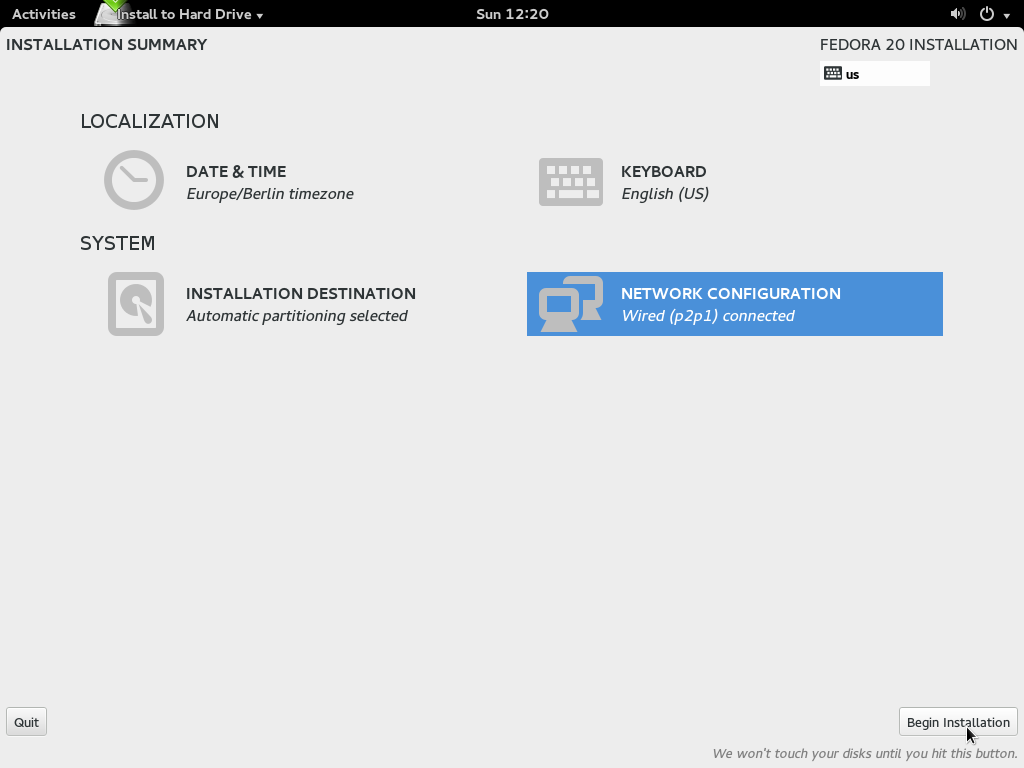
4) Installation hub
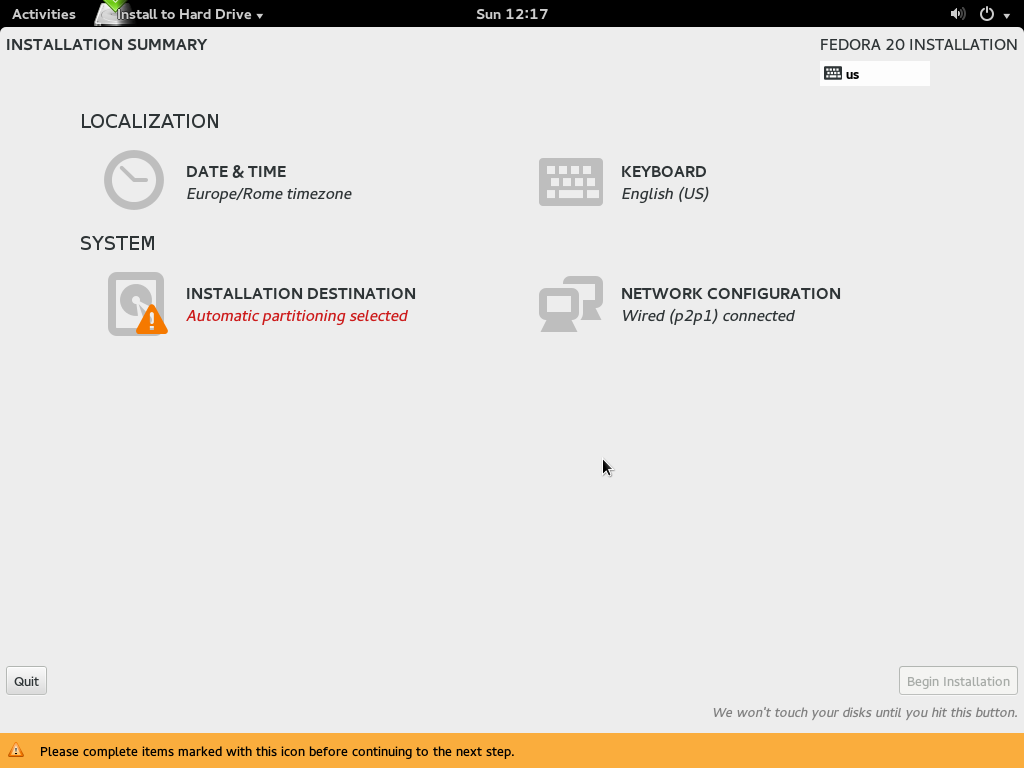
Anaconda’s “installation hub”
From this point you can set everything needed to install Fedora 20 properly on your machine, and just as the program itself says “We wont’ touch your disks until you hit this button.”. So until you click “Begin Installation”, stay relaxed. We’ll examine each point of this hub in the next step. I won’t explain the “Keyboard” setting since you should have already set it in the 3rd step.
5)
5.1) Date & Time
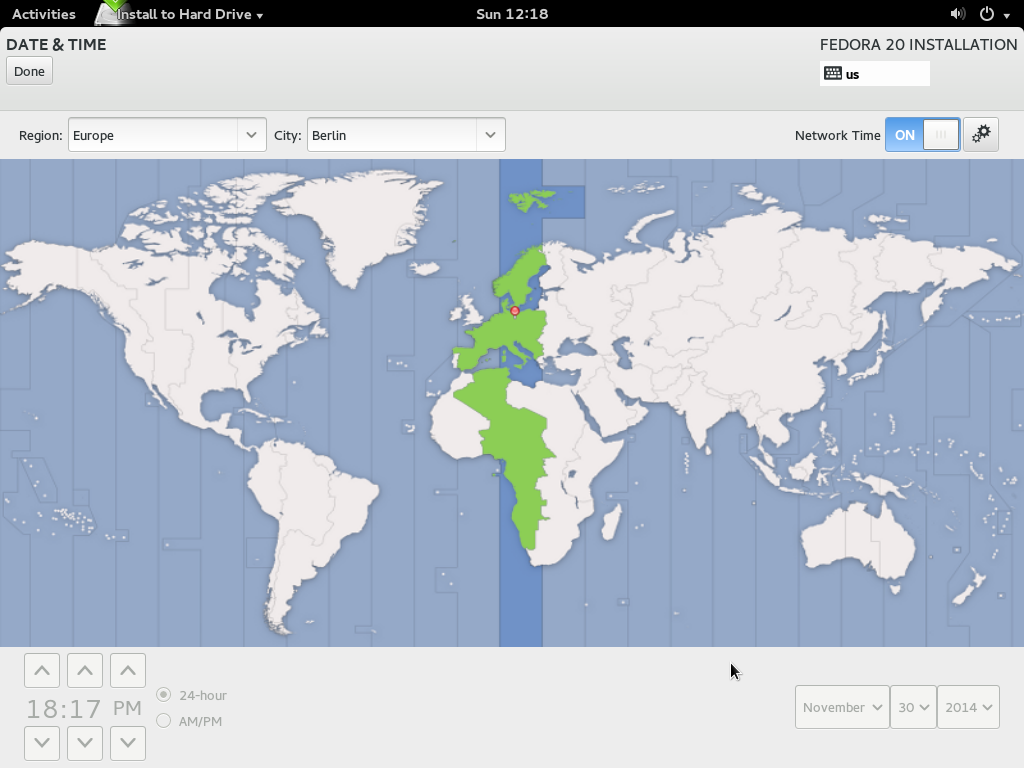
Fedora 20 Installation – Time zone Settings
In this screen you’ll set your time zone and your date and time. If you can, I suggest you to set the “Network Time” (you must have Internet connectivity), in this way you can obtain current date/time without touching anything and it will be kept automagically through time.
5.2) Network
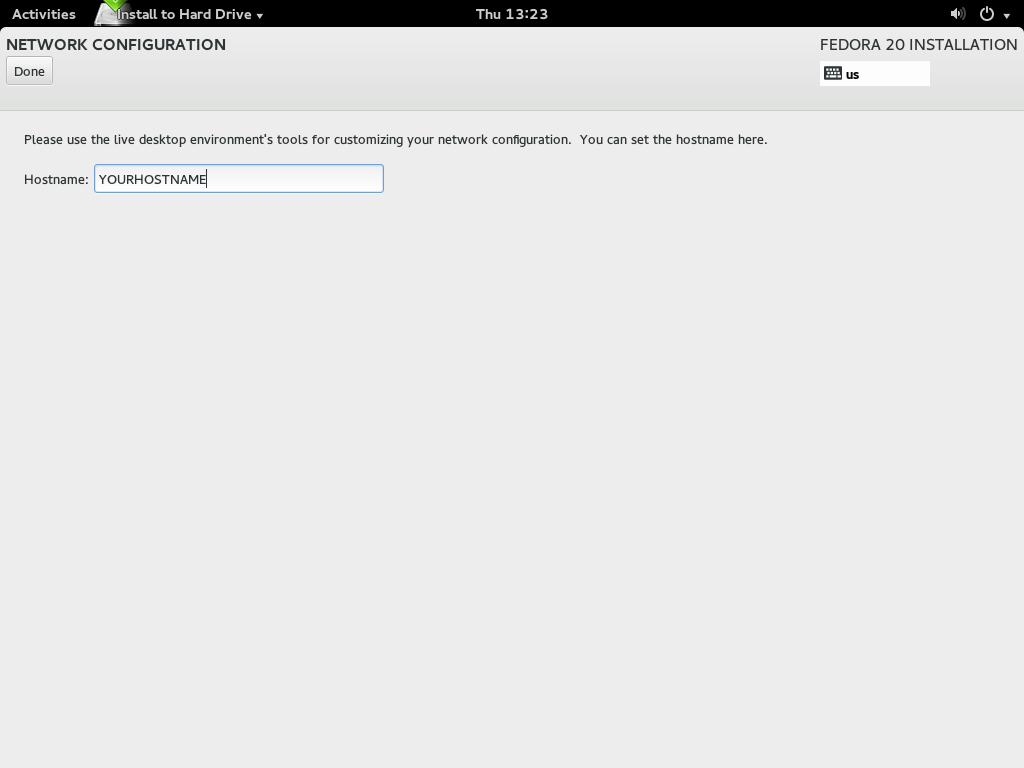
Fedora 20 Installation – Network Configuration
In this step you will set the machine’s hostname (much like Windows).
5.3) Disks
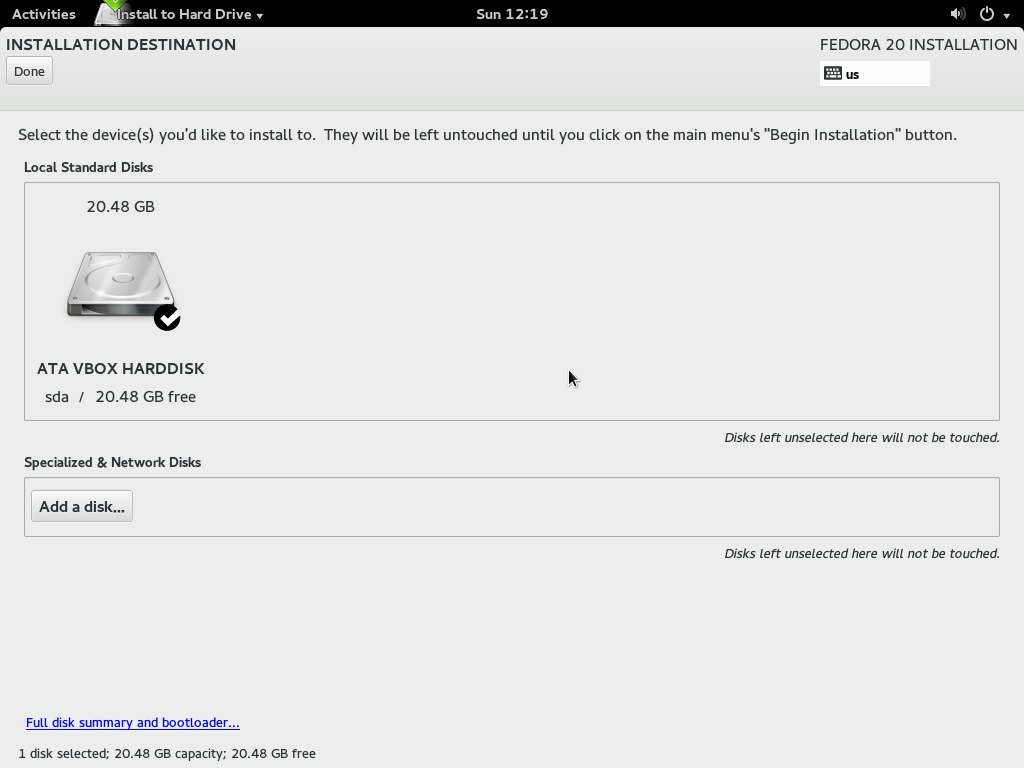
Fedora 20 Installation – Devices selection
This is a crucial step, and messing here means possible data loss, so be careful if you want to avoid that. In this step just check the devices you want to use as installation basis (exactly you can select multiple devices, but most of you will only have one disk). After selecting them click done you will see the next screen:
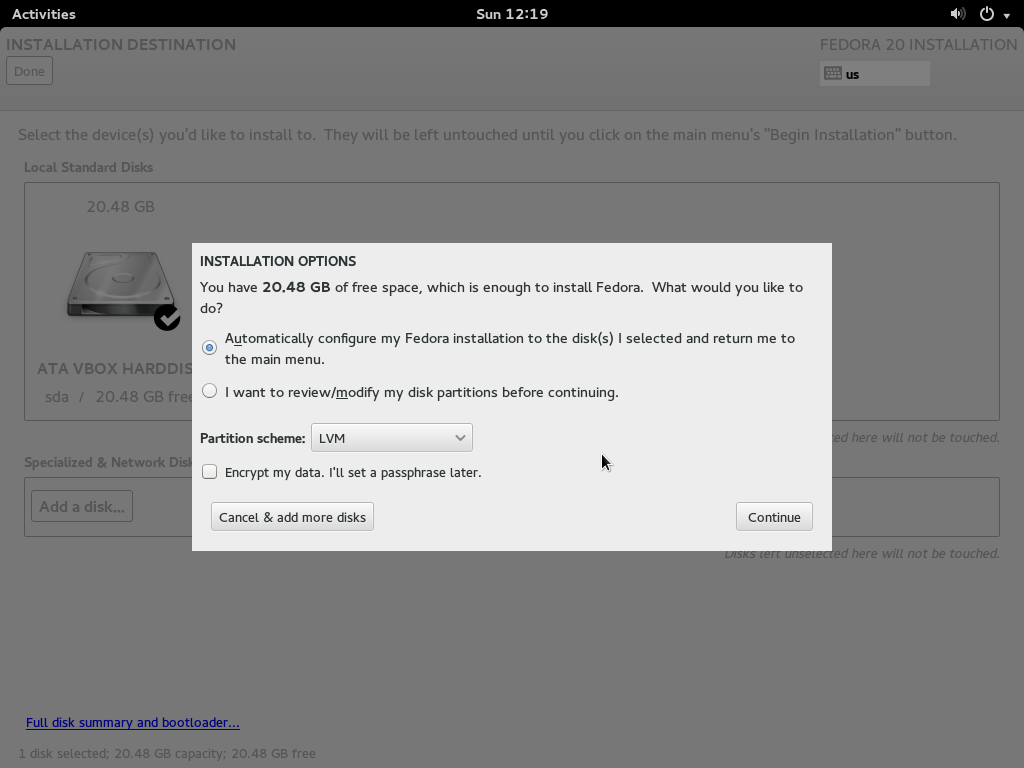
Fedora 20 Installation – Confirming Disks
If you have a decent amount (>10GB) shown in the figure you can leave everything like that. Otherwise you can set things manually by selecting “I want to review/modify my disk partitions before continuing”. If you select the latter: you are experienced and probably know what to move and where to touch. If you are not (and I suggest you not to do it alone), you will probably face three scenarios:
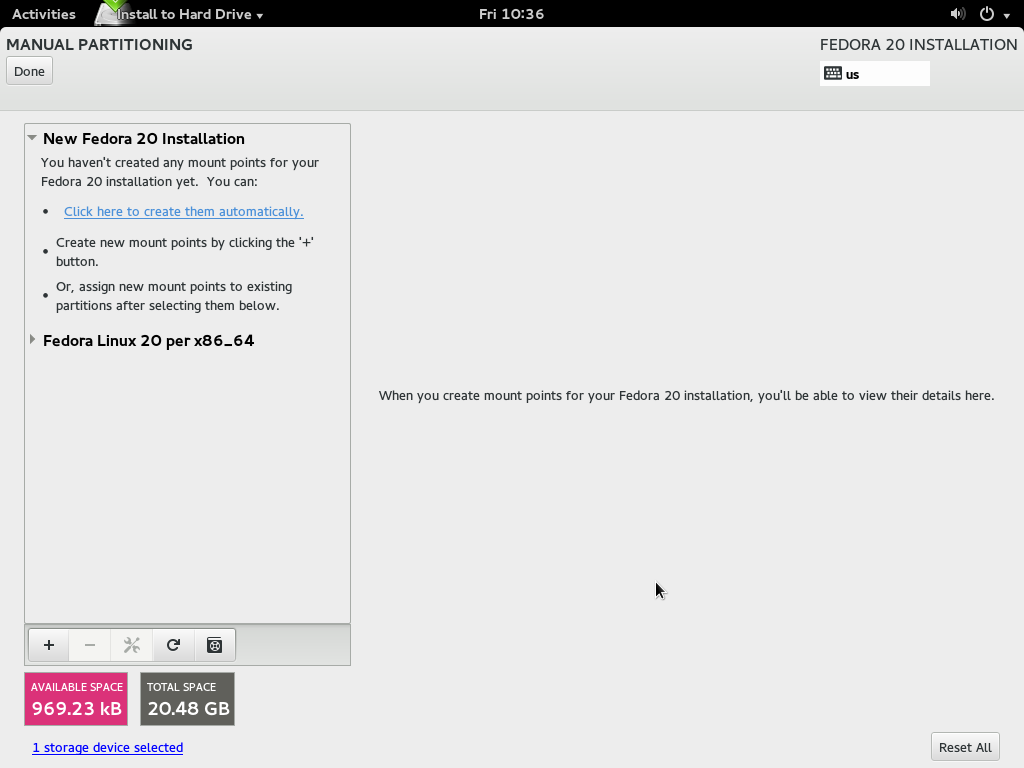
5.3.1) You have an empty disk
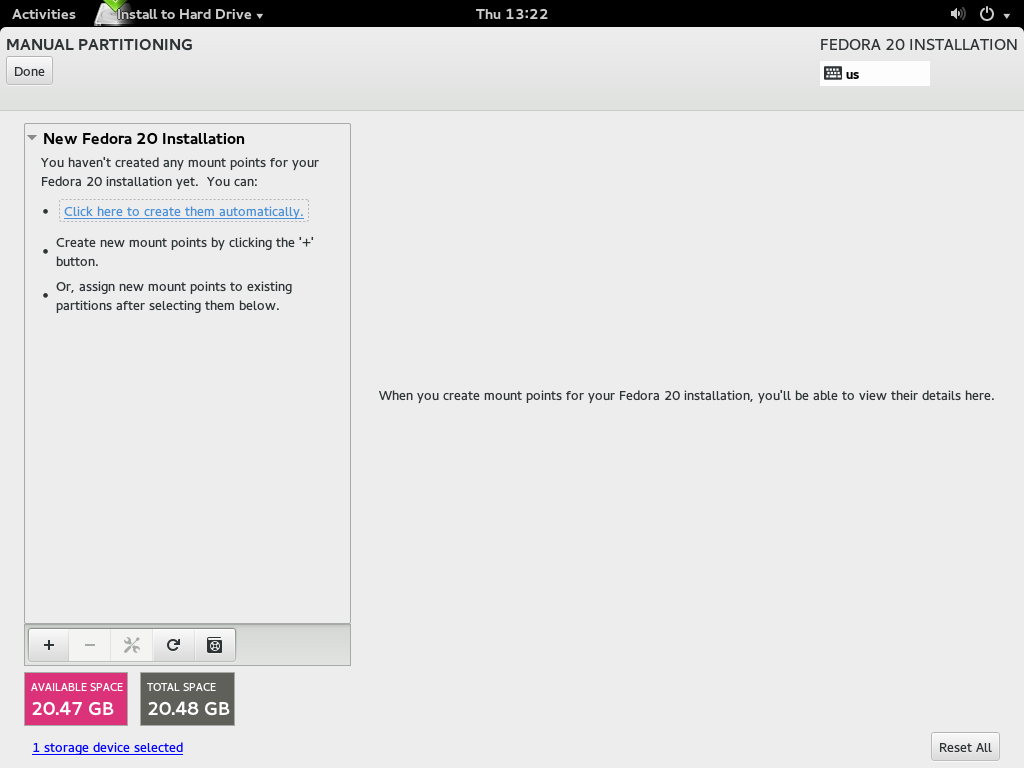
Fedora 20 Installation – Empty Disk
This is the easiest case; just select “Click here to create them automatically” and then click “Done”. This outcome is the same as selecting “Automatically configure Fedora Installation…” in step 5.3.
5.3.2) You have one or more OS installed
Fedora 20 Installation – One or more OS installed
In this case you will have one or more OS installed, you can see them in the list. In my case I have “Fedora Linux 20 per x86_64” installed, you might have more. If you see “unknown” be careful, it might be Windows! If you want to delete an OS just click on it and click the minus (-) under the list. In this way you will delete partitions (and cause possible data loss) so be really careful, but no disk will be touched until you click “Begin Installation” in the hub. If you have a decent amount of space (>10 GB) you can install Fedora 20 next to other OS, just click “Click here to create them automatically” and everything will go smooth!
6) Everything done!
Fedora 20 Ready to be installed!
If everything went fine, you should be seeing a similar screen. Now you’re ready to go: touching “Begin installation” will start the installation process and will affect your devices chosen at step 5.3. Be careful! This is your last possibility to recognize mistakes, if you press this button you can lose entire hard disks depending on what you’ve done. Since this tutorial doesn’t cover partitioning I suggest you to ask an expert if everything is fine if you’re not sure about what you’re doing.
7) Installation starts
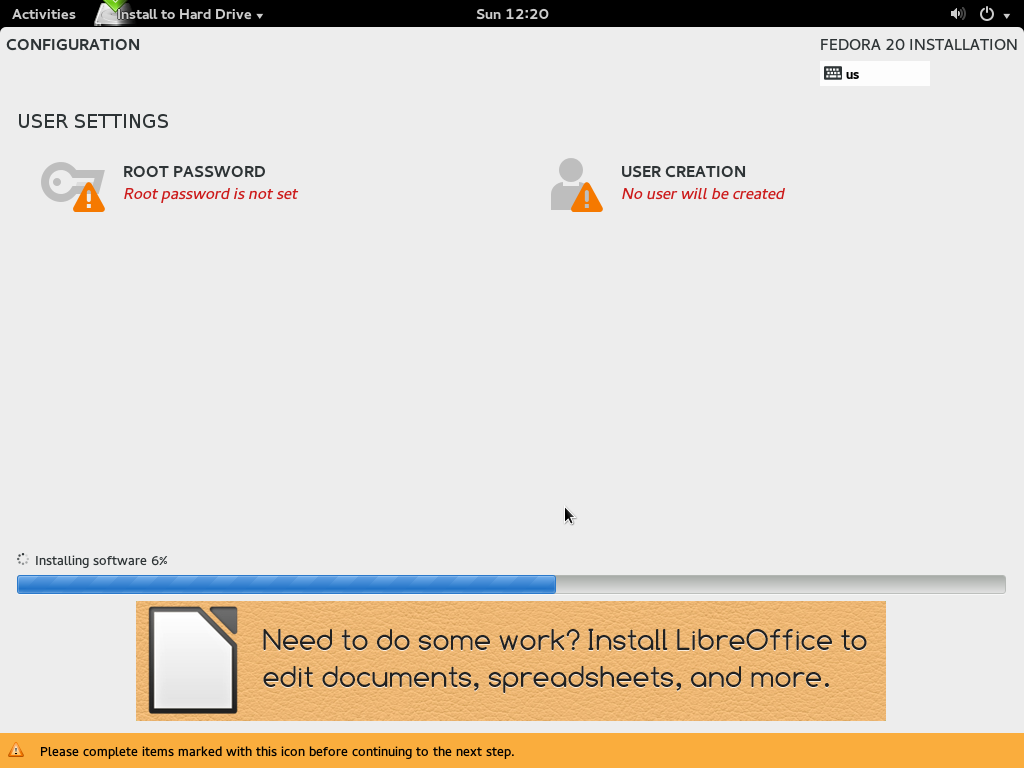
Fedora 20 – Installing
As you can see the installation process has started, now don’t go away to take your coffee yet: you still have to configure your user and root user. One of them has to be filled and you have three choices:
- Configure only user (and make it an administrator) SUGGESTED
- Configure user and root
- Configure only root DISCOURAGED
7.1) Configuring user
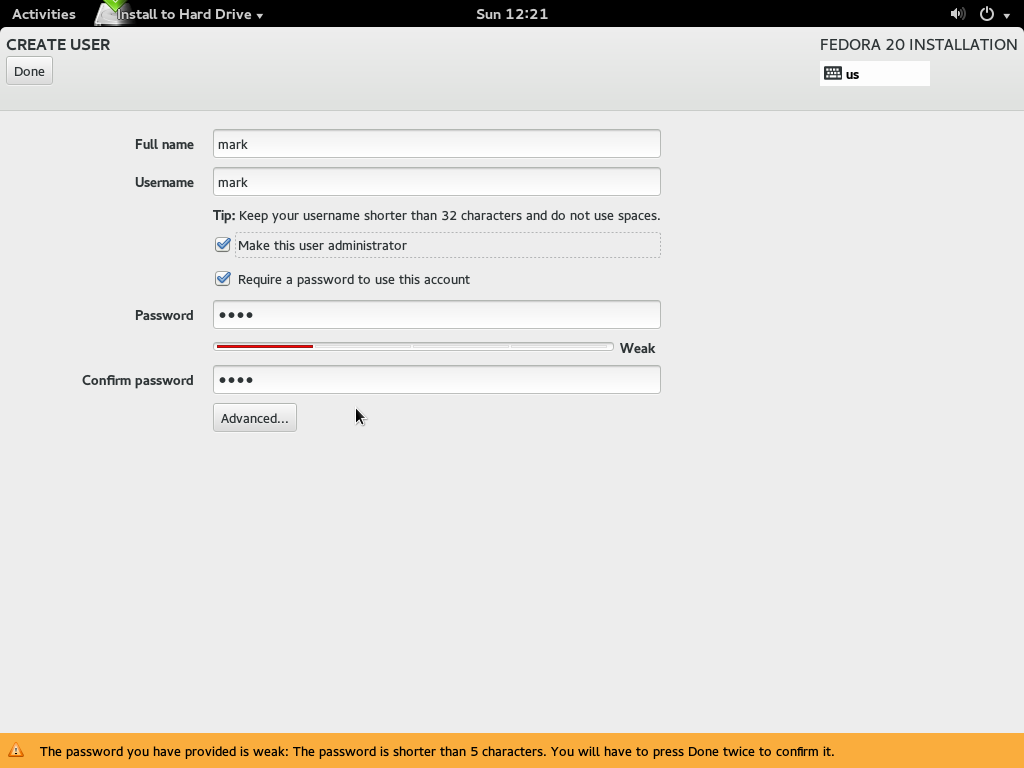
Fedora 20 Installation – User Configuration
In this step you just configure your user, if you want to be an administrator be sure to check “Make this user administrator” (in this way you can skip the following step). I also suggest you to use a password. Beware: if you use a weak password you’ll have to click “Done” twice.
7.2) Configuring root
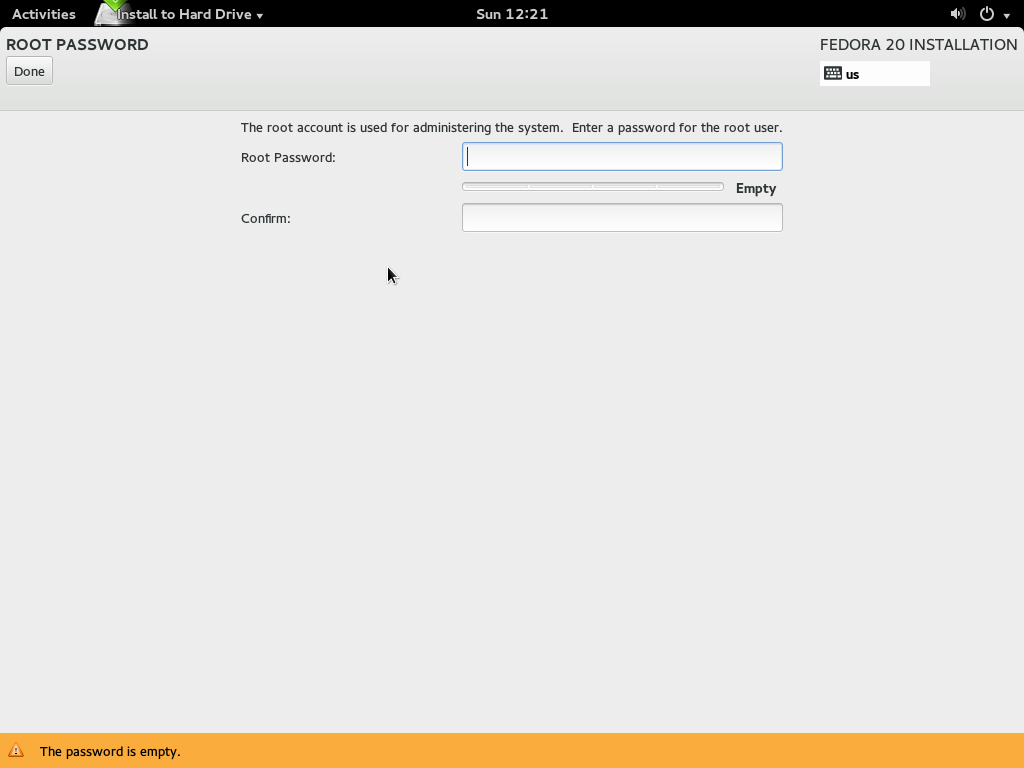
Fedora 20 – Root User configuration
As you can see this step is much simpler, it just requires a password, be sure to pick something not-too-easy.
8) Done!
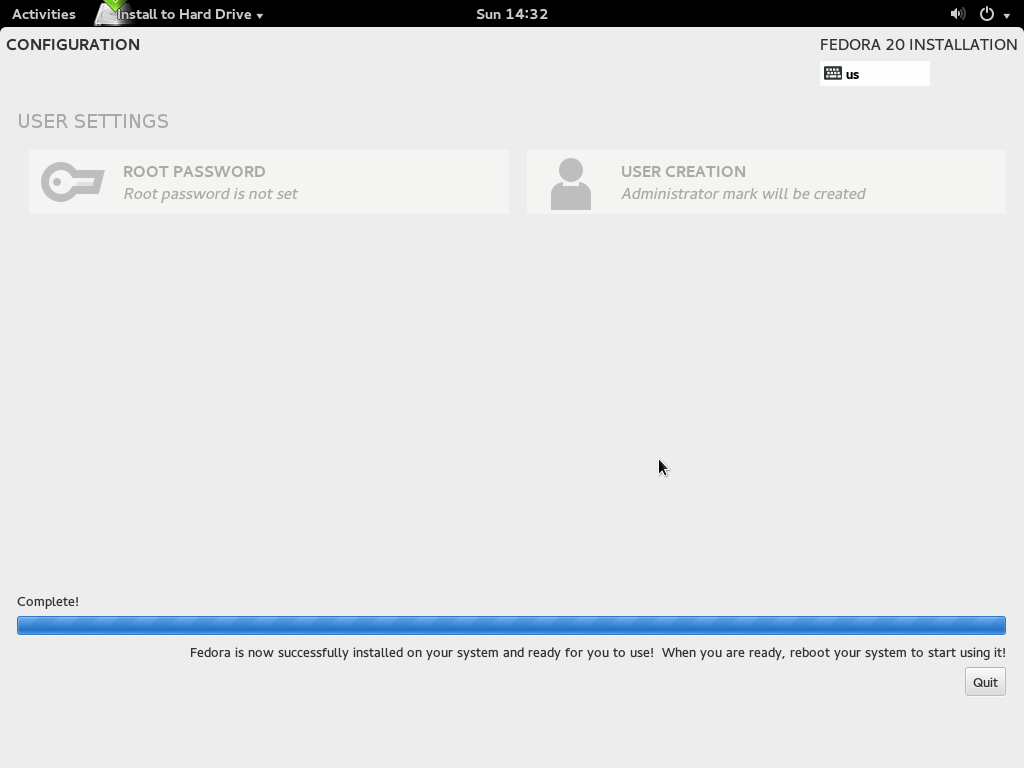
Fedora 20 is now installed
Congratulations, now Fedora 20 is installed on your machine, you can press “Quit”, wait for reboot and remove the installation support (IN THIS ORDER). The next few steps are first-boot welcoming settings to ease your experience.
9) Welcome!
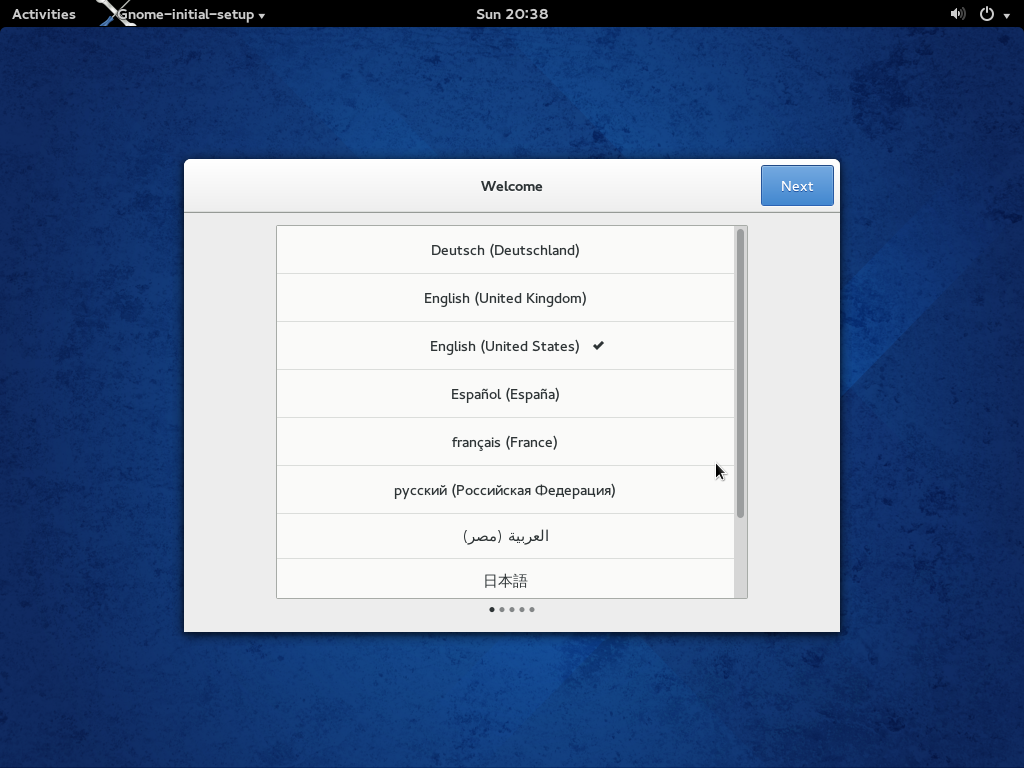
Fedora 20 Welcome screen after first boot
Now that Fedora 20 is installed you will see this screen for the first time you boot. It is a simple wizard to set few basic things. The first screen will ask you to choose system’s language. You already selected it during the installation but, if you want you can change it here.
9.2)
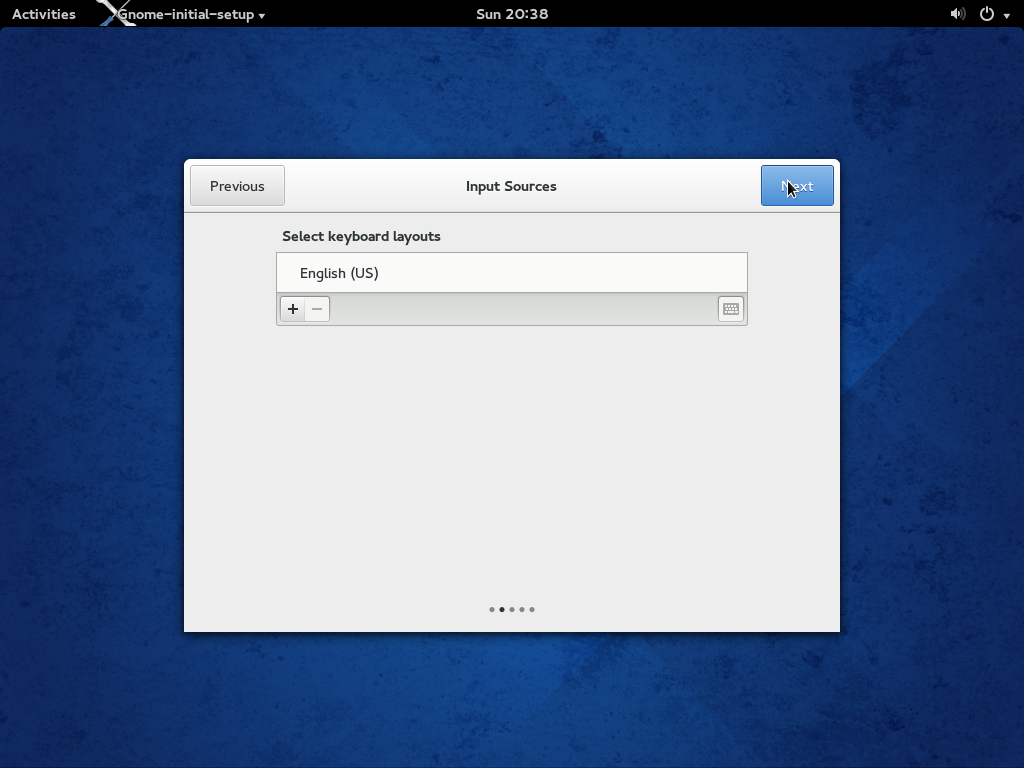
Fedora 20 – Input Sources
In this step you can set various Input Sources so that you can use multiple Keyboard Layouts. The first one is the one you specified during installation.
9.3)
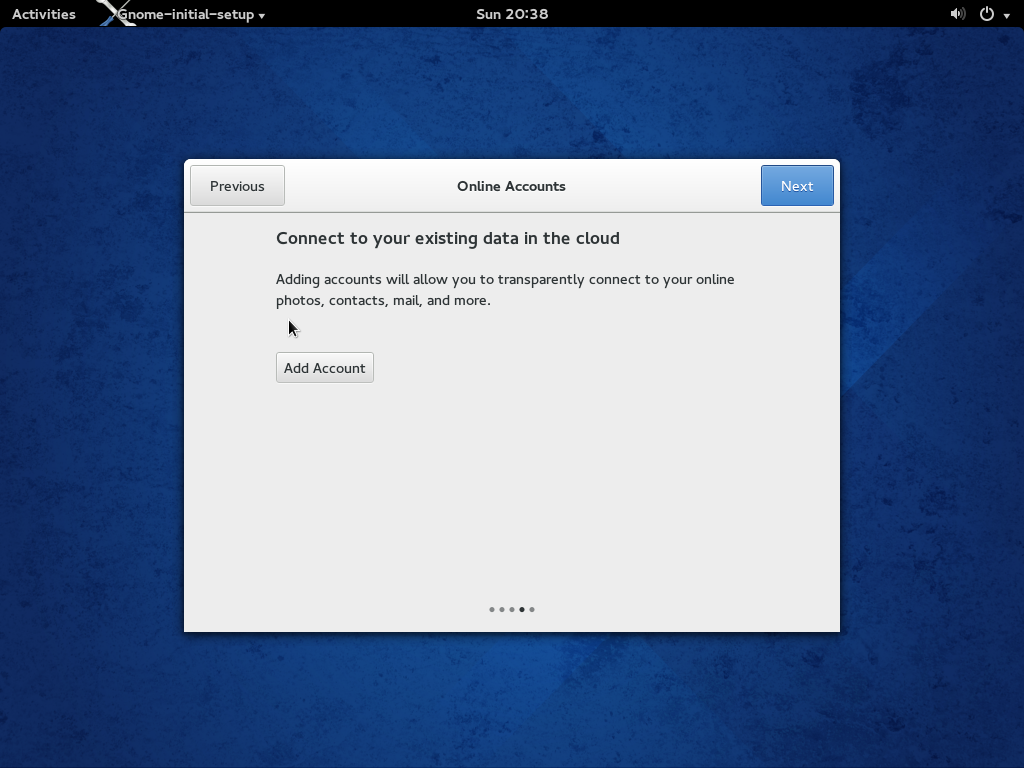
Fedora 20 Online Accounts
In this step you can take advantage of GNOME 3’s social features and add your Social Networks accounts to your system. But this is far from this post’s scope, so feel free to explore it alone, it might be a good surprise :).
9.4)
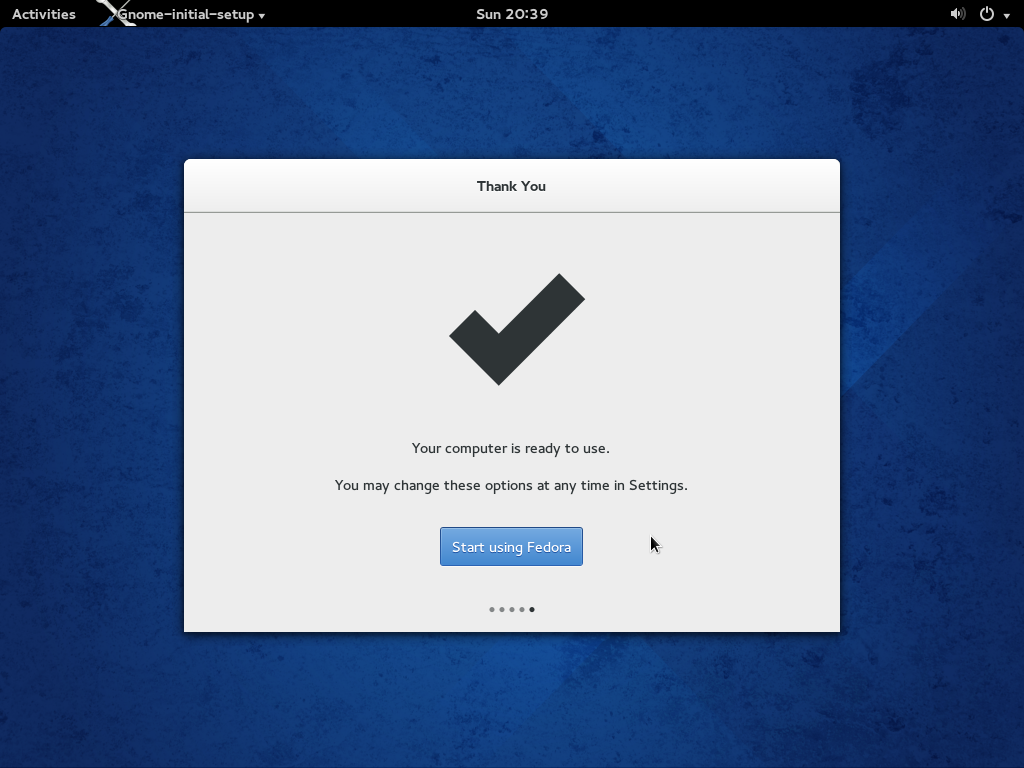 Done, this was the last step, now you can enjoy your new Fedora 20.
Be sure to tune in next week for Fedora 21 release (9 Dec 2014)!
- 2020 A year in review for Marksei.com - 30 December 2020
- Red Hat pulls the kill switch on CentOS - 16 December 2020
- OpenZFS 2.0 released: unified ZFS for Linux and BSD - 9 December 2020


Recent Comments