How to install oVirt node 4.2 on baremetal
oVirt node is the easiest way to provision a machine to use with oVirt. Installing it is pretty simple if you’ve installed Fedora/CentOS in the past. Let’s take a look at how to install oVirt node 4.2.
About oVirt and this guide
oVirt is the open source virtualization for the data center. If you don’t know what oVirt is about here’s an article for you.
During this guide I will assume you have a fair amount of experience with Linux, Linux distributions and basic System Administrator tasks
oVirt Node requirements
oVirt Node is a minimal CentOS installation, so you can run it with pretty low requirements such as 1GiB of RAM and 10GiB of disk space.
On the other hand, the machine will be used to host virtual machines, so you will need significantly more RAM, CPU and disk space depending on your workloads. The more you have and more virtual machines you will be able to run on the node.
Step 1: Booting from ISO

The first step is getting the image and burning it onto a bootable medium, usually USB is the preferred way (Tutorial here). Next boot the image and you will be facing the above screen. You can either check the media for defects or install straight away.
Step 2: Welcome to oVirt Node
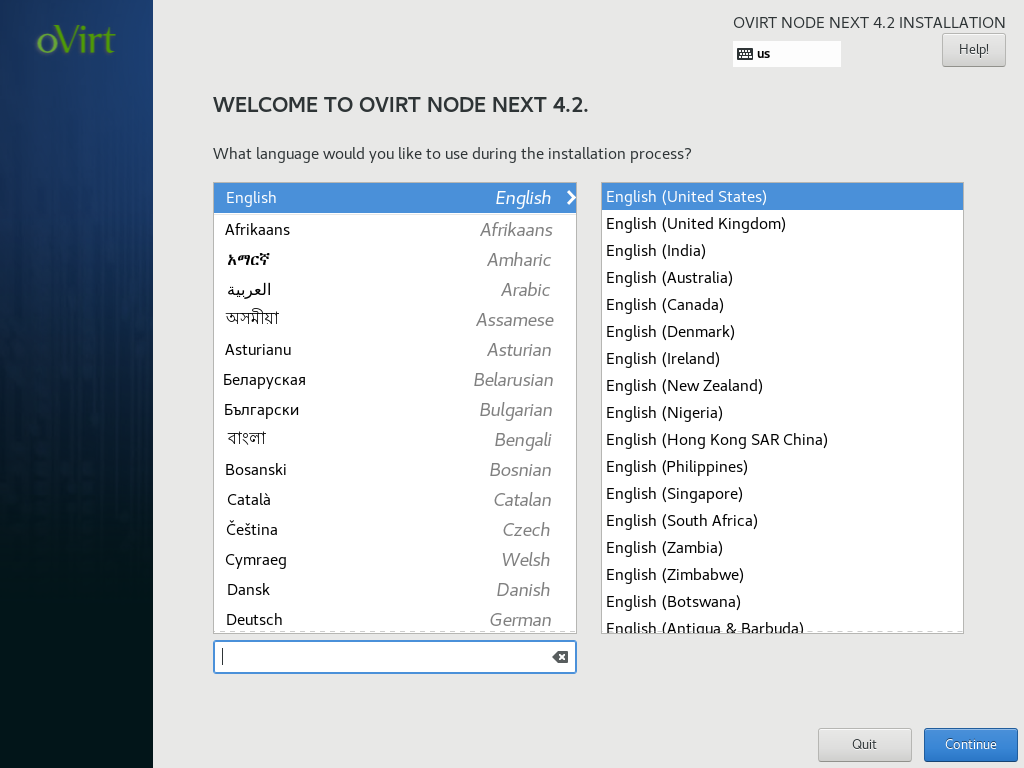
In the first step you can define your locale and keyboard layout.
Step 3: The Hub
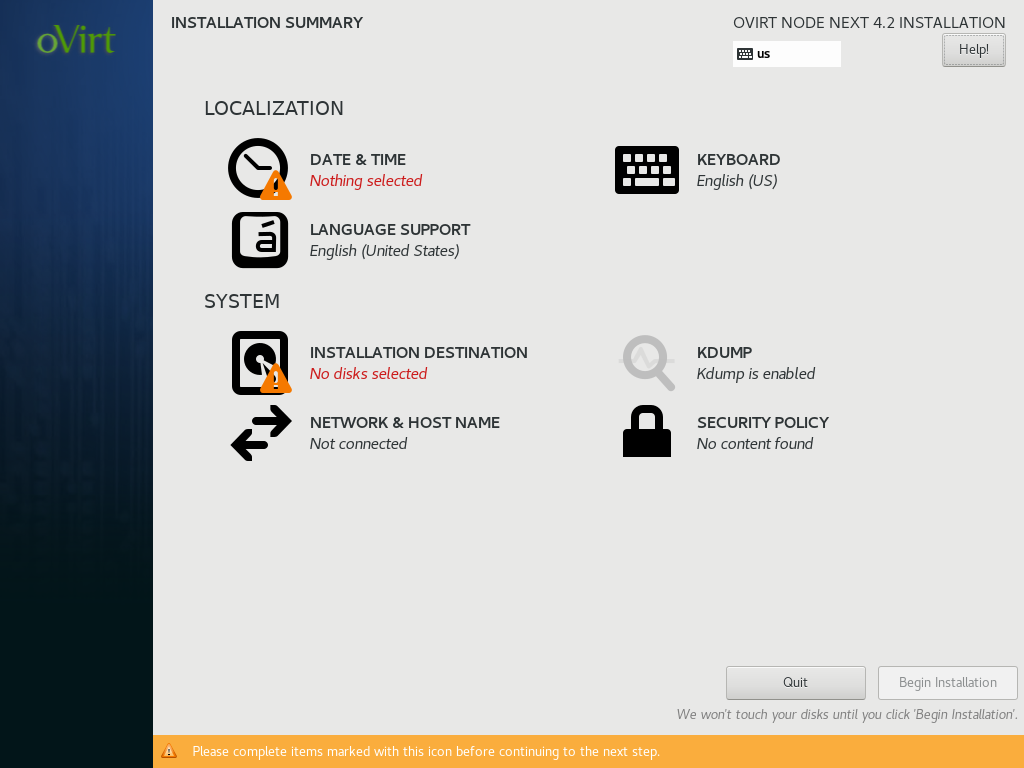
Familiar to anyone who has installed Fedora/CentOS at least once is “The Hub”. In this place you can configure the various aspects of your system. A few words on:
- KDump: is a Linux kernel crash dump mechanism. When the Kernel crashes you may want to troubleshoot and KDump will come in handy. You will need to allocate some RAM to it (usually a low amount). If you don’t know what this is, in a production system you want to have it on. For test systems you can safely turn it off.
- Security Policy: is a way to enforce security policies on the system. More info here. If you don’t know what it is, you probably won’t need it. For production systems, you may want to read a bit into it.
You can configure the various aspect in any order, but I suggest you to start with networking.
Step 4: Networking
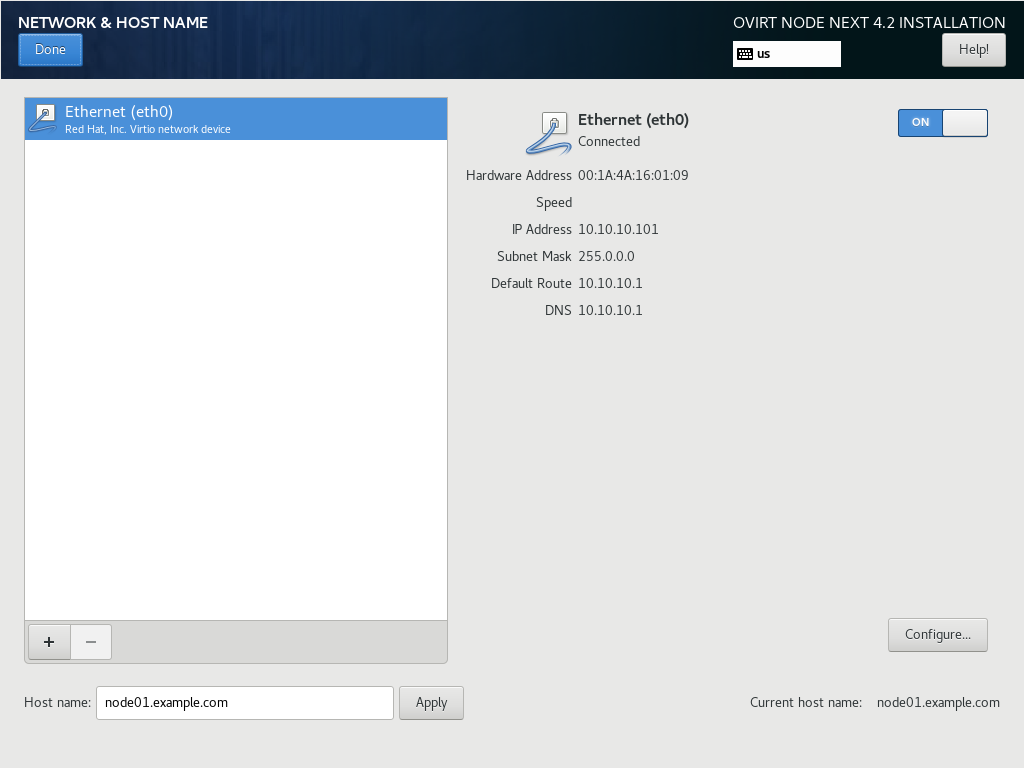
Here you can configure your system’s network(s) connections. I assume you already know your way around these configurations. Also be aware that having a functioning DNS in your environment will be really useful when you will configure the engine.
Step 5: Timezone

In this step you can configure your timezone. Be aware that in any production system you want to have Network Time on (ntp/chrony) since time mismatch between nodes/engines may produce nasty behaviors.
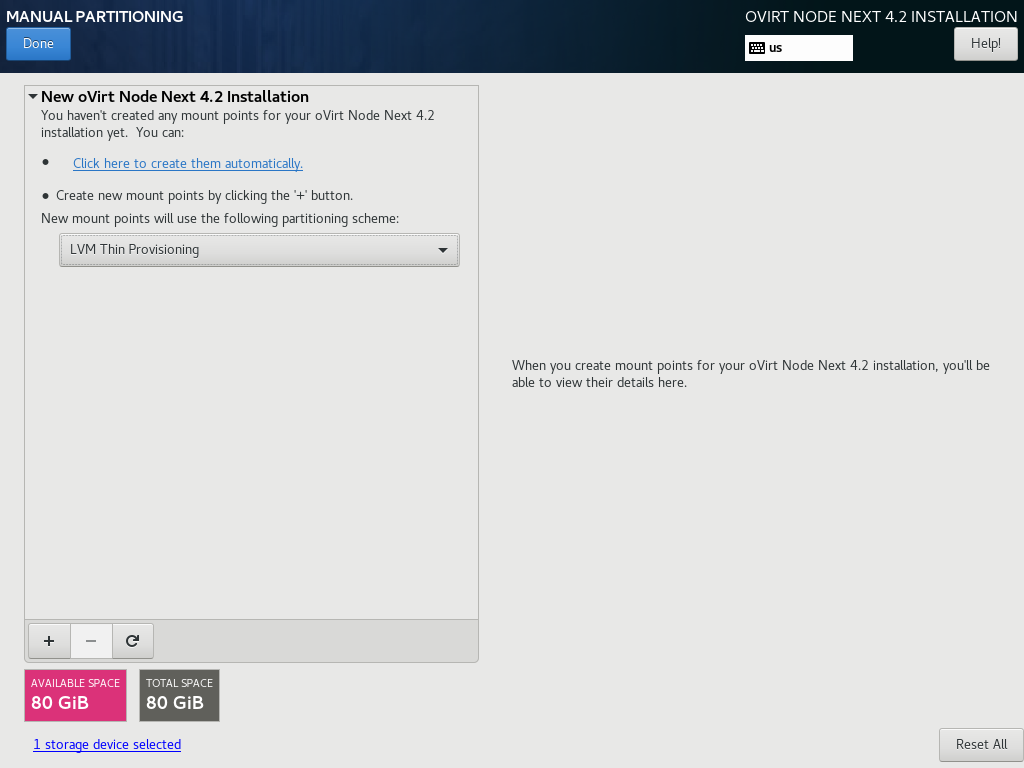
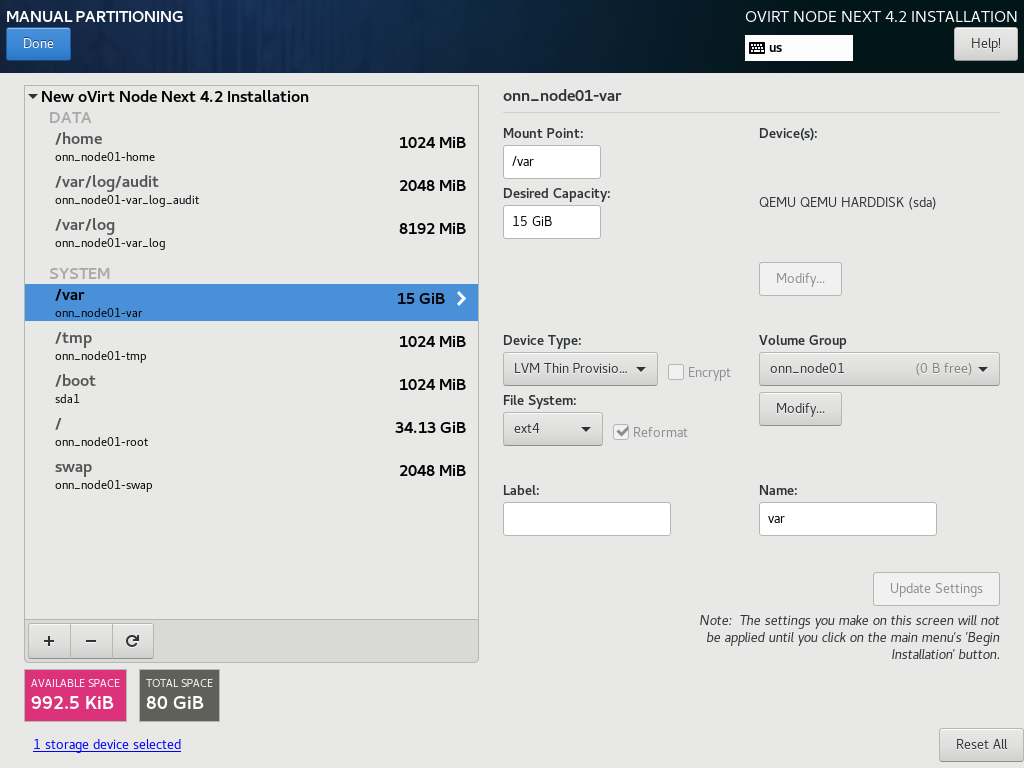
Step 6: Disk configuration
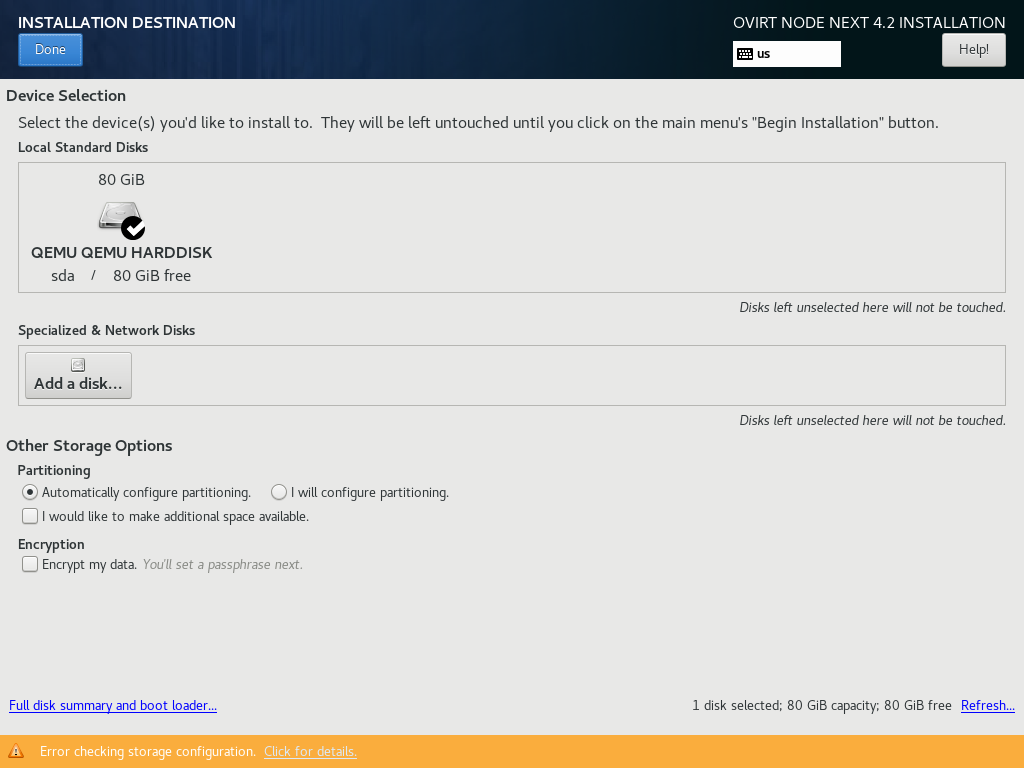
In this step you will configure your disks layout. I assume you already know your way around disks, partitions and filesystems. I strongly suggest you not to choose BTRFS, BTRFS was deprecated by Red Hat, and may or may not be a great choice for production systems.
In production systems you may have very different layouts and/or specialized hardware and software (iSCSI, FC) you will need to take care of. Here you can find some screens about manual partitioning and a standard installation:
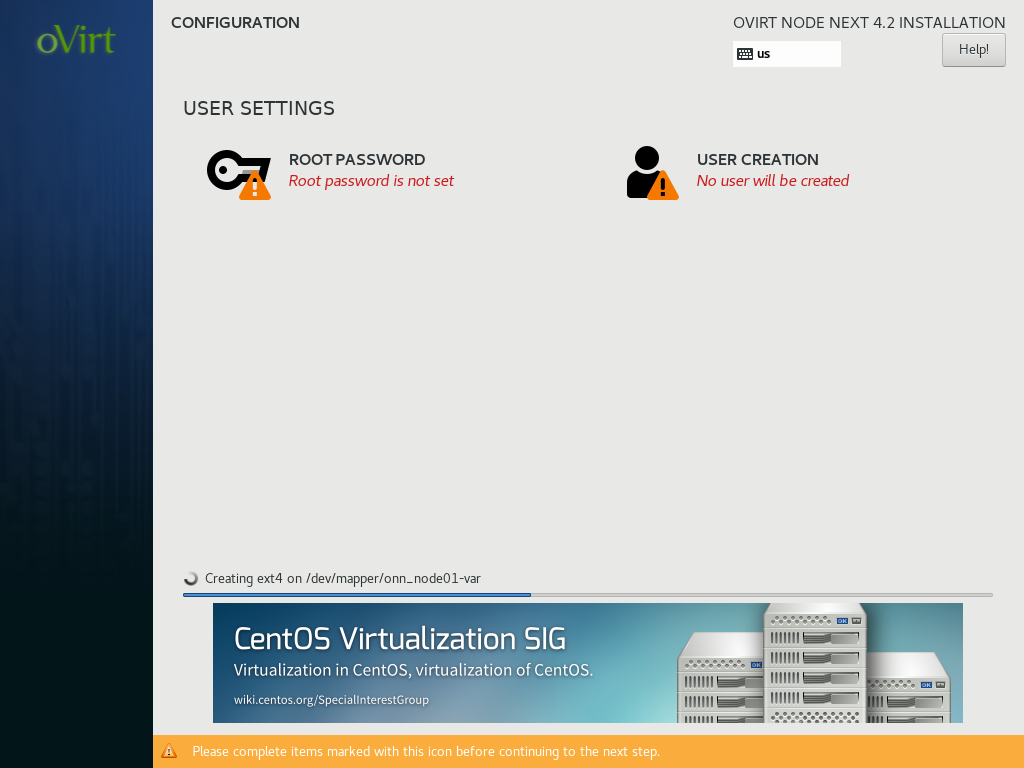
Step 7: Final steps
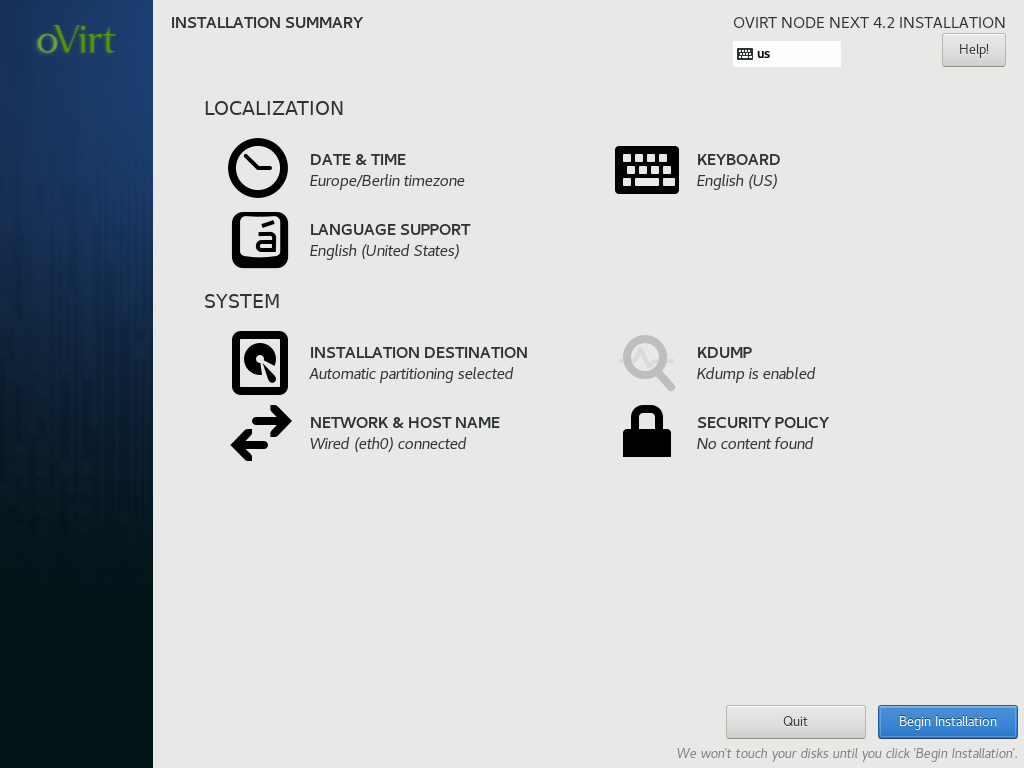
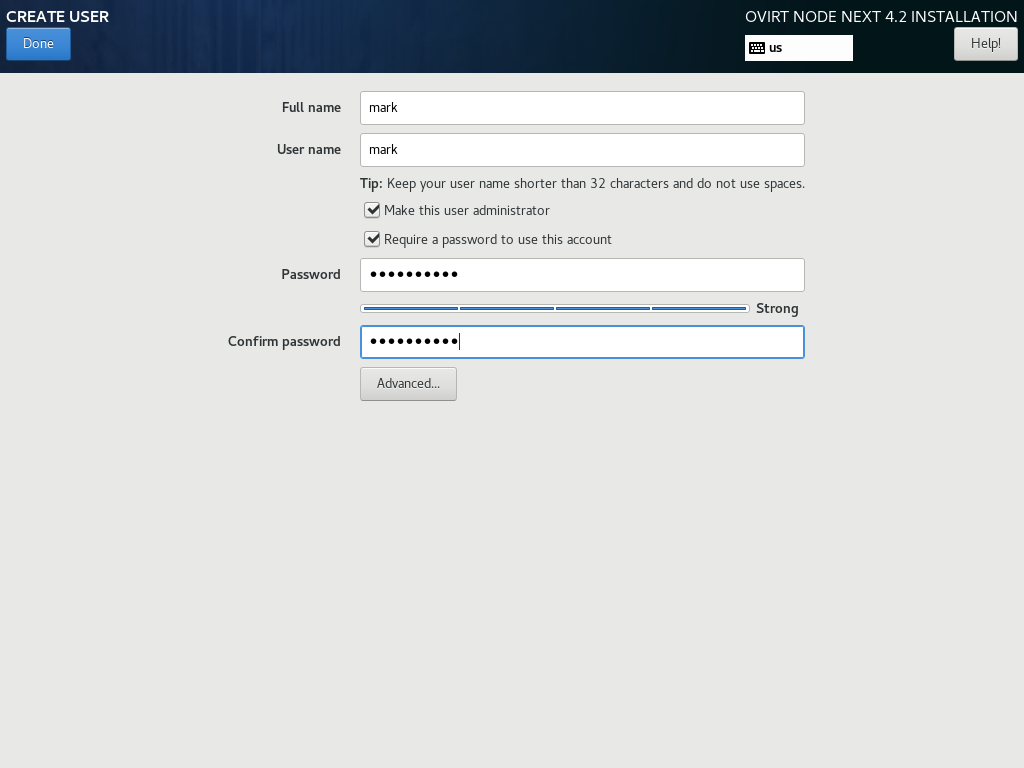
In these final steps you will review your installation and create an administrator. Once you are ready click “Begin Installation” knowing that this will write data to your disks and potentially cause data loss if you configured something incorrectly.
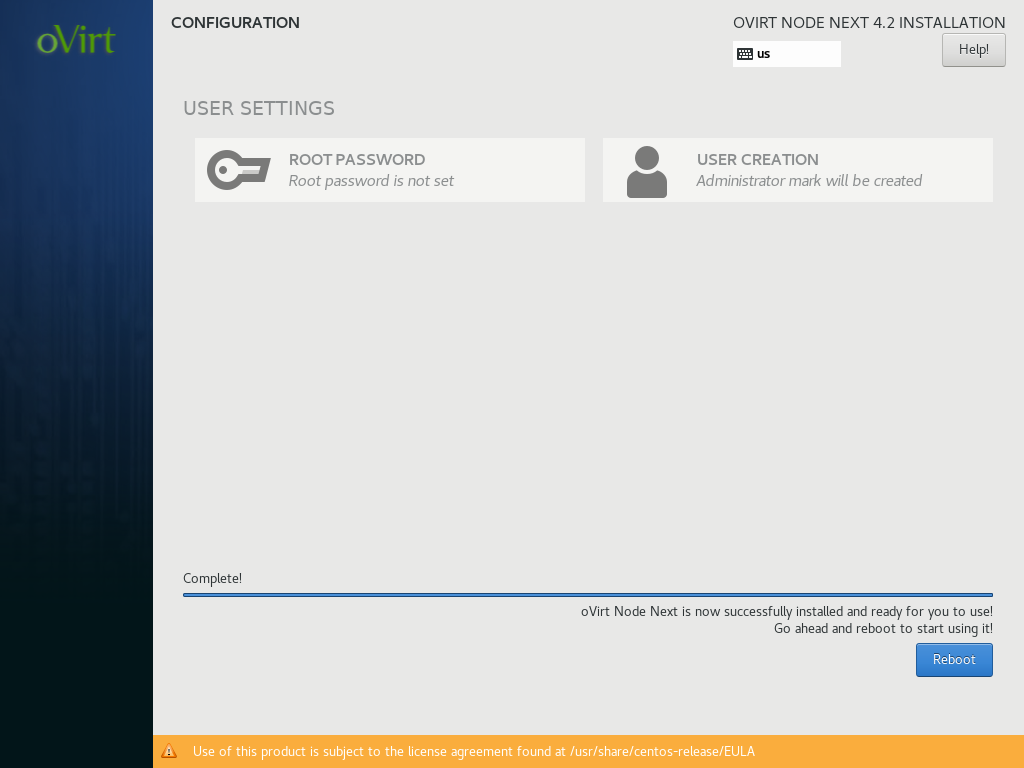
Step 8: Access Cockpit

Cockpit is a great tool to manage systems through a web UI. You can access your Cockpit by visiting https://your-fqdn:9090 or alternatively your-ip. You can use the credentials you just set up to enter Cockpit.
Cockpit has a nice integration with oVirt and you can even set up a Hosted Engine using its interface.
- 2020 A year in review for Marksei.com - 30 December 2020
- Red Hat pulls the kill switch on CentOS - 16 December 2020
- OpenZFS 2.0 released: unified ZFS for Linux and BSD - 9 December 2020


Hi,
i have comcast business with 5 static ips at home where i would like to test an HA cluster.
I recall that you have discussed network setup in one of your earlier ovirt articles (maybe 4.1). is that still available? or can you flank out the network setup out as a separate article and provide it to me/us?
i basic ally described switch and routers used… i think…
i see that you picked up ovirt 4.4 so i may give it a shot…
thanks,
Hello Fawzi, I’m not really sure what you’re asking or what article you’re referring to, I rarely delete a written article. If you’re looking for HA in ovirt it’s actually pretty straightforward, the engine should be a “hosted-engine” (otherwise you must take care of ha yourself), you must have more than two nodes and a shared storage/network, that’s it! Then you can configure the hosted-engine HA from the web interface (if I recall correctly). If you’re looking for redundant networking it really depends on your particular setup. If you’re looking for VM HA the same setup for HA hosted-engine applies and you can easily configure HA from the web interface. If you still need guidance you can take a look at RHEV guides:
https://access.redhat.com/documentation/en-us/red_hat_virtualization/4.2/html-single/self-hosted_engine_guide/index
https://access.redhat.com/documentation/en-us/red_hat_virtualization/4.2/html/virtual_machine_management_guide/sect-improving_uptime_with_virtual_machine_high_availability
Thanks for the links, but I could have sworn that I read an article about ovirt4.1 and the hardware setup for your network since ovirt requires FQDN s On your site.
I guess I am mistaken… but it is this area that I am trying to understand, building the network behind my comcast modem so I can implement multiple servers with their own FQDN.
Thanks
You’re welcome, don’t worry. If you’re searching for an internal naming system, what you’re probably looking for is FreeIPA (also known as Red Hat Identity Management). If you just want to expose your virtual machine to the Internet but only have a handful of public IP addresses I’m afraid you’ll need a bit more digging. Most certainly you will only be able to expose ONLY a number of VMs equal to the number of public IP addresses you’ve got… unless you use NAT. In this case you will need to step out of oVirt and implement NAT in specialized hardware (a router). Nowadays most consumer routers can handle NAT and you can also flash OpenWRT/DD-WRT to get more control.
hi mark, you were right. i went and searched again, and it was this site that i was loking for.:https://zipur.ca/ovirt-4-2-x-install-he-hosted-engine-4-hosts-2-san-ha-setup-equipment-wiring/
but it did not turn out to be as detailed as i would have wanted it to be…