How to install FreeNAS 11 in 5 easy steps
After the retirement of FreeNAS Corral, the FreeNAS team is proud to present its successor: FreeNAS 11. Today we’ll look at how to install it in 5 easy steps.
About FreeNAS 11
FreeNAS 11 is (as of the moment I’m writing this article) the latest release of FreeNAS, based on FreeBSD 11 STABLE. It brings yet another AngularJS-based User Interface, a S3-compatible server and VM hosting capabilities. In the case you missed what’s new, here you can take a look at the new features.
About this guide
This guide is not intended for newbies, FreeNAS is a little more complicated than usual Linux distributions. If you just want to start learning about the *nix world I suggest you start here or here.
You should use ECC memory; using non-ECC memory is a potential threat to your data and should be avoided. FreeNAS 11 has a suggested minimum of 8GB of memory. From my tests, unlike FreeNAS Corral, attempting to use 4GB will not heavily affect performance (although not recommended).
Requirements
In order to install FreeNAS 11 successfully you will need:
- A machine with a 64-bit processor.
- At least 8GB of RAM (ECC is preferred although not strictly required).
- A boot medium (CD/DVD, USB, whatever).
- If you plan to install FreeNAS on a USB pendrive you can’t use that same drive to boot from (you will need two USB drives).
Installing FreeNAS 11
1) Preparations
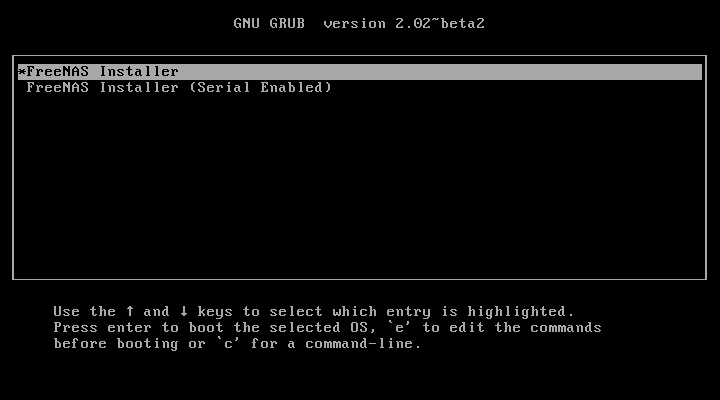
The first thing you have to do to proceed with the installation of FreeNAS 11 is boot it from a support (CD/DVD and USB Pendrives are today the best options).
Once you have your support, reboot the machine, select an option like “boot options” or “boot priority list” and select your support, in this way you should see this screen. Press enter and then enter a second time.
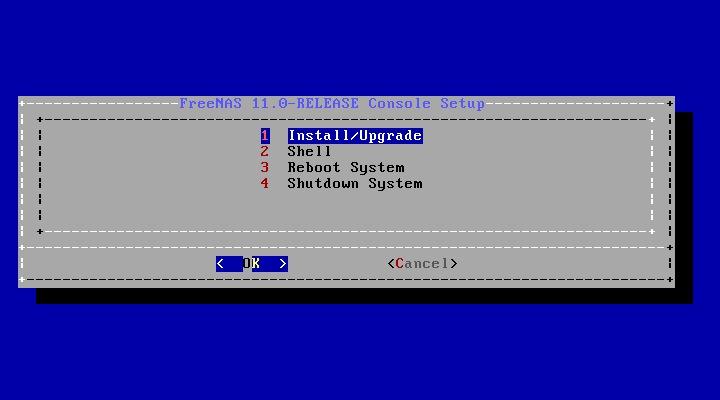
2) Install menu
If everything went correctly, you should see this screen which is quite self-explanatory. Just select option 1 and press enter.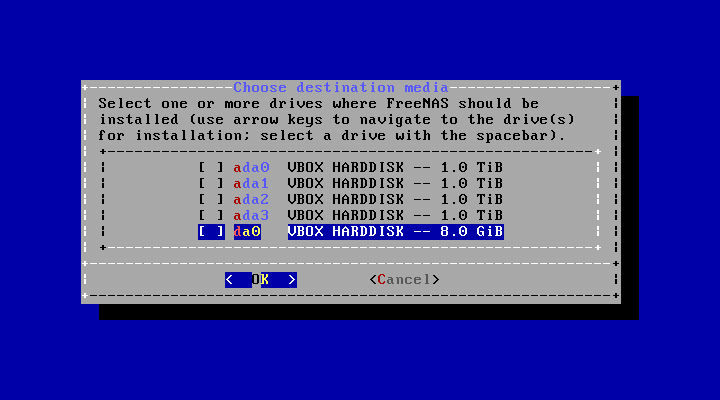
3) Selecting install destination
In this step you will get a list of the possible destinations for your FreeNAS 11 installation. The most common destination is a USB device (you can also select a disk, however FreeNAS won't allow you to use that same disk as storage). If like me you want to install FreeNAS on USB search for entries starting with da, if you want to install on a disk search for entries starting with ad. Check your selection twice: the installation will erase the destination. When you're ready click enter and confirm.
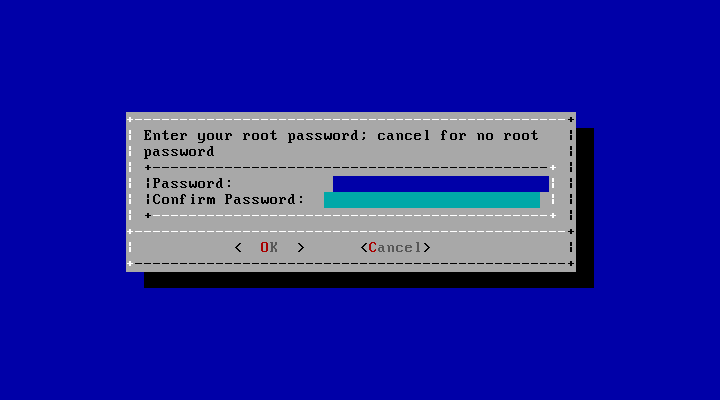
4) Root password
You will be prompted to select a root password (that you will use during the initial setup). It is suggested to pick a strong password since the root user can do anything to your machine and if someone were to guess that password you would be in danger.
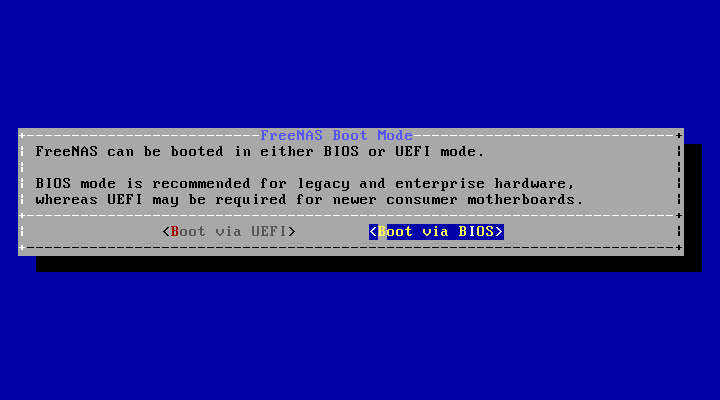
5) Boot mode
In this step you have to decide how FreeNAS will be booted from the destination you are installing it onto. If you're running on a machine which only uses UEFI you will of course select UEFI. Other systems may allow turning off UEFI boot (also called legacy mode by some vendors), in that case the choice of whether to use UEFI or BIOS is up to you, if you choose to use Legacy, remember to disable the UEFI mode in your UEFI.
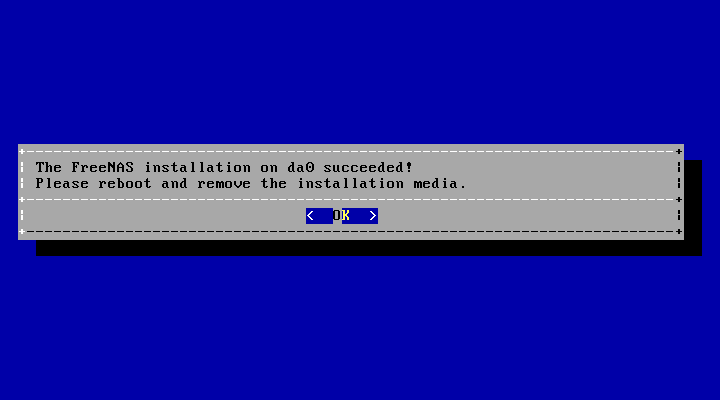
6) Installation successful
If everything went smoothly you will now see this screen. Do as you are told: press ok to return to the menu, then issue a shutdown by selecting the appropriate option, after that remove the installation media (not the one you installed FreeNAS onto if you used a USB pendrive). Then power up your machine (you should also configure the BIOS/UEFI settings to make your computer boot from the destination of your installation by default). At this point the installation is over.
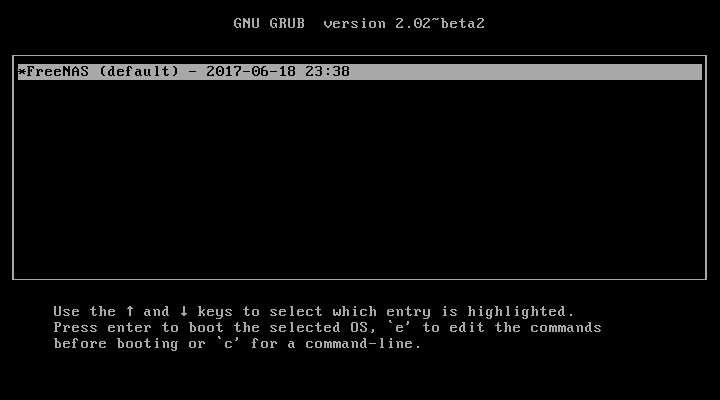
6) Boot environments
From here you will be able to select the different boot environments. At the first boot you will have only one, but they will start growing as time passes and updates are released. Selecting one will prompt you to select one mode, the default one is fine. Keep in mind that the first time you boot a new FreeNAS installation it can take quite some time (even 10-20 minutes).
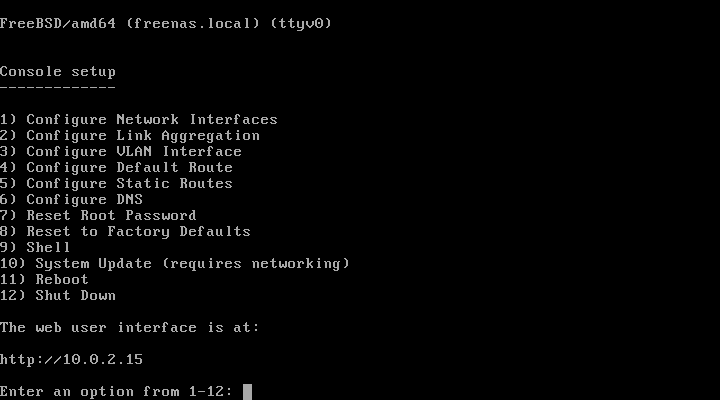
7) Menu
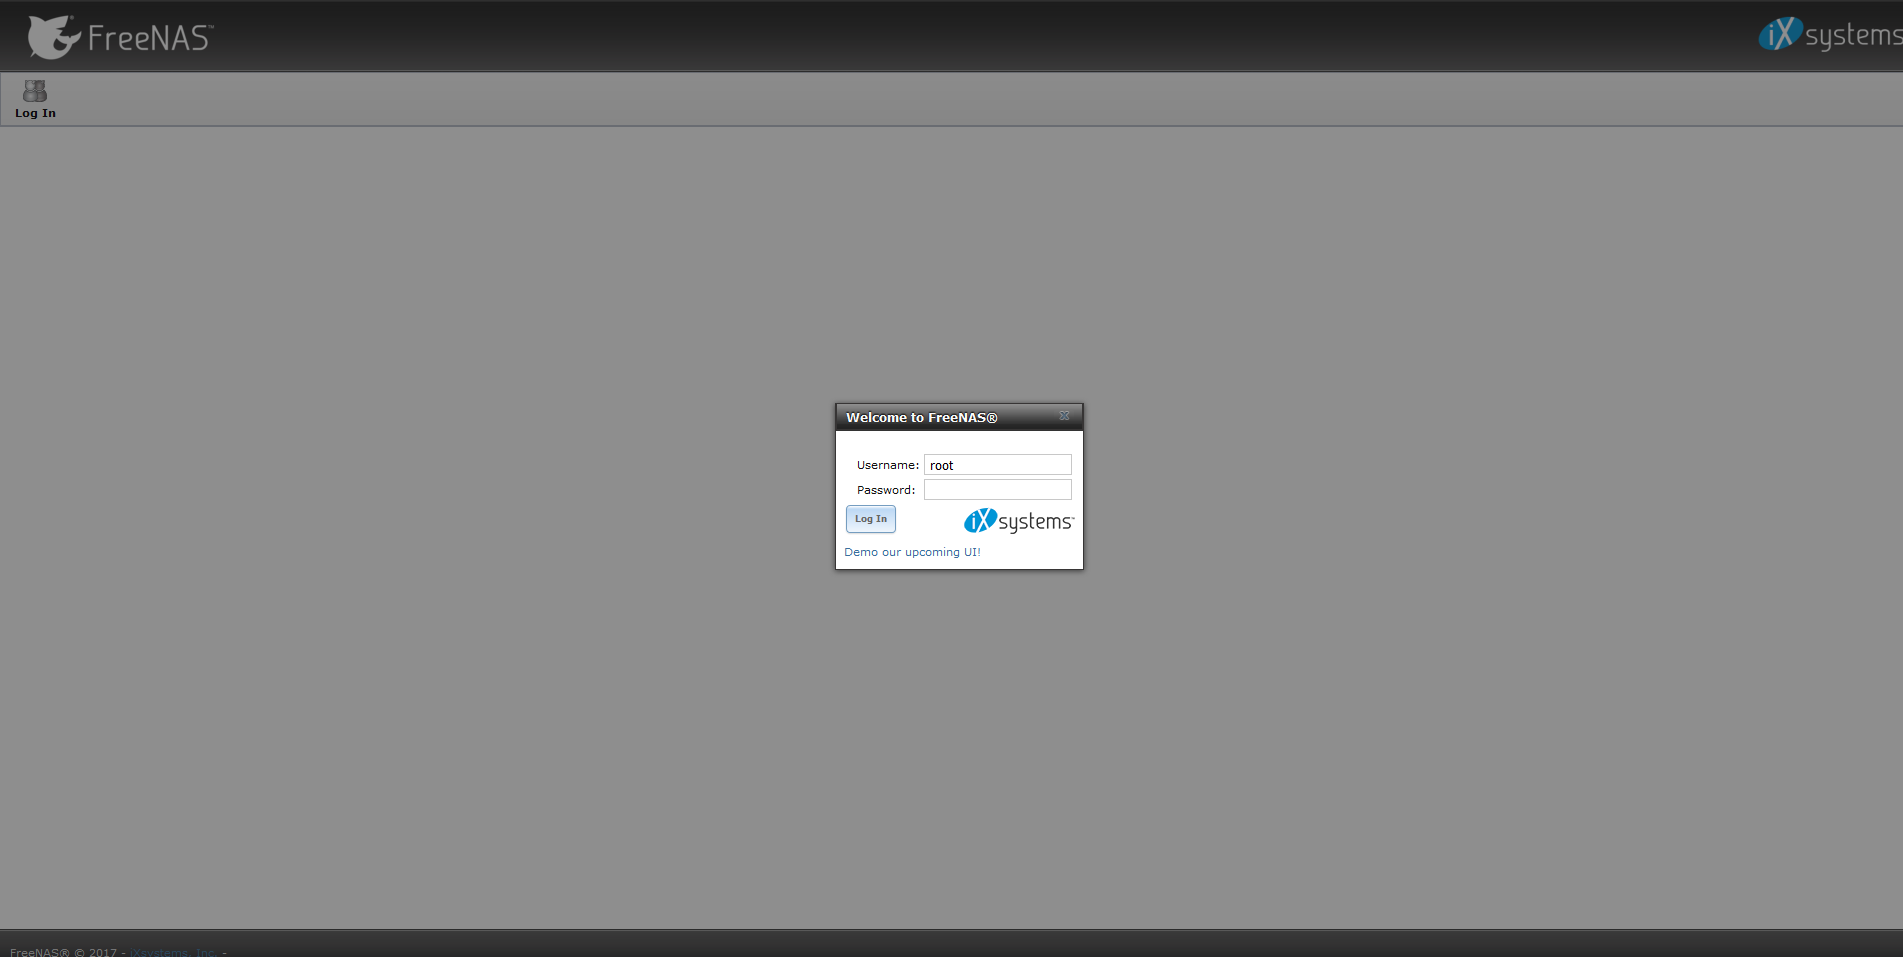
This screen means that you installed and booted FreeNAS 11 correctly. From here you can modify system settings, they can also be modified through the web UI that can be accessed through another computer by going to the provided address (in my case: 10.0.2.15).
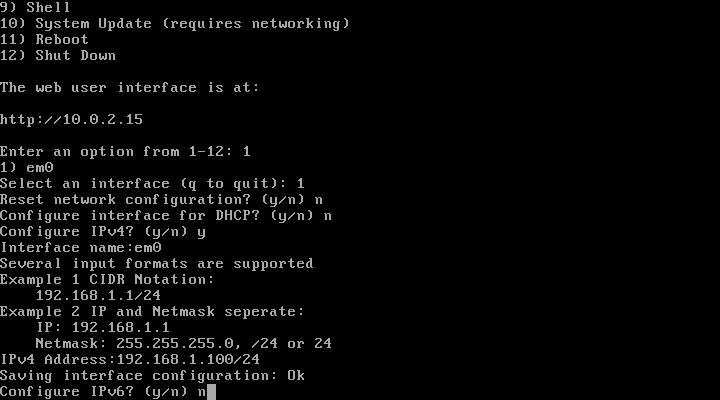
8) Configuring network
A thing you might want to do before accessing the web interface is to configure the network. Following the image select: option 1, then select the network interface you want to configure. Whether you want DHCP or not (you usually want a static IP). If your router supports MAC address binding you will be able to stick an IP address even through DHCP.
Conclusion
You now know what the basic requirements for a FreeNAS 11 installations are. The process itself isn’t that difficult and is almost identical to the FreeNAS 9 installation. If you are brave enough, you might also consider installing FreeNAS Corral, although I highly discourage you to do so since you won’t be able to upgrade to a newer version in the future.
- 2020 A year in review for Marksei.com - 30 December 2020
- Red Hat pulls the kill switch on CentOS - 16 December 2020
- OpenZFS 2.0 released: unified ZFS for Linux and BSD - 9 December 2020


Recent Comments