How to install FreeNAS 9 in 5 easy steps

In this tutorial you’ll learn how you can set up a FreeNAS 9 installation on your machine in 5 easy steps.
Important: I take absolutely NO responsibility of what you do with your machine; use this tutorial as a guide and remember you can possibly cause data loss if you touch things carelessly.
About this guide
This guide is not intended for newbies, FreeNAS is a little more complicated than usual Linux distributions. If you just want to start learning about the *nix world I suggest you start here or here.
If like me you want to install FreeNAS 9 on a USB prendrive avoid USB3 drives. They’re not guaranteed to work well with FreeNAS (even though there are people that reported USB3 drives were working either plugged in USB2 ports). The recommended size of the drive is 16GB but you can also use a 8GB or even 4GB (the installation size is quite small but it will get big as time grows because of updates).
You should use ECC memory; using non-ECC memory is a potential threat to your data and should be avoided. FreeNAS 9 has 8GB of memory suggested but you can start with 4GB (at one point the system will choke if you start using it intensively, but 4GB is really fine for the first times).
Remember you need a 64-bit processor.
TL;DR. For the advantages of FreeNAS you can read this article. The main advantage is protection against data corruption. As long as you use ECC memory.
1) Preparations
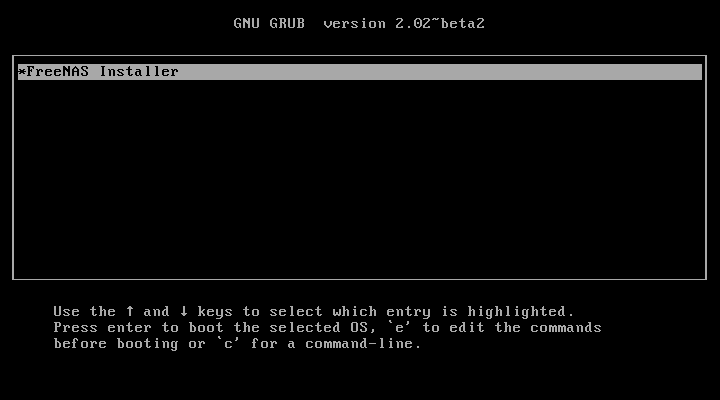
The first thing you have to do to proceed with the installation of FreeNAS 9 is boot it from a support (CD/DVD and USB Pendrives are today the best options). Tip: if you plan to install FreeNAS on a USB pendrive you can't use that same pendrive to boot from (you will need two USB drives).Once you have your support, reboot the machine, select an option like “boot options” or “boot priority list” and select your support, in this way you should see this screen. Press enter and then enter a second time.
2) Install menu
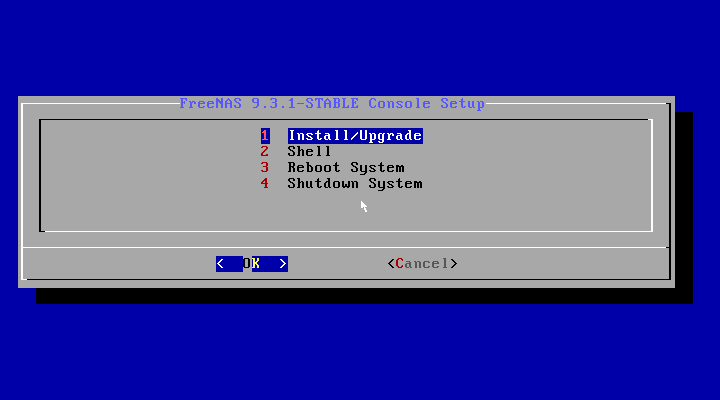
If everything went correctly, you should see this screen which is quite self-explanatory. Just select option 1 and press enter.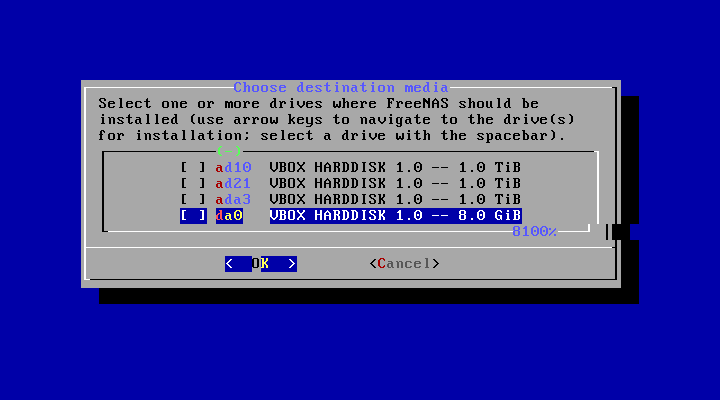
3) Selecting install destination
In this step you will get a list of the possible destinations for your FreeNAS 9 installation. The most common destination is a USB device (you can also select a disk, however FreeNAS won't allow you to use that same disk as storage). If like me you want to install FreeNAS on USB search for entries starting with da, if you want to install on a disk search for entries starting with ad. Check your selection twice: the installation will erase the destination. When you're ready click enter and confirm.
4) Root password
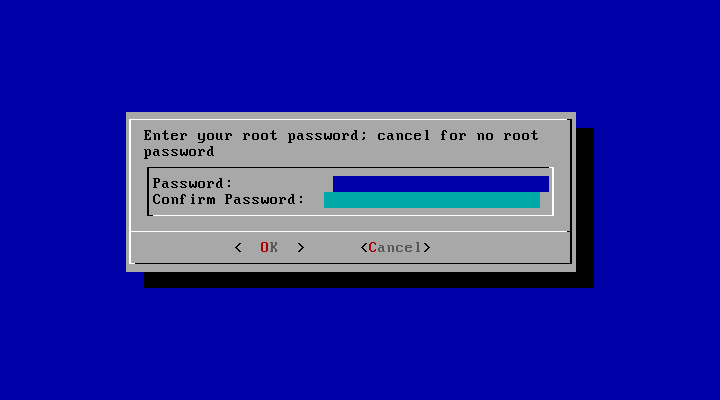
You will be prompted to select a root password (that you will use during the initial setup). It is suggested to pick a strong password since the root user can do anything to your machine and if someone were to guess that password you would be in danger.
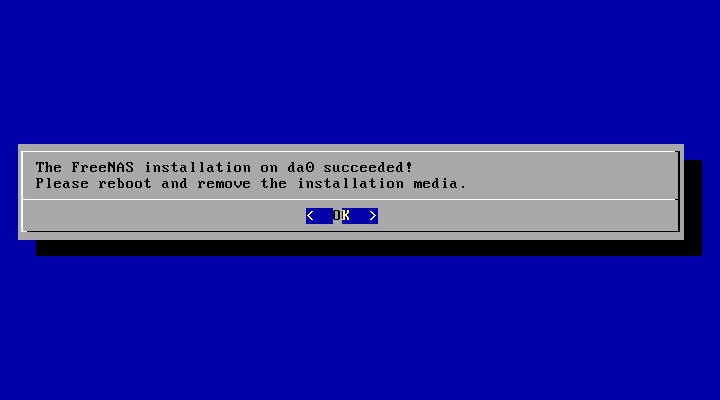
5) Installation succesful
If everything went smoothly you will now see this screen. Do as you are told: press ok to return to the menu, then issue a shutdown by selecting the appropriate option, after that remove the installation media (not the one you installed FreeNAS onto if you used a USB pendrive). Then power up your machine (you should also configure the BIOS/UEFI settings to make your computer boot from USB by default). At this point the installation is over.
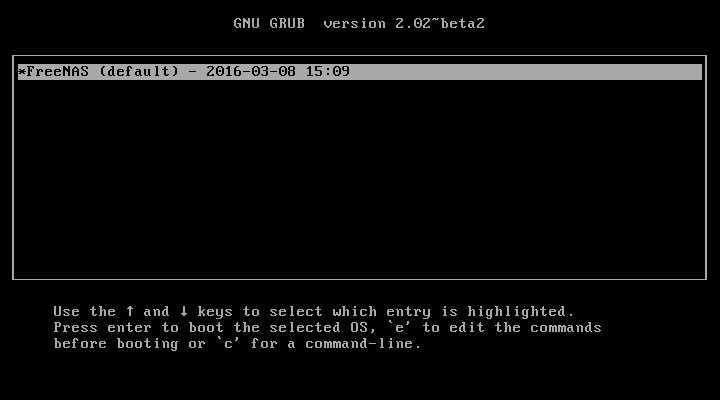
6) Boot environments
From here you will be able to select the different boot environments. At the first boot you will have only one, but they will start growing as time passes and updates are released. Selecting one will prompt you to select one mode, the default one is fine. Keep in mind that the first time you boot a new FreeNAS installation it can take quite some time (even 10-20 minutes).
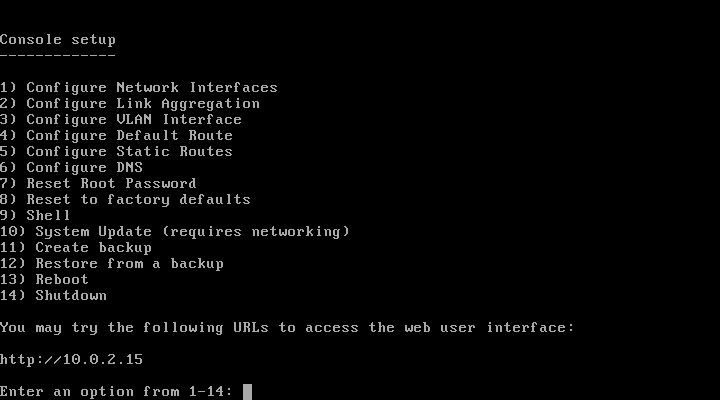
7) Menu
This screen means that you installed and booted FreeNAS 9 correctly. From here you can modify system settings, they can also be modified through the web UI that can be accessed through another computer by going to the provided address (in my case: 10.0.2.15).
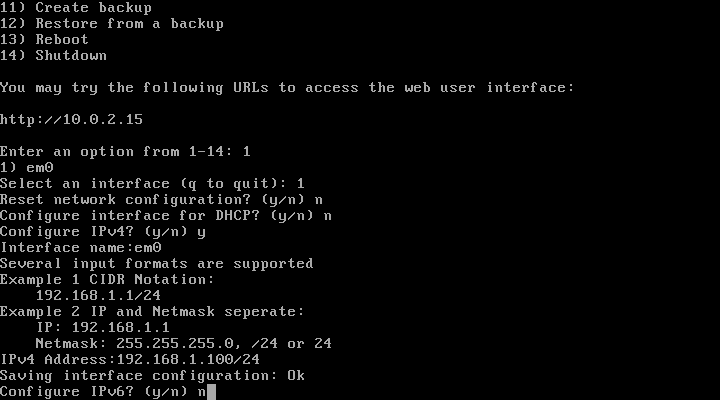
8) Configuring network
A thing you might want to do before accessing the web interface is to configure the network. Following the image select: option 1, then select the network interface you want to configure. Whether you want DHCP or not (you usually want a static IP). If your router supports MAC address binding you will be able to stick an IP address even through DHCP.
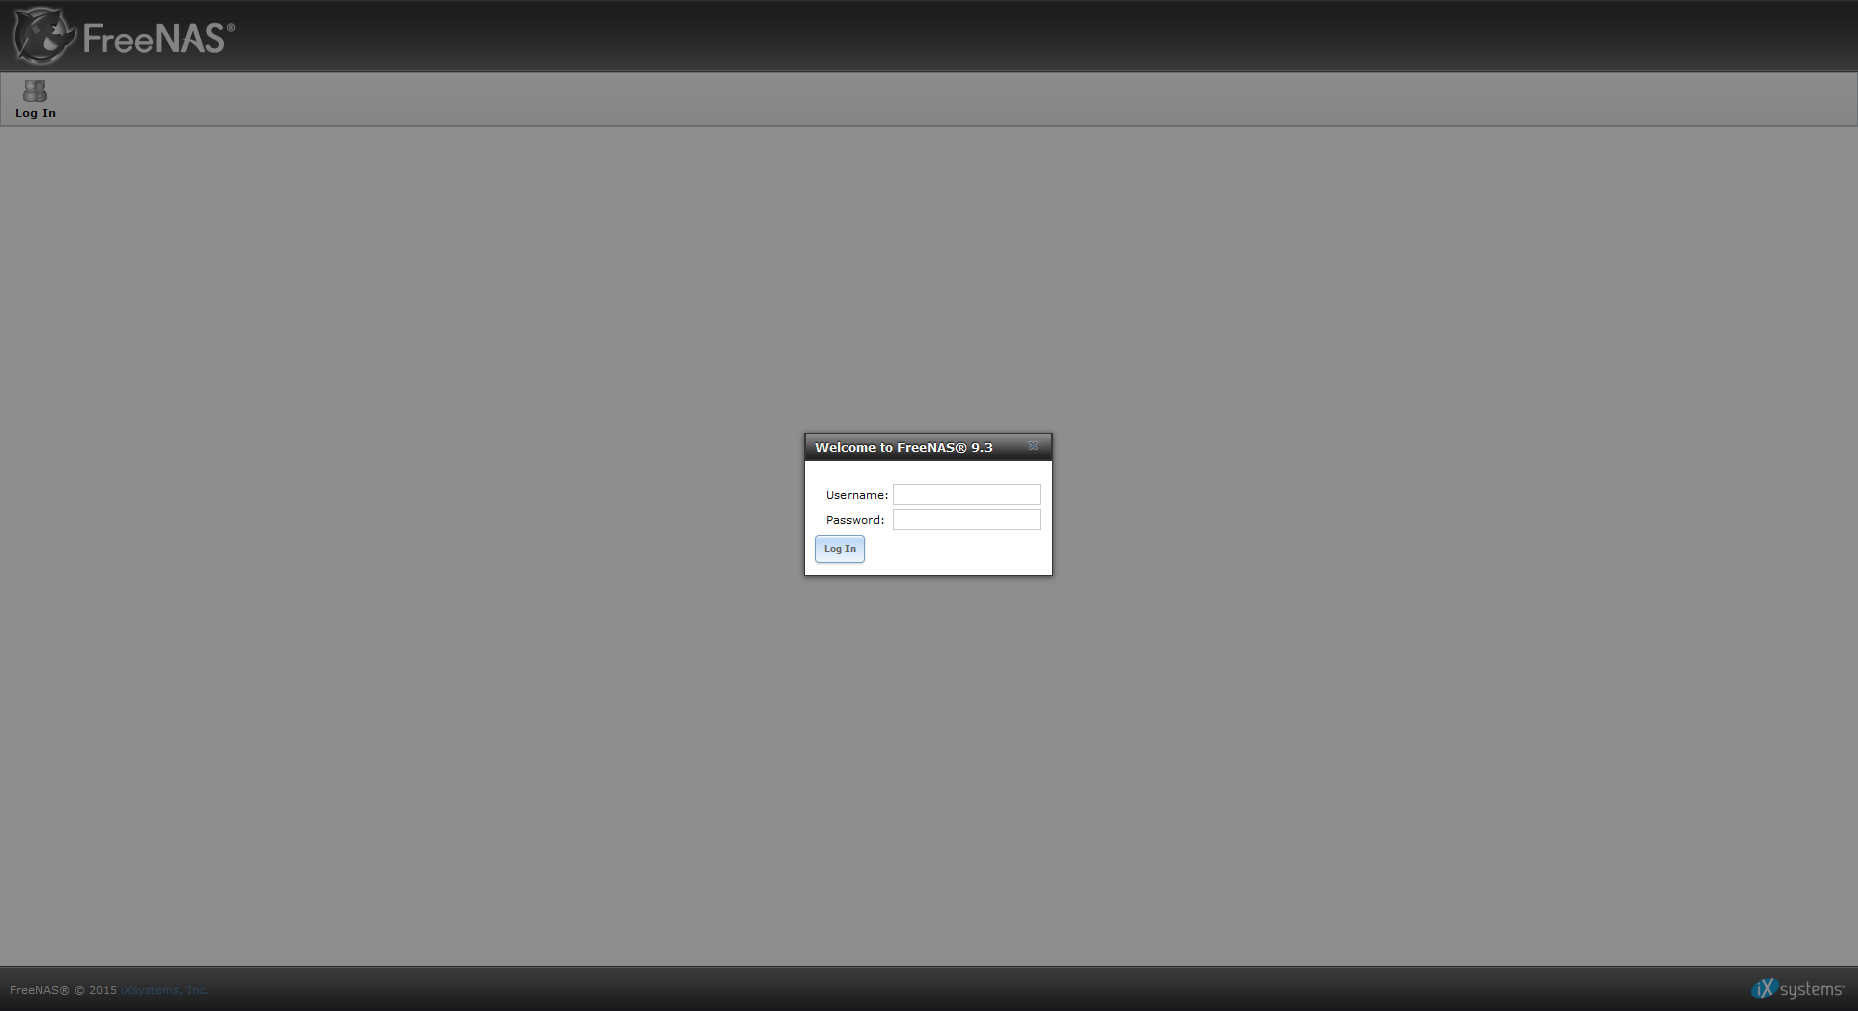
9) Web Interface
That's it! Go on another computer connected to your local network and point your browser to the address given by FreeNAS. If everything went the right way you will see this screen. From here use the username root and the password you set on step 4 to log in the web interface.
Image thanks to Martin Abegglen.
- 2020 A year in review for Marksei.com - 30 December 2020
- Red Hat pulls the kill switch on CentOS - 16 December 2020
- OpenZFS 2.0 released: unified ZFS for Linux and BSD - 9 December 2020


Recent Comments