Minikube: Try Kubernetes on Windows without headaches
Kubernetes is the leading container orchestration software. After winning the so-called container war, Kubernetes affirmed itself as the leader in its field. However Kubernetes is complex, really complex if you’re just getting started. If you want to try Kubernetes but don’t want to set up a real, full-blown cluster this solution is for you. Minikube is a great way to test Kubernetes capabilities without committing hardware to it. By using Kubernetes you will set up a virtual machine on your hardware, this vm will be your very own one-machine cluster and when you’re done you can simply throw it away.
Kubernetes on Windows, meet Minikube
Minikube is a quick and easy way to set up a Kubernetes cluster (What is Kubernetes?) in a single vm without committing hardware to it. With this setup you don’t need to worry about breaking things since you can tear up and start anew in a matter of minutes.
By installing MiniKube you will essentially download and install a Linux virtual machine configured with Kuberentes. it is hence highly discouraged to use it in production.
Requirements
- You need a machine capable of performing Virtualization.
- If you want to use HyperV, you need a compatible Windows edition (e.g. Windows 10 Pro. Windows 10 Home can’t.)
- At least 4GB of RAM (suggested).
MiniKube on Windows: HyperV or VirtualBox
The first thing you will need in order to begin is a hypervisor to run the Minikube virtual machine, you can either use:
- HyperV: the native Windows hypervisor.
- VirtualBox: an open source hypervisor by Oracle available on many operating systems.
Although the suggested hypervisor is VirtualBox you should be able to install it using HyperV without major issues, the default one is the former. In this tutorial you can use either one, I will assume you already have your hypervisor installed and running.
Getting Minkube and setting environment
Let’s start!
- First: download the Minikube executable, pick the one for Windows. The link takes you to the latest version, at the moment of writing this article the latest version was v1.10.0.
- Second: download the Kubectl executable for Windows. It is best to get the same version as Minikube. Unfortunately there’s no public release page, you will have to modify the link manually to change the version.
- Third: move both files in a subdirectory of C:\ it’s best to avoid other drives/network drives. I suggest you to extract it in the C:\minikube subdirectory.
- Fourth: add the path you chose to the PATH environment variable. You can do so graphically or using the following PowerShell command:
PS> [Environment]::SetEnvironmentVariable("Path", $env:Path + ";C:\minikube", [EnvironmentVariableTarget]::Machine)
Replace C:\minikube with the path you chose during the second step. Now that you have set the environment up, it’s time to install!
Installing Minikube
With the environment set, you’re just a few steps away from installing and using Minikube. Pick the steps associated with your hypervisor and open an elevated PowerShell prompt:
Enjoy Kubernetes with MiniKube
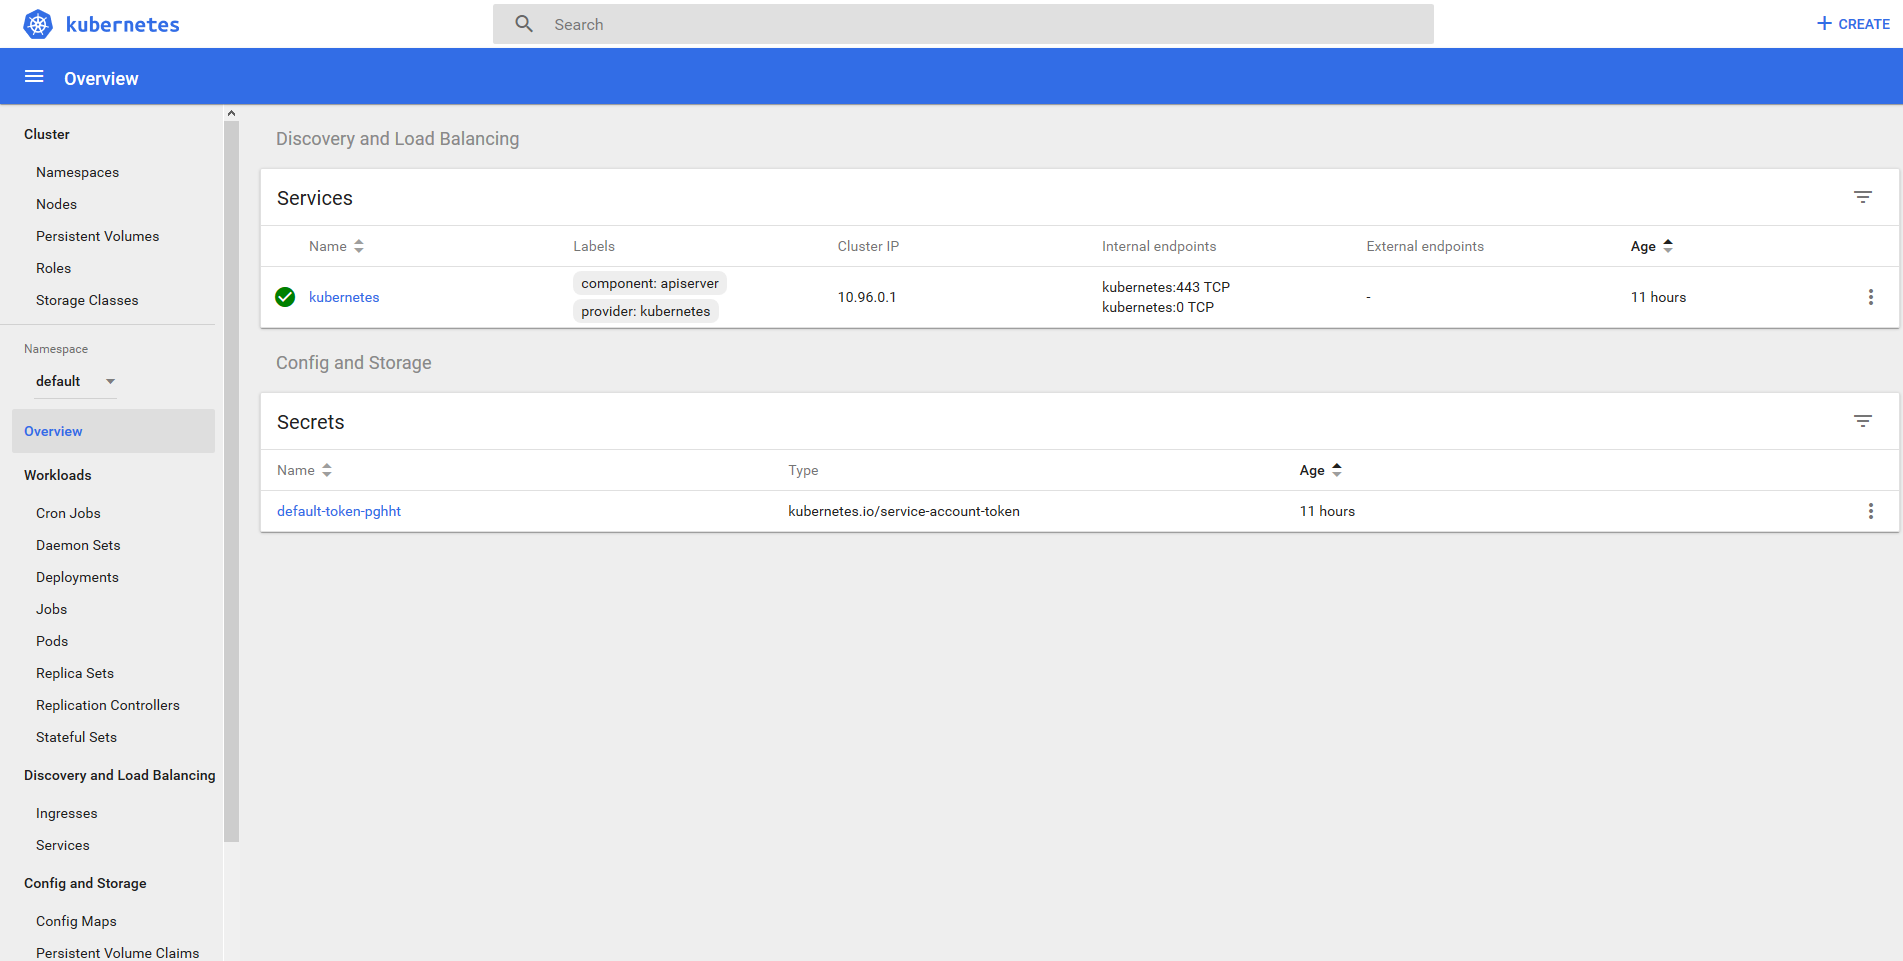
Congratulations! You just installed Minikube! You can now type minikube dashboard to open the Web UI in your default browser!
Accessing Kubernetes
Now that you have Kubernetes up and running, you can use the Web UI as well as the kubectl command line utility to interact with your Kubernetes installation. Remember you still have the minikube executable that you can use to control the Minikube vm.
Starting Kubernetes
PS> minikube start
Stopping Kubernetes
PS> minikube stop
Deleting (erasing completely) Kubernetes
PS> minikube delete
Deleting local Kubernetes cluster... Machine deleted.
- 2020 A year in review for Marksei.com - 30 December 2020
- Red Hat pulls the kill switch on CentOS - 16 December 2020
- OpenZFS 2.0 released: unified ZFS for Linux and BSD - 9 December 2020


Nice instructions, but I think the link and command to minishift is incorrect and should be minikube right?
Hello Coert, thank you. I adapted my minishift tutorial to this one, and probably overlooked some instructions because they look similar. I’ve fixed them.
Thanks Mark.