Building a reliable NAS – Part 2
This post is the sequel of “Building a reliable NAS – Part 1“. If you missed it be sure to check it out : )
Everything is ready
About one week later everything needed to start had been shipped including:
- 1x The Lenovo ThinkServer TS140.
- 3x Seagate Barracuda 3TB 7200rpm (I already had them).
- 1x HGST Deskstar NAS 3TB 7200rpm.
- 1x Kingston DataTraveler 100 USB2 8GB (I already had it lying around).
Now the Lenovo ThinkServer TS140 was equipped with 4GB ECC RAM, but I felt I needed more so I ordered a Crucial ECC DDR3-1600MHz Low Voltage 8GB RAM. I also ordered another Kingston DataTraveler SE9 2GB (about 5$). In the end the missing pieces were only the additional RAM and the spare USB. Here’s a full table of the costs:
| Component | Cost |
| 1x Lenovo ThinkServer TS140 | 270$ |
| 3x Seagate Barracuda 3TB | 100$ ea |
| 1x HGST DeskStar NAS 3TB | 130$ |
| 1x Crucial ECC Low Voltage RAM 8GB | 65$ |
| 1x Kingston DataTraveler 100 8GB | 15$ |
| 1x Kingston DataTraveler SE9 8GB | 5$ |
| TOTAL | 785$ |
A pretty good price in my opinion. Now you’re probably wondering why I haven’t bought another Seagate disk, aren’t you? Since a certain article published by BackBlaze highlighted how Seagate drives aren’t as reliable as we thought them to be, well I just decided to go for quality. HGST Deskstar NAS are said to be the most resilient and reliable disks on the market.
Build photos
-

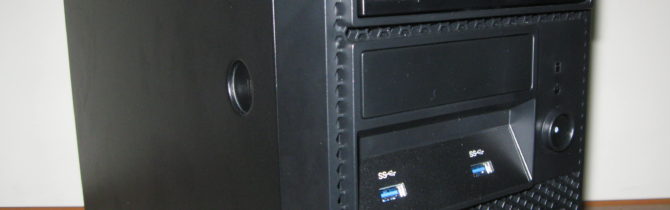
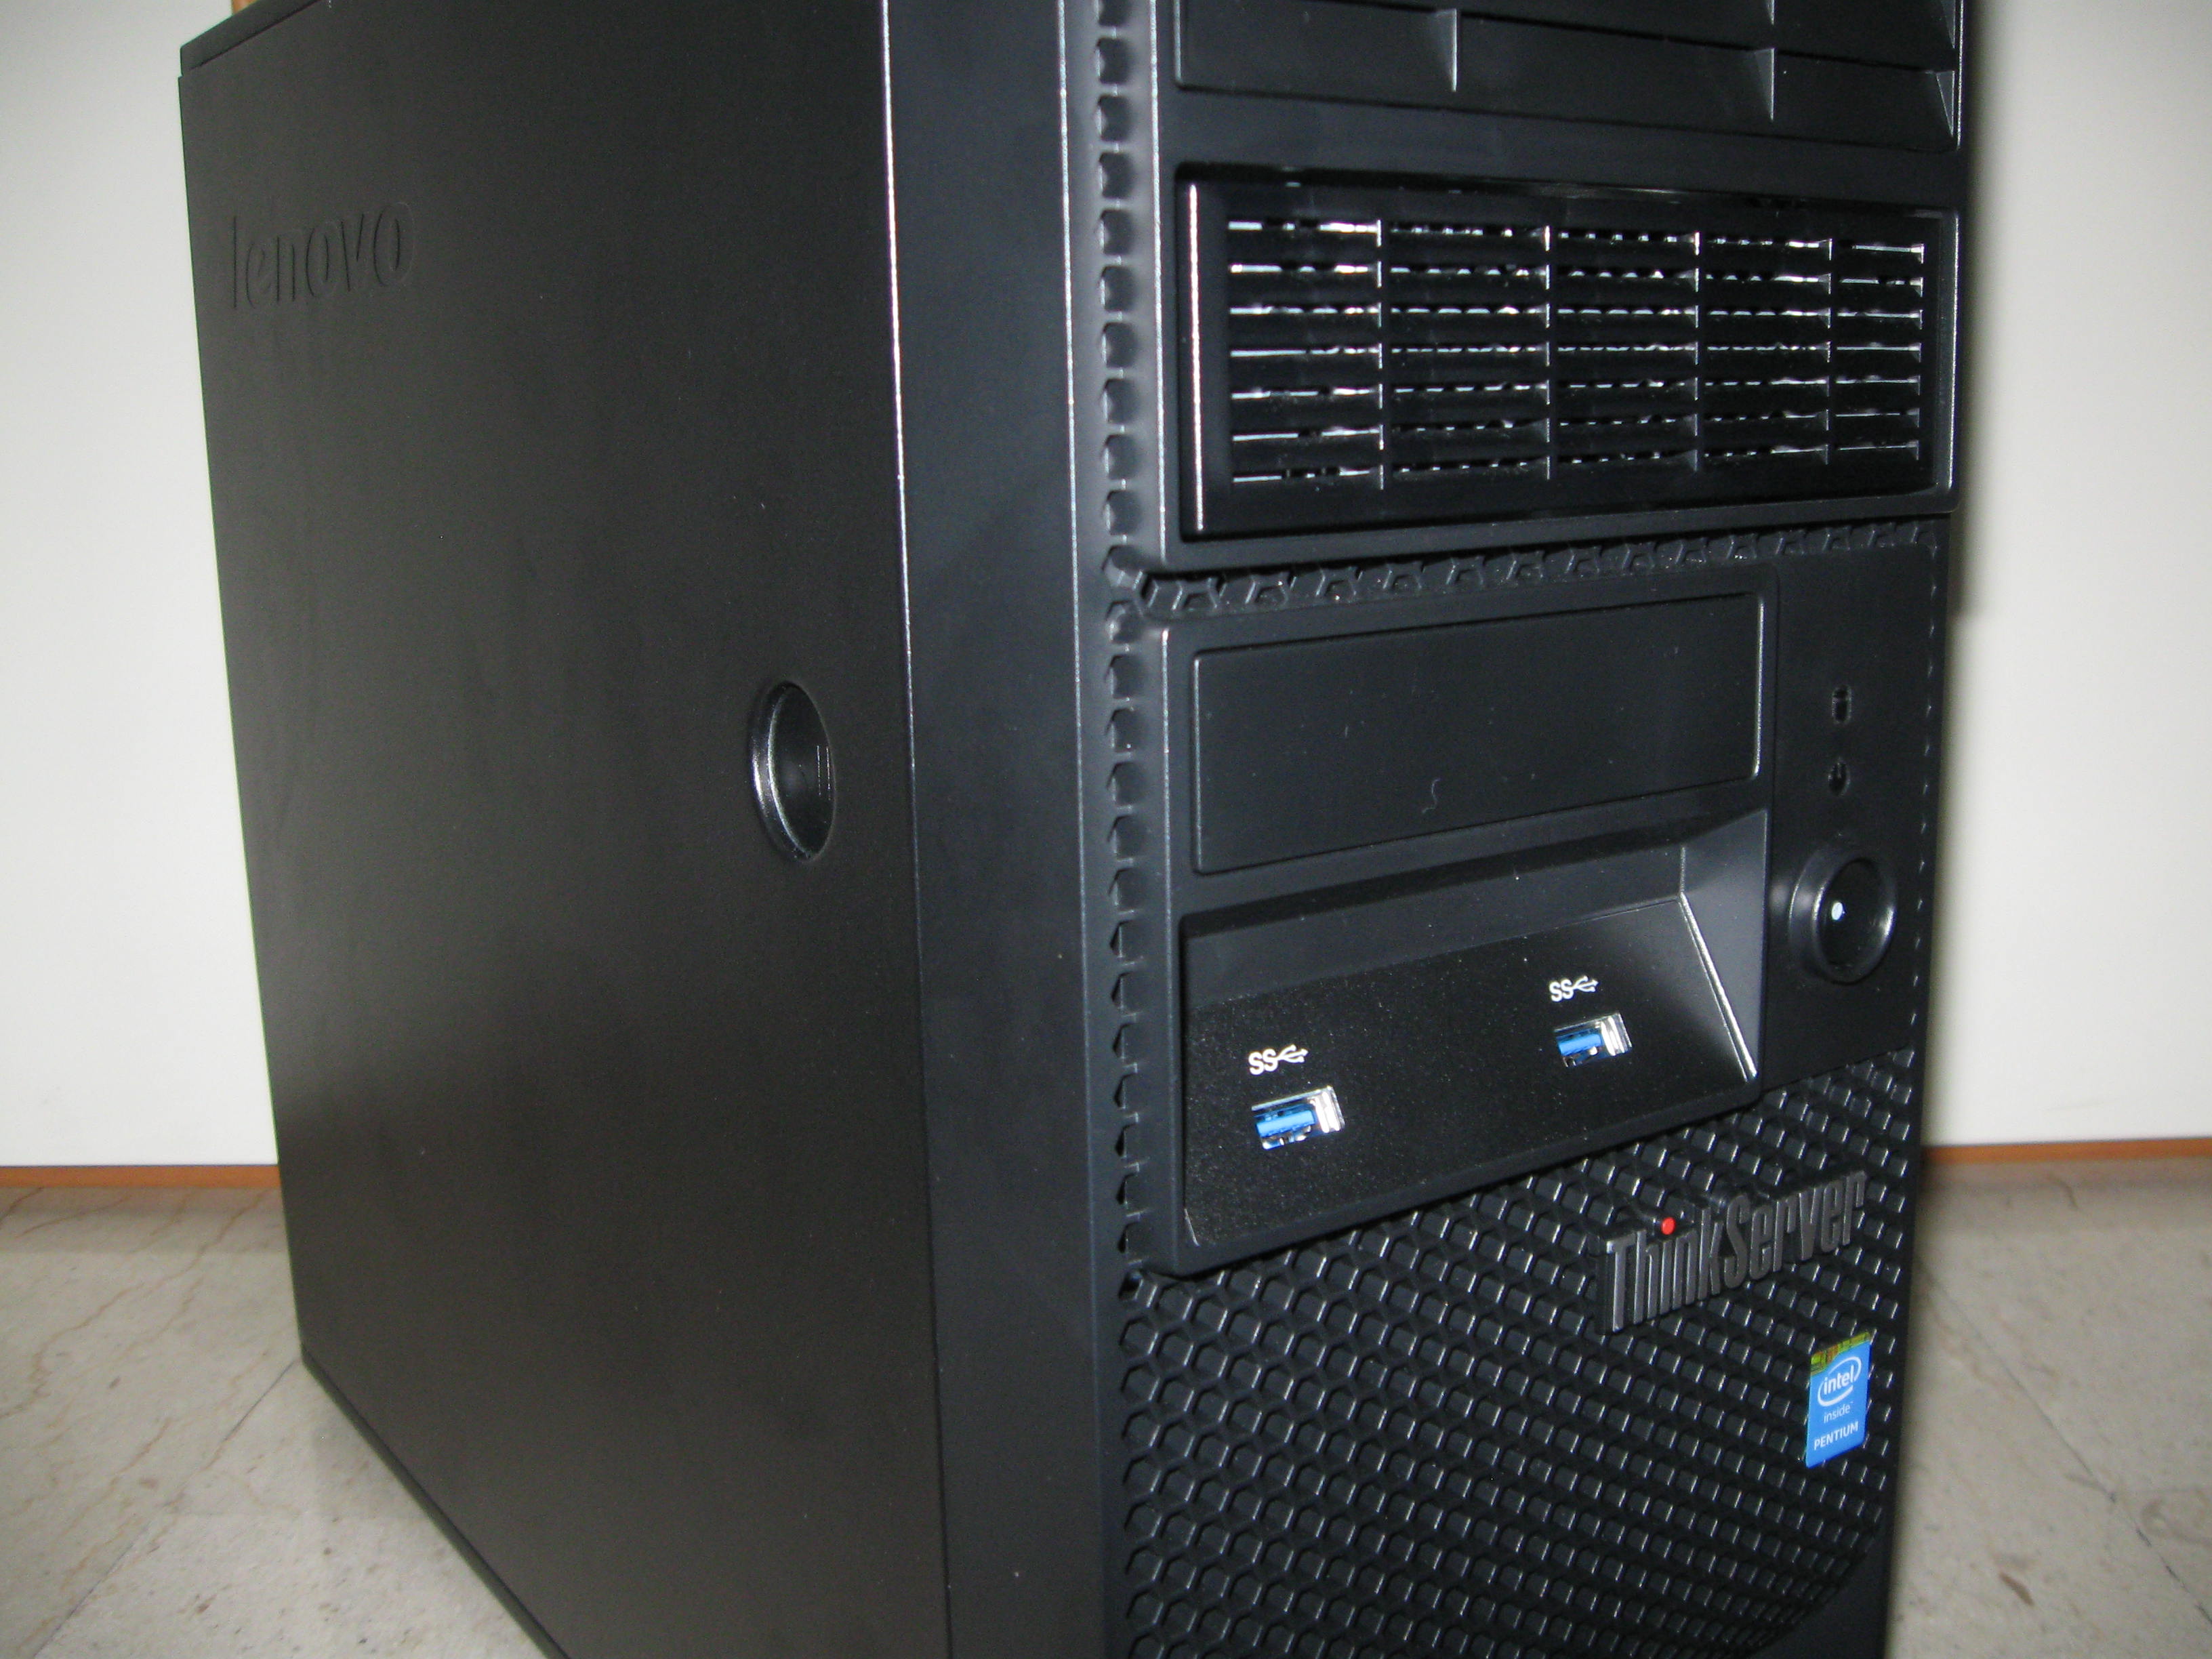
- Lenovo ThinkServer TS140 angle-look
-
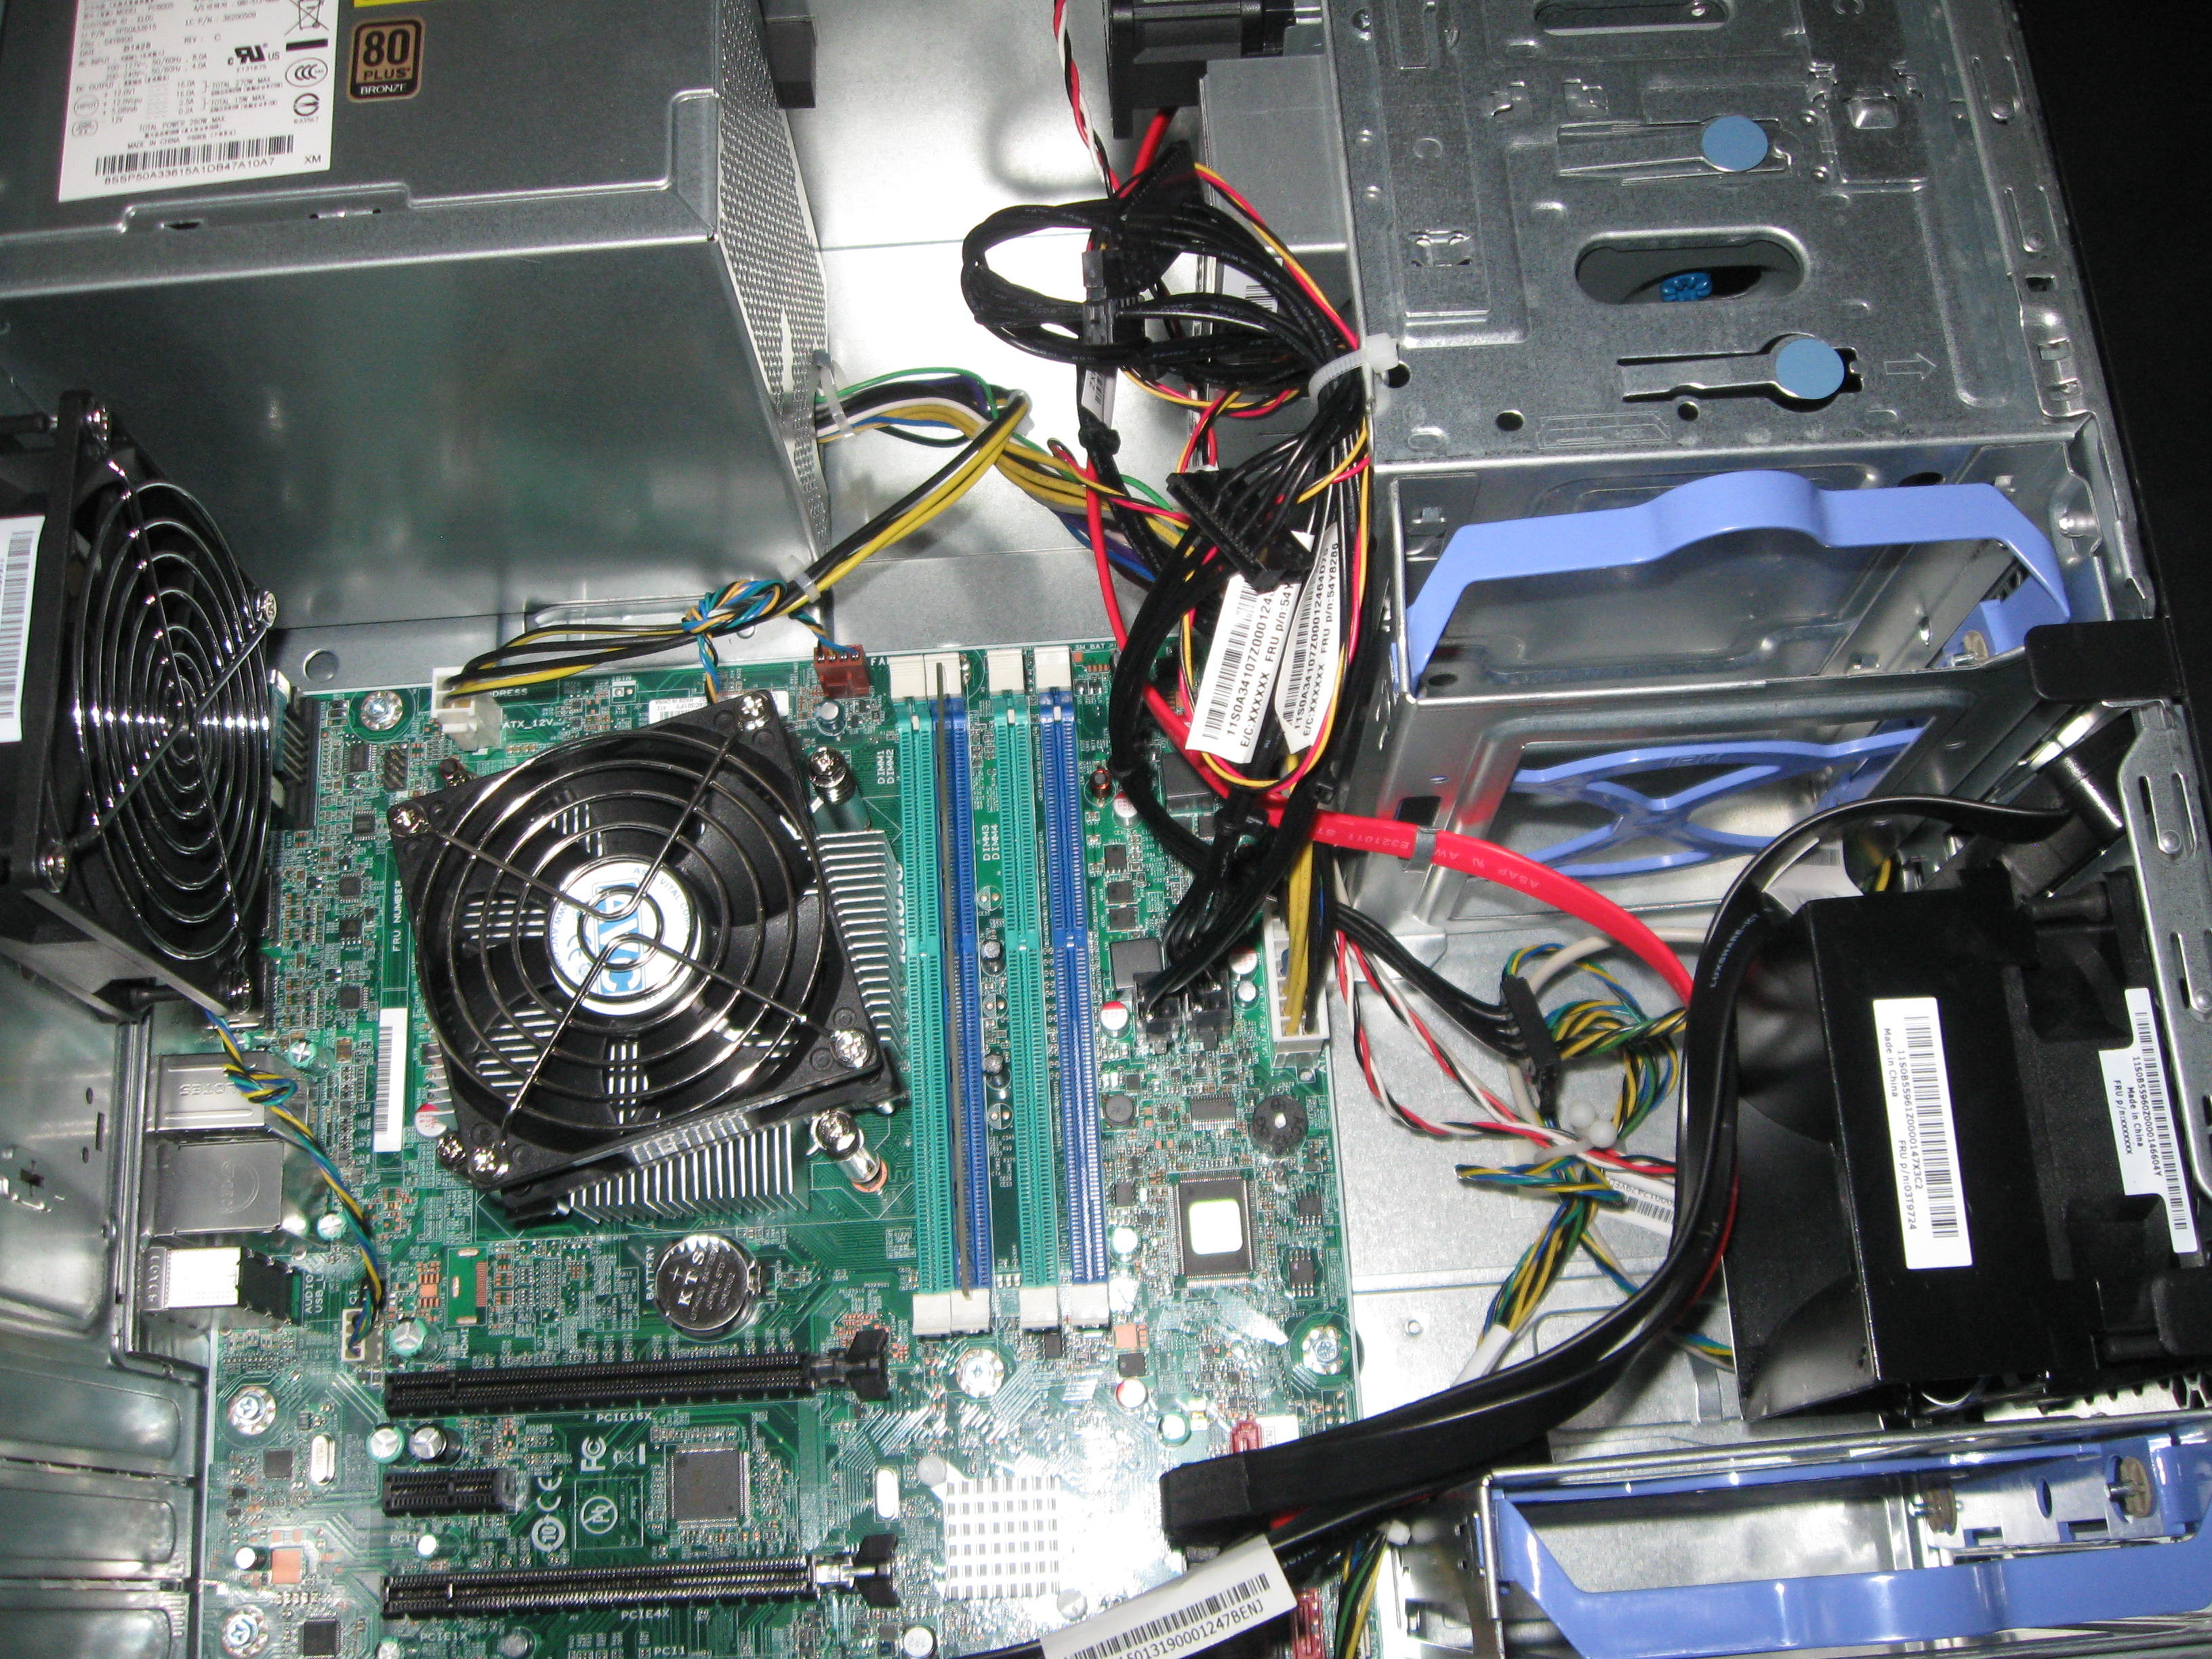
- This is how it looked like before adding the disks.
-
- And this is after the disks.
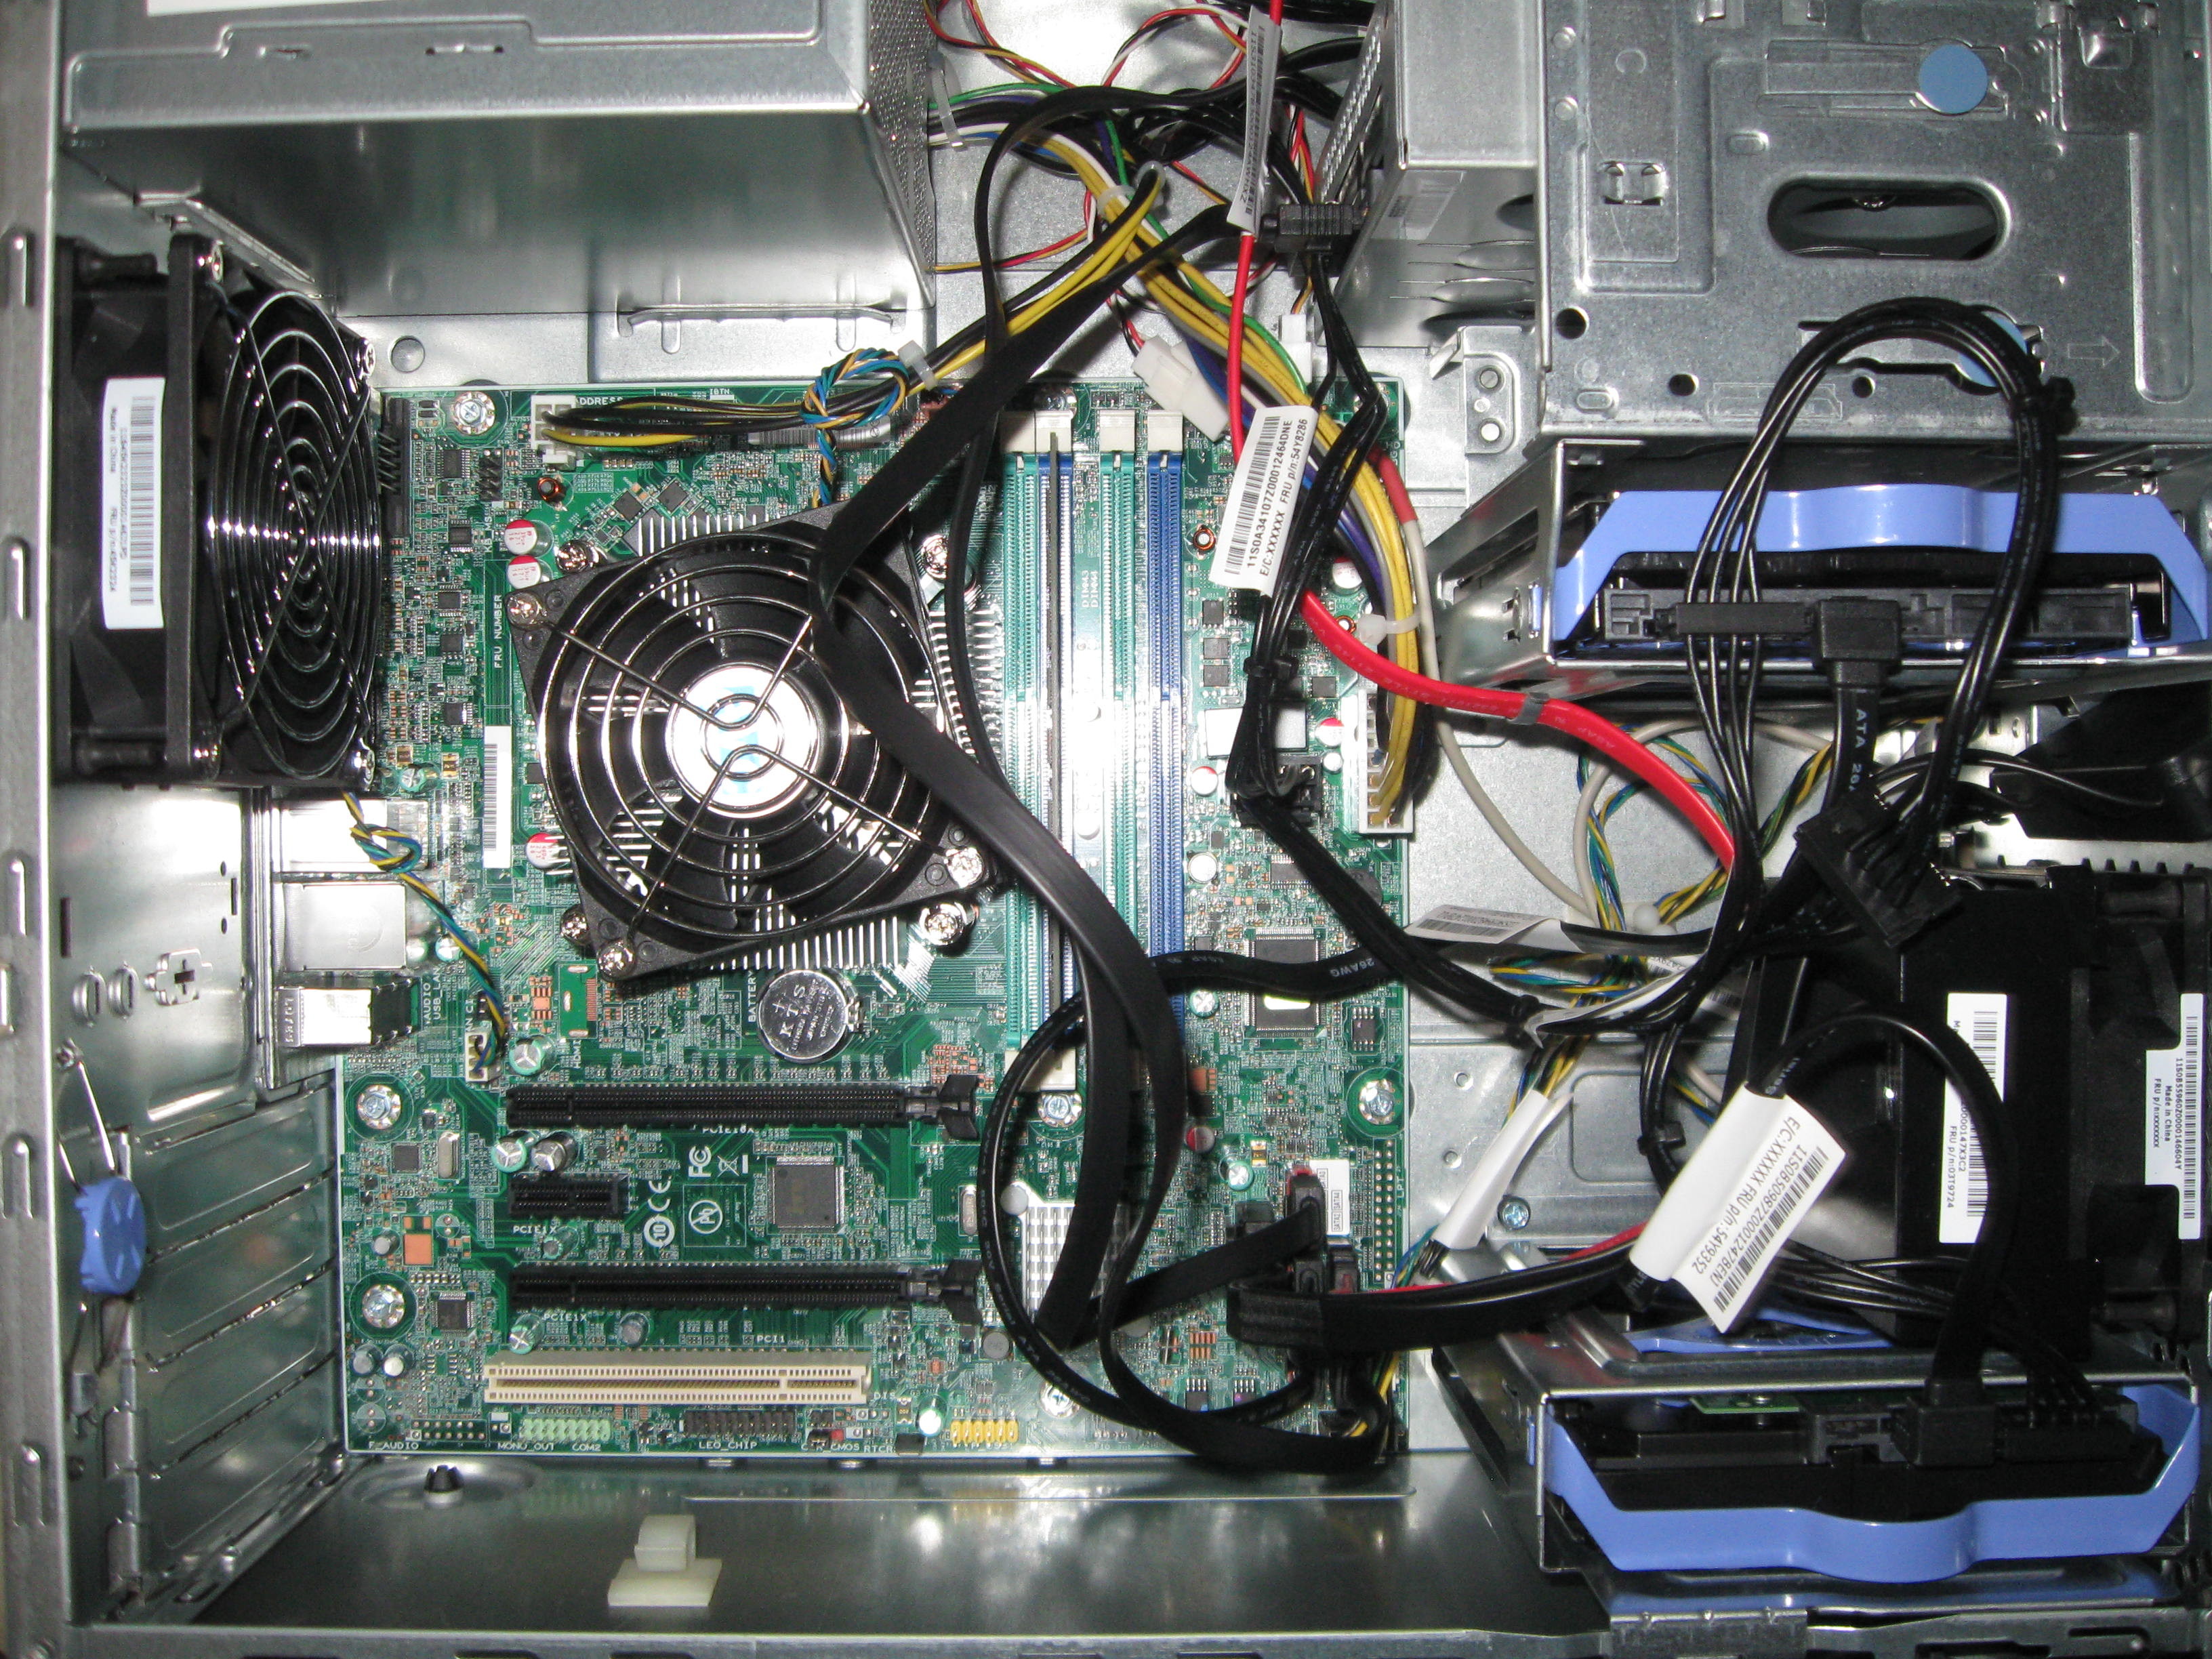
Now I found the disposition of the disks a bit awkward. The first two can be “easily” plugged in those sliders, however the two are pretty plastic and feel somewhat like they are bound to break with usage. Another disk has to be installed alongside the DVD drive in the 5.25″ bay. The installation requires the entire cage to be pulled out and is somewhat difficult (you will need a long screwdriver). The last disk is installed in the second 5.25″ bay, of course the entire cage has to be removed in order to complete the operation successfully. I would’ve liked to have 4 bays-with-slider things inside of the case instead of that fan/filter you can see in the pictures.
Installing & configuring
As I stated in my precedent post, I decided to install FreeNAS on the new server to make it reliable and avoid data corruption. I would’ve liked to use OpenMediaVault, however I still feel (personal opinion) that OMV+ZFS isn’t really ready to be used. I know many say that ZFSonLinux is stable and that the OMV ZFS plugin has reached good stability, still I’m paranoid. That said I installed FreeNAS 9.3 on the USB. After that I configured the static IP, accessed the web UI from another computer. That’s where I configured how ZFS should have used the 4 disks there on. I chose RAIDZ-2 which roughly means: 2 drives for data and 2 drives for parity. In this way I only get 6TB out of 12TB but even if two drives were to fail simultaneously I would still be covered and have all my data safe. I highly recommend avoiding RAIDZ-1 (with only 1 parity disk) and you can find here why. Long story short: when a drive fails in RAIDZ-1/RAID5 and you start rebuilding the array with a new drive, the chances for one of the two remaining disk to die during the process are pretty high.
After configuring the pool I created all the sub-volumes and migrated back the data that were on the 3x Seagate drives (yes I had to move ALL the data from those drives to another location), since ZFS doesn’t support building the pool from existing data. After this tedious process I configured the SMB shares and added a few users, and tell you the truth, it was a piece of cake. All of this done through the web UI, no command line. Also I could do all of this with “only” 4GB of RAM, ZFS didn’t swap but once (for about 3 minutes with 200M).
Conclusion
Now you know what are the details of building a home NAS with a Lenovo ThinkServer TS140. I also described what the TS140 strong/weak points are. Seagate drives may not be the best choice for reliability (still they’re pretty cheap); consider HGST instead. OpenMediaVault isn’t still ready to be entrusted with my data (personal opinion). RAIDZ-1/RAID5 is dangerous, don’t use it!
Be sure to stay tuned: in the next few weeks I will be using this NAS intensively to purposely test its power/capabilities and write back (in about three weeks/a month) a detailed report of each and every thing I tried.
- 2020 A year in review for Marksei.com - 30 December 2020
- Red Hat pulls the kill switch on CentOS - 16 December 2020
- OpenZFS 2.0 released: unified ZFS for Linux and BSD - 9 December 2020


Recent Comments