How to install Mageia 5 in 10 easy steps!

Whether you are an old user or a new one willing to try out this Linux Distribution, this guide is for you! Discover how easily you can install Mageia 5 on your computer now! If you’re interested take a look at Mageia 5 features.
Important: I take absolutely NO responsibility of what you do with your machine; use this tutorial as a guide and remember you can possibly cause data loss if you touch things carelessly.
Tip: During the whole installation there will be a help button that you can press in case you don’t know what to do.
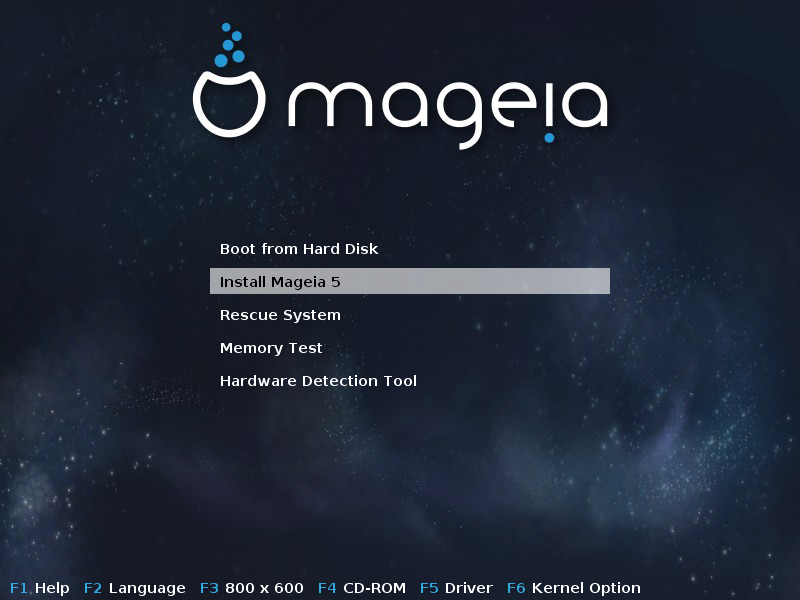
1) Boot from a support
The first thing you ought to do as always is create a bootable support from which to install. So go on Mageia site, download an image and burn it on a support. Beware, in contrast with other distribution it offers two version of images: installation and live. The first one will allow to install only while the second will allow you to test the distribution before installing. This guide will use the first image.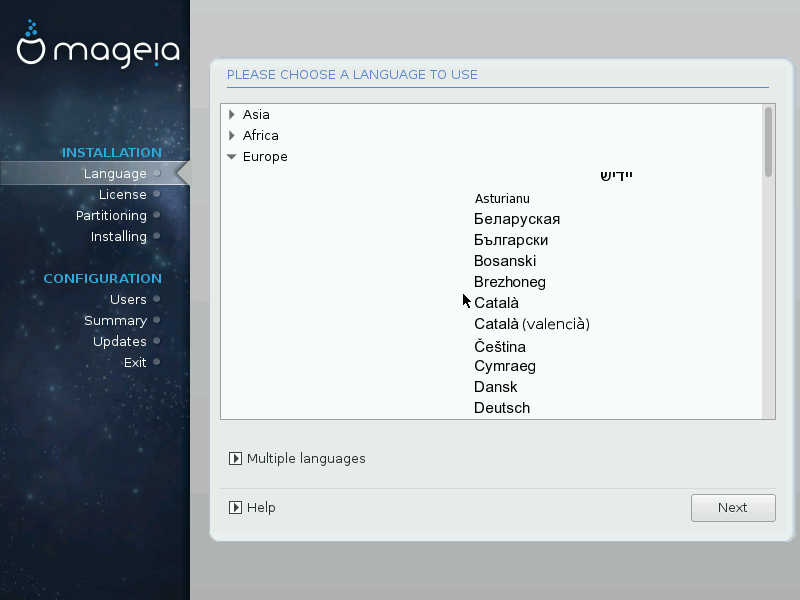
2.1) Select a language
Without further adds Mageia asks you to select your preferred language. You just need to specify which language you want to use. There's also an option to install multiple languages
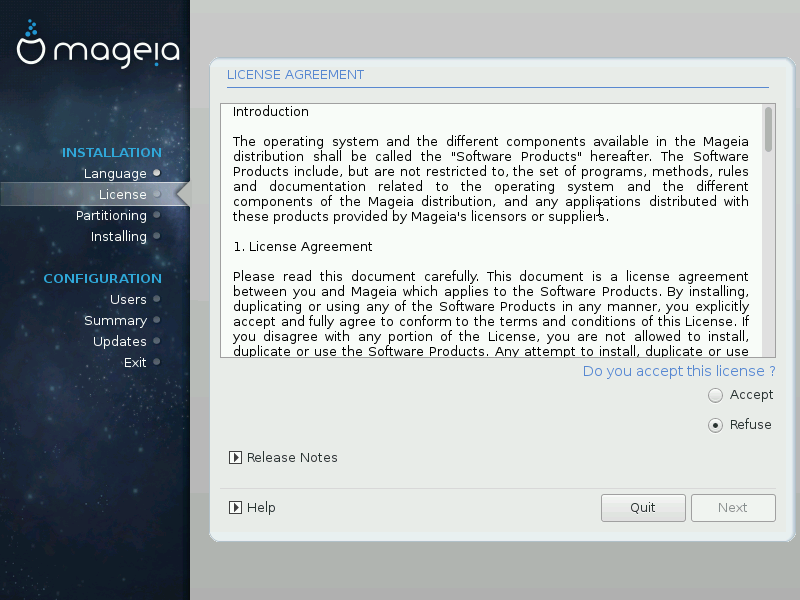
2.2) Accept the license
In this simple step you simply need to accept the license Mageia comes with.
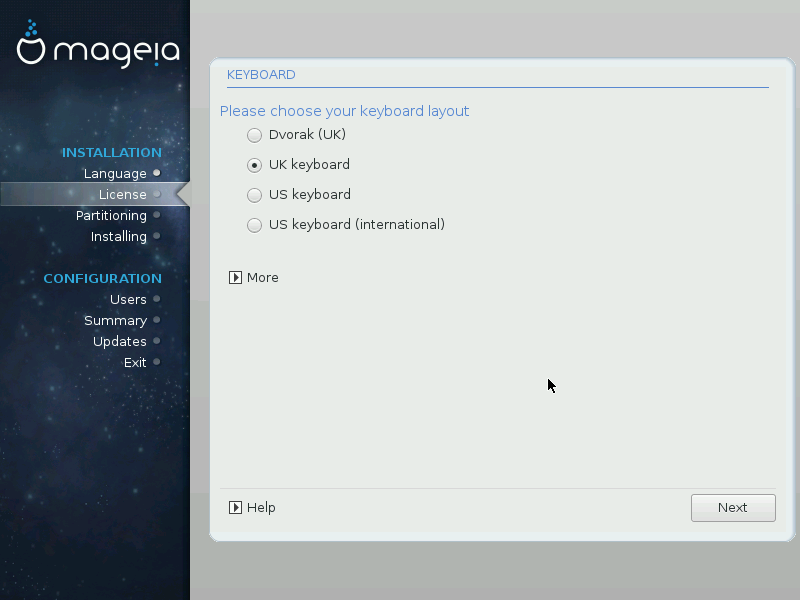
2.3) Select your keyboard
In this step you need to select your keyboard layout, pick the one your keyboard is physically built with or you will find yourself with a semi-functional keyboard.
3.1) Selecting devices
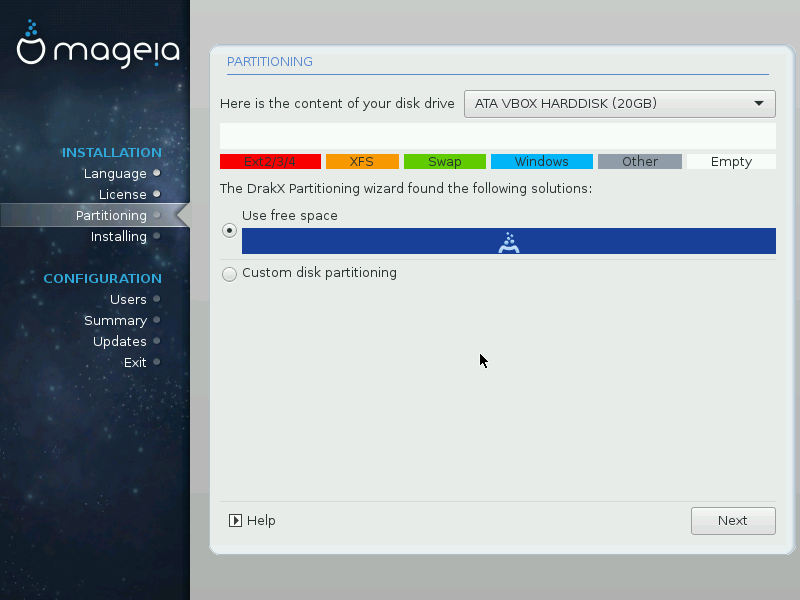
The next thing is to select a disk to install Mageia on. Beware this step can potentially cause data loss, do it at your own risk. There are two possible scenario in this case:- You have an empty drive.
- You have one or more OS installed.
BEWARE!: The disk will be modified right after passing this step, so review what you've done to correct potential mistakes.
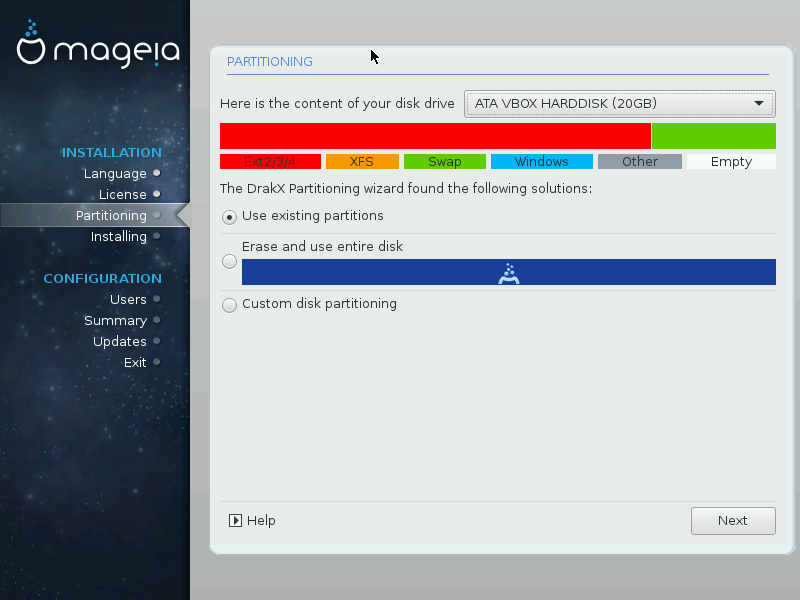
3.2) One or more OS installed
In this case you will have one or more OS already installed on the device you want to use to install Mageia. This will be the screen you will be facing, You can choose to use the existing partitions, to erase and use the entire disk or to customize.
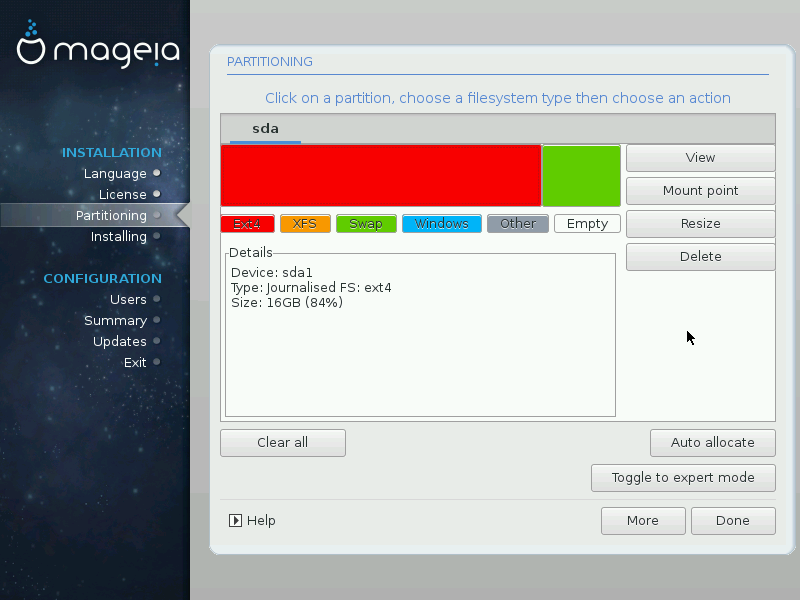
3.3) Custom partitioning
This step can be skipped if you didn't select custom partitioning. This is the interface that you can use to modify the existing partitions/create new ones.
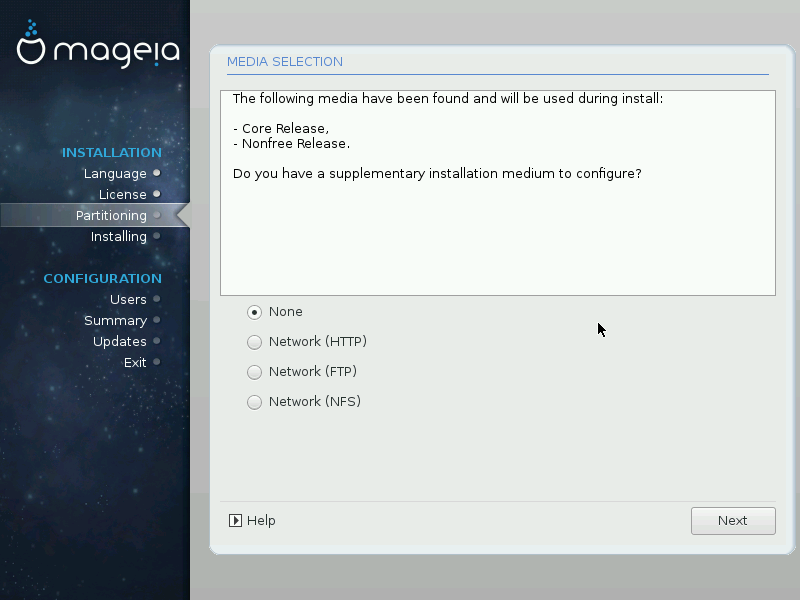
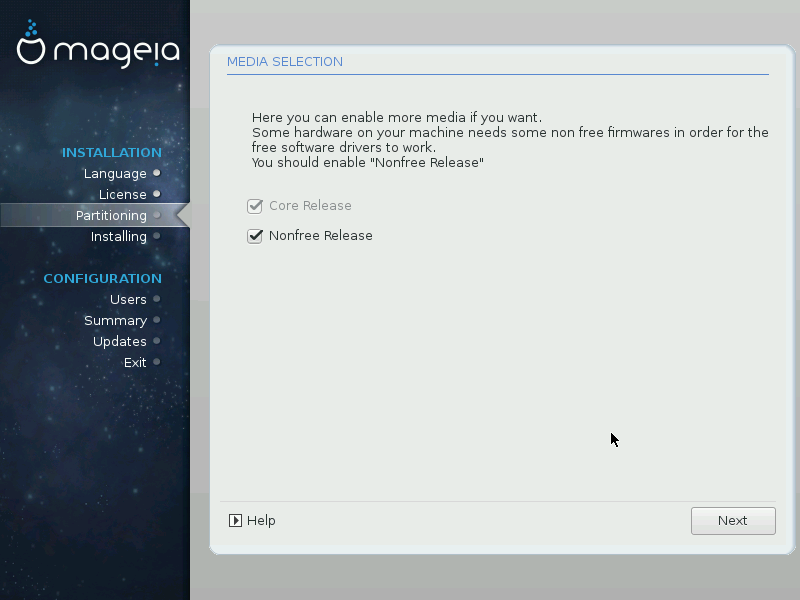
4.1) Media selection
In this screen you can select more sources from which to obtain packages to install. If you're a beginner or not interested (the local disk should suffice), you can just press Next.
4.2) Media selection 2
In this step you will review the choice you made in the precedent step, and you can decide to enable/disable the sources. Again, you can just go forward.

5.1) Desktop Environment selection
In this step you can chose the Desktop Environment you want to use. If you're a beginner I suggest you to select KDE or GNOME (which are Mageia's favourite). In the case you decide to select one of the other Desktop Environments, the next slide will help you.
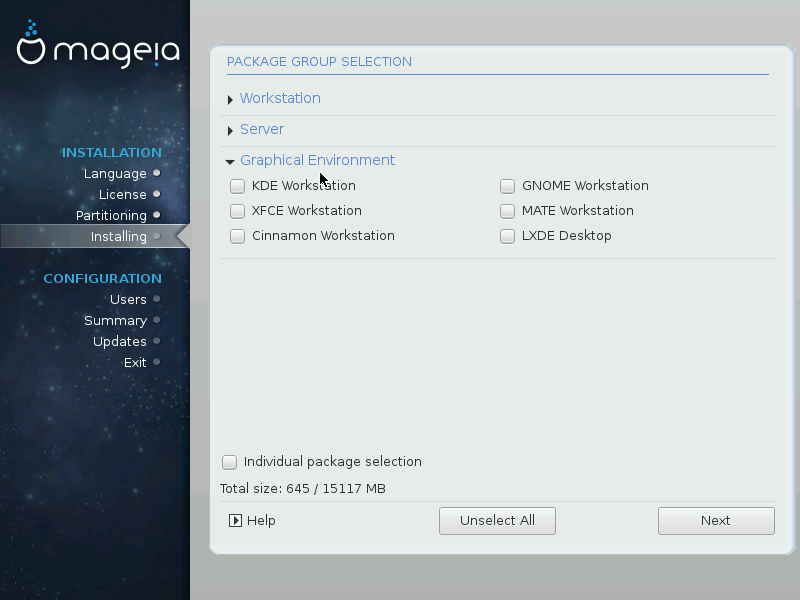
5.2) A different Desktop Environment
In the case you want to select a different desktop environment from GNOME and KDE, this will be the screen you will see. Just select the one you like, but be careful! You also have to select the package groups you wish to install. The next slide will clarify.
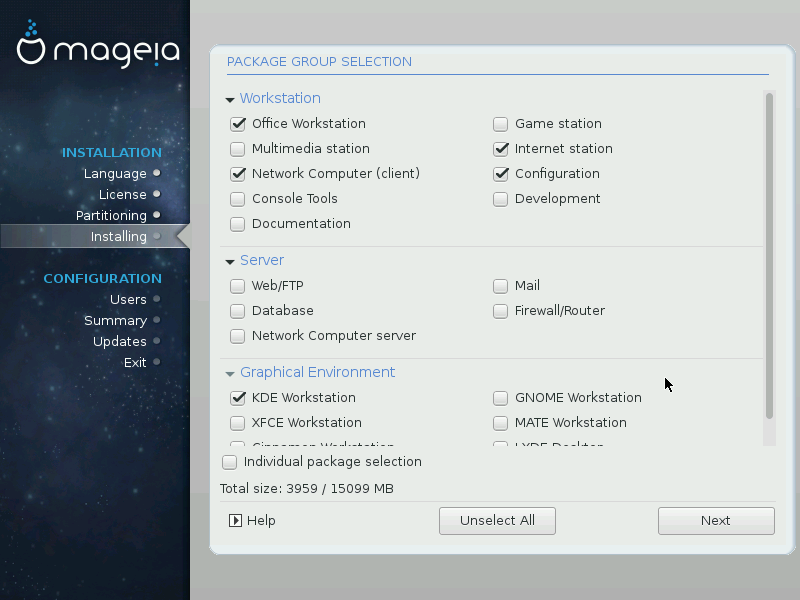
5.3) Package selection
This is a sample configuration for a workstation. Notice I could select KDE even though I didn't select KDE in the step 5.1. I suggest you to select the same packages for the Workstation settings; if you're willing to customize a bit, you're welcome.
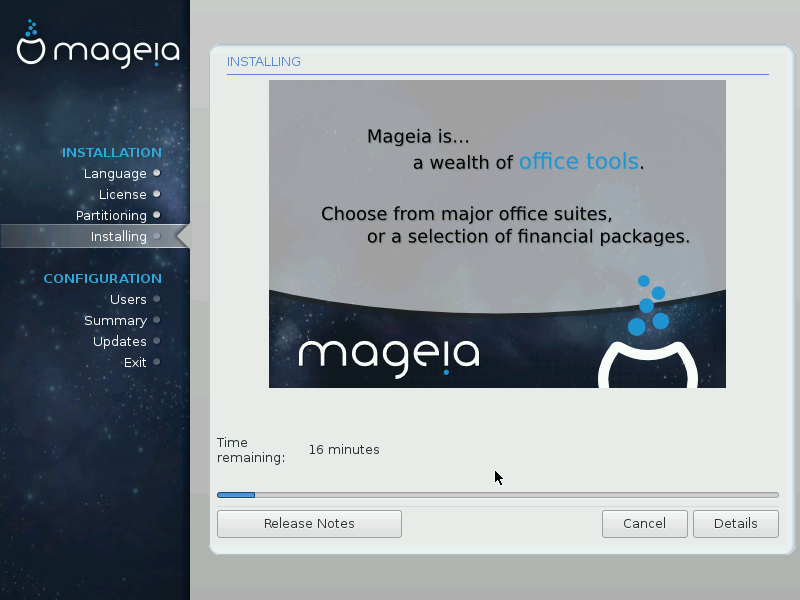
6) Installing!
Go grab your coffee and be prepared to wait, this is the installation step. You just need to wait, or alternatively watch the log enchanted by its magic. But beware! Installation is not over!
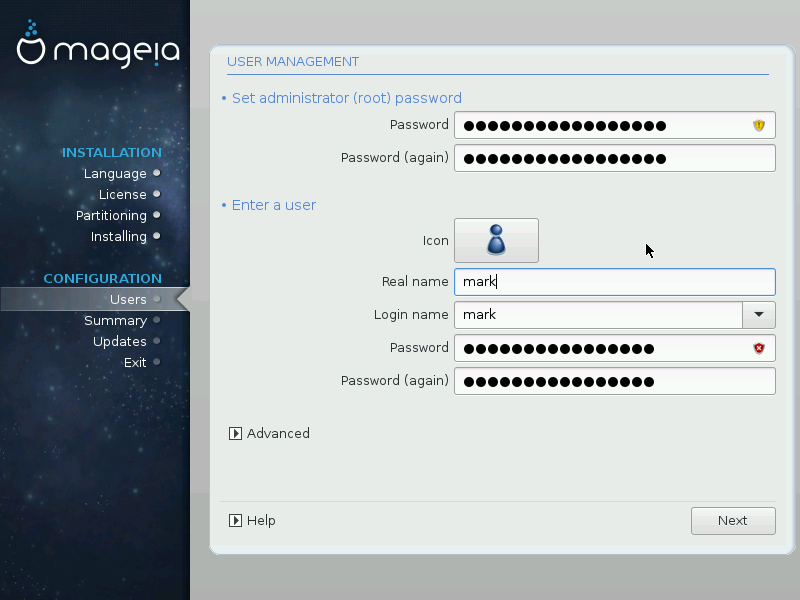
7) User configuration
In this step you need to configure both your account and a root. Be careful to remember both password! If you lose them it can be a trouble to recover them if you're not an advanced user!
From the Advanced option you can choose UID and GID of the newly created user.
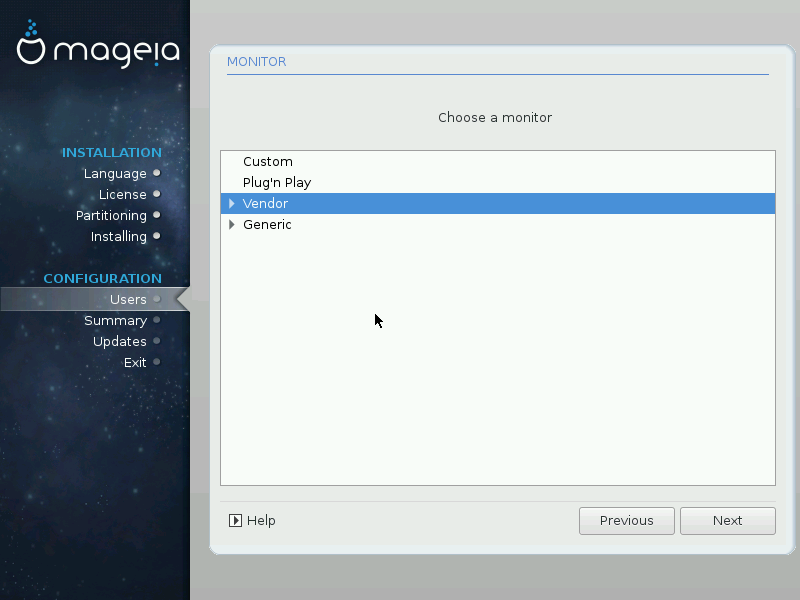
8) Monitor
Strangely enough you need to specify which monitor you're using. I suggest you to pick the one you have from the list, if that's not possible select Plug'n Play.
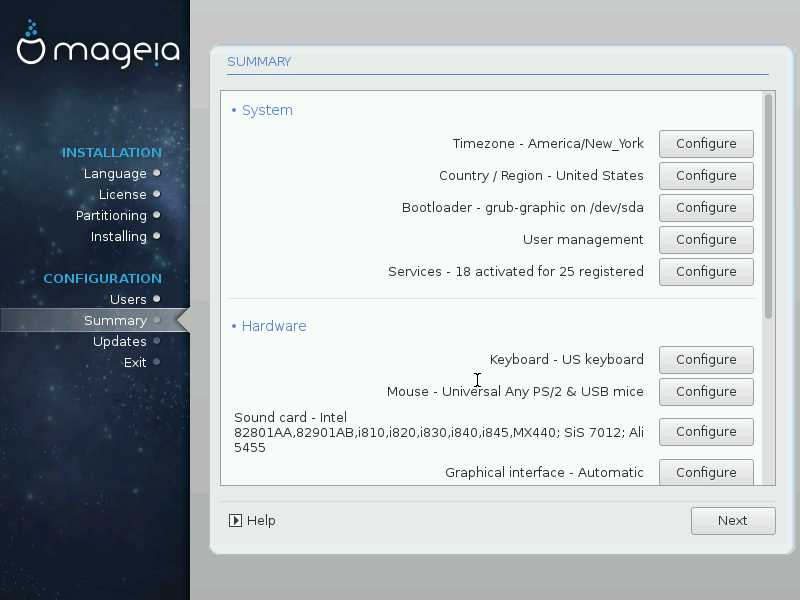
9) Summary
This is a summary of what you've done up until now. If you're willing to change something you did can do it in this step.
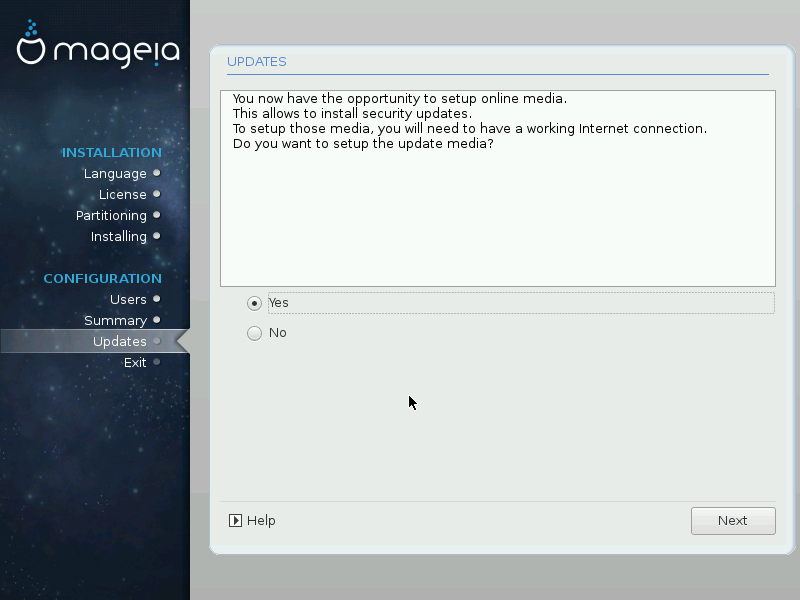
10) Updates
In this step you're just prompted to whether you're willing to update your freshly installed system or not. If you want to, remember you need a connection to Internet. This process can take a while, but can also be accessed once the installation is over directly from Mageia.
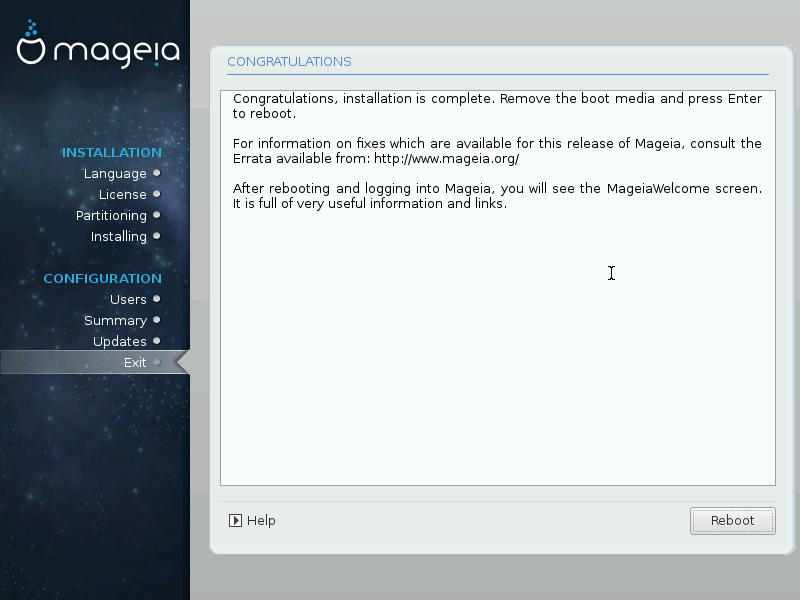
Done!
Everything done! Your new Mageia 5 is installed! Once you reboot you will find yourself with a welcome menu that will explain you how to use the system/what to do from now on!
That’s it! I think Mageia’s installer is still too clumsy and can’t compete with Ubuntu’s or Fedora’s. In the end Mageia is just a fork of Mandriva which has recently been shut down, and its community (which is the principal the developer) isn’t that small. I think we’ll see interesting developments in the future.
- 2020 A year in review for Marksei.com - 30 December 2020
- Red Hat pulls the kill switch on CentOS - 16 December 2020
- OpenZFS 2.0 released: unified ZFS for Linux and BSD - 9 December 2020


Recent Comments