How to get started with Docker on Windows
Containers are one of the most in-demand technologies nowadays and Docker is its spearhead. Although Windows doesn’t support Docker containers natively it is possible to run the Docker Engine on Windows, let’s take a look at how to do it.
Docker CE vs Docker EE
There are two versions of Docker available:
- Community Edition: includes all core functionalities but doesn’t include professional support.
- Enterprise Edition: includes all core functionalities plus a few enterprise ones and it includes professional support.
Unless you need the EE for work, the CE will work fine for you and it is the one mentioned in this guide.
Prerequisites
There are two different ways to install Docker on Windows:
- Docker for Windows: the most recent version of Docker, running on Hyper-V. If you want this one you will either need Windows 10 Pro or Windows 10 Enterprise.
- Docker toolbox: the older version of Docker for Windows, it is suggested only when your machine doesn’t meet the requirements of Docker for Windows. It runs on VirtualBox and works with Windows 7 and above.
Additionally you will need, in both cases:
- A 64 bit installation of Windows.
- A CPU with hardware-assisted virtualization enabled.
Docker for Windows is the best choice if you have the software, use Docker Toolbox only if you can’t use Hyper-V or you don’t have a Windows version supporting Hyper-V. Pick your desired tutorial, but don’t use both on the same machine (Hyper-V and VirtualBox won’t run together).
Installing Docker for Windows
First you need to install and enable Hyper-V. Secondly you need to download the software. The company has recently hidden the download behind a login page, but for the time being you can use this link. Once done you can simply follow the wizard to install the required software and you will be ready to go. To run the application simply search Docker in the start menu.
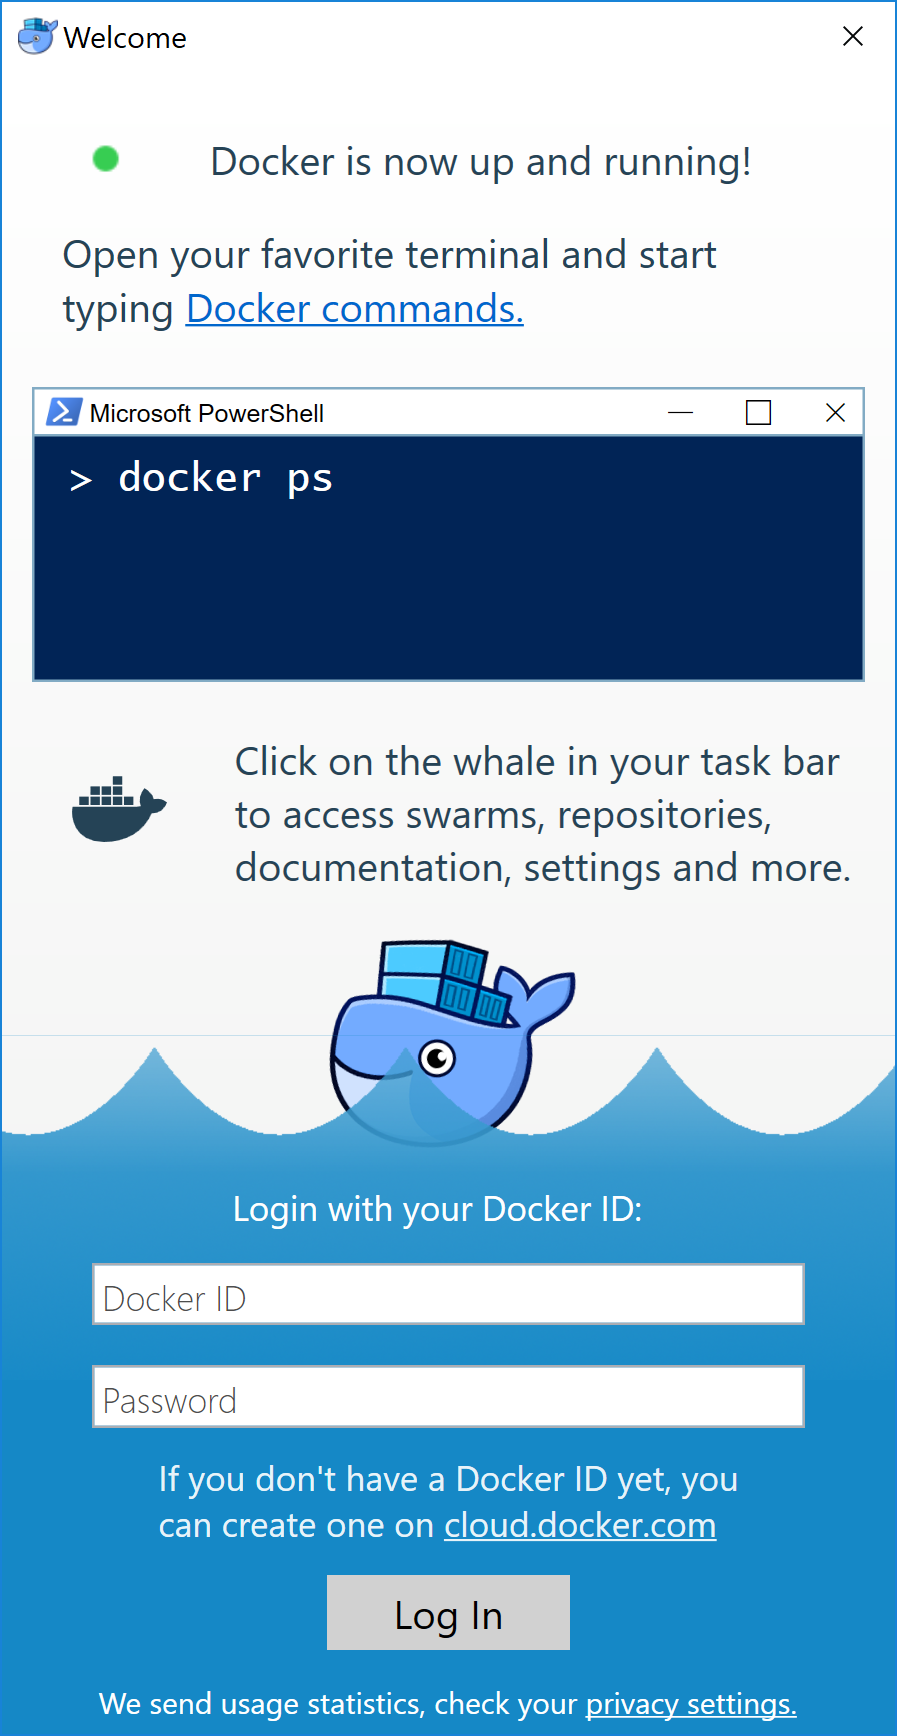
Once you start the application, a Docker Engine will be automatically downloaded and installed inside a Virtual Machine. When the light will turn green you will be ready to go. The Docker CLI is now available within PowerShell or your favorite terminal. To control the Docker Engine a tray icon will be available in your tray area.
Installing Docker Toolbox
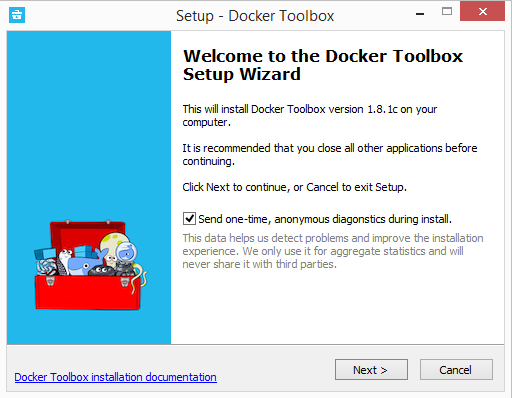
Docker Toolbox install wizard
Firstly you need to download the Docker Toolbox. Once you have downloaded the software simply run it and follow the wizard, it will automatically install VirtualBox and all the needed tools to run and manage Docker. You can optionally select to install Kitematic, an application that eases Docker adminsstration for Windows users. Once the installation is over you can run the launcher Docker Quickstart from your desktop.
The application will automatically download and instantiate the Docker Engine within a VirtualBox VM. Once the process is over you will get a prompt from which you can issue Docker commands. From here on you can access that same prompt launching Docker Quickstart again.
That’s it, what now?
Installing Docker on Windows is pretty difficult compared to Linux, but thanks to Docker on Windows and Docker Toolbox much of that complexity is taken care of. Now that you have Docker you might want to play around with containers, here’s a few articles that might help you get started:
- Docker Basics
- What is Docker Swarm?
- A comprehensive guide to Dockerfiles
- Docker compose: what is it? How can you use it?
- 2020 A year in review for Marksei.com - 30 December 2020
- Red Hat pulls the kill switch on CentOS - 16 December 2020
- OpenZFS 2.0 released: unified ZFS for Linux and BSD - 9 December 2020


Recent Comments