How to install CentOS 8 (graphical installation)
CentOS is the Community Enterprise Operating System, it aims to deliver rock-solid stability for production usage. CentOS is binary-compatible with RHEL, the leading Linux enterprise operating system. CentOS 8 was released on 24th September 2019, learn today how to install it!
What’s new in CentOS 8?
Here’s an article which highlights new features and changes in CentOS 8 and CentOS Stream.
How to install CentOS 8
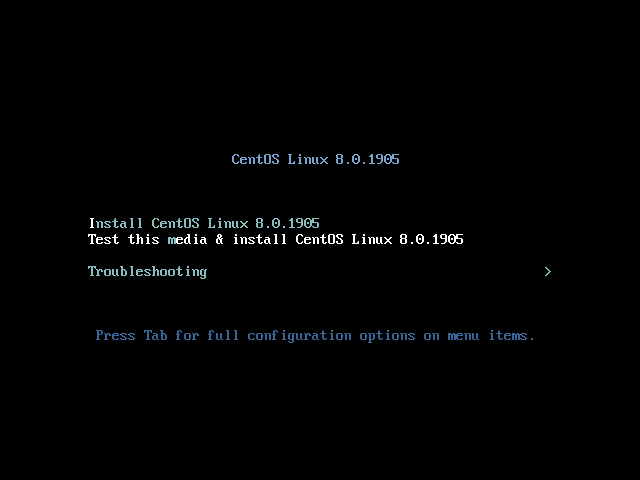
1) Boot from a support
The first thing you have to do to proceed with the installation of Fedora 31 is boot it from a support (CD/DVD and USB Pendrives are today the best options), you can follow this guide to create a bootable disk/usb on any operating system. Once you have your support, reboot your machine, select an option like “boot options” or “boot priority list” and select your support, in this way you should see this screen. You can either test the media or install the operating system right away.
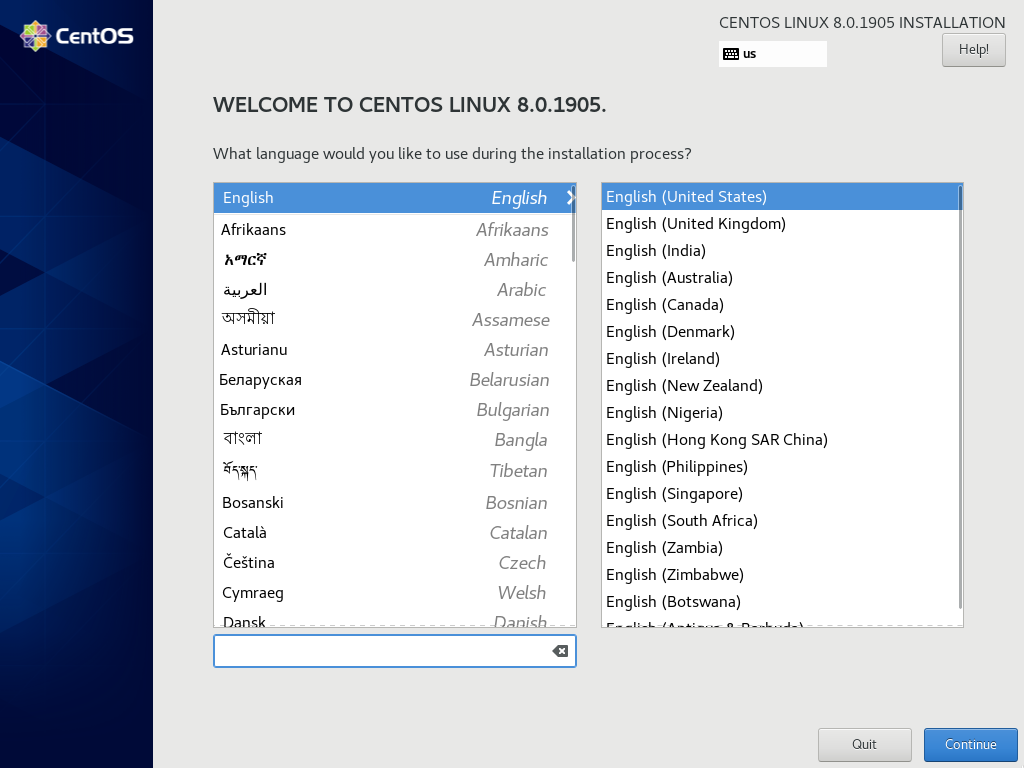
2) Language selection
In this step you just need to select your preferred language and keyboard layout during the installation. Selecting your language here will affect only the installation, and you can always change system’s language after the installation.
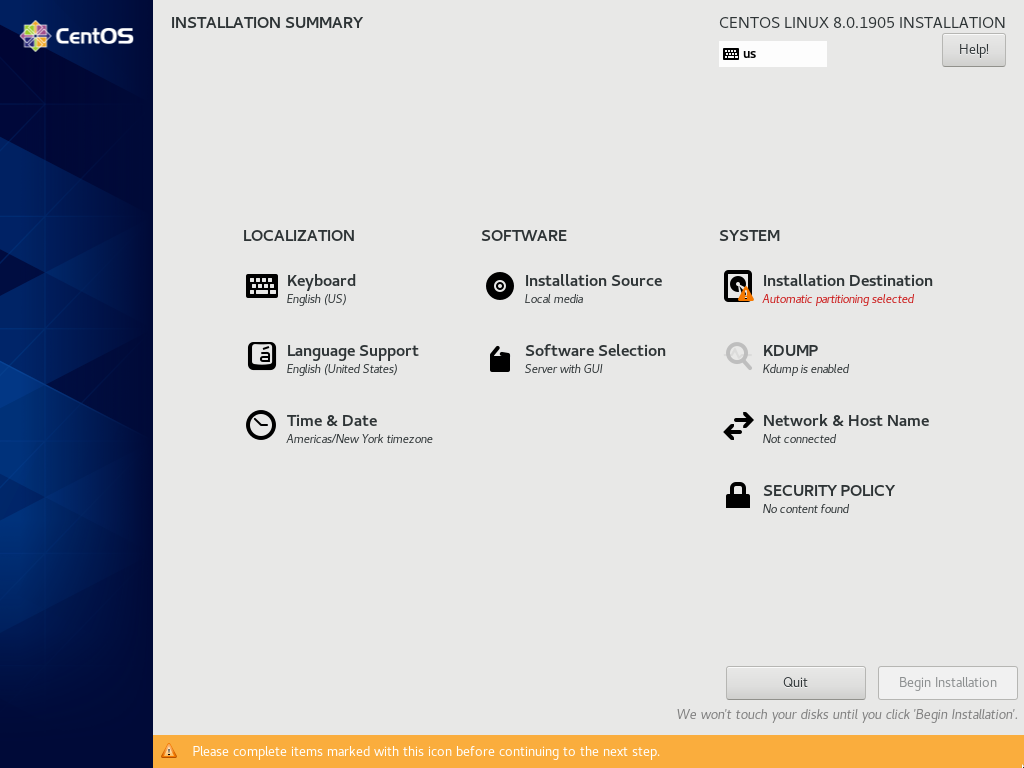
3) The hub
This is the hub of the installation that will guide you through the basic configuration. Also, until you click “Begin Installation” there won’t be changes happening on your computer. So be relaxed and don’t panic. I will review each step of the hub excluding “keyboard” which should have been set on the second step.
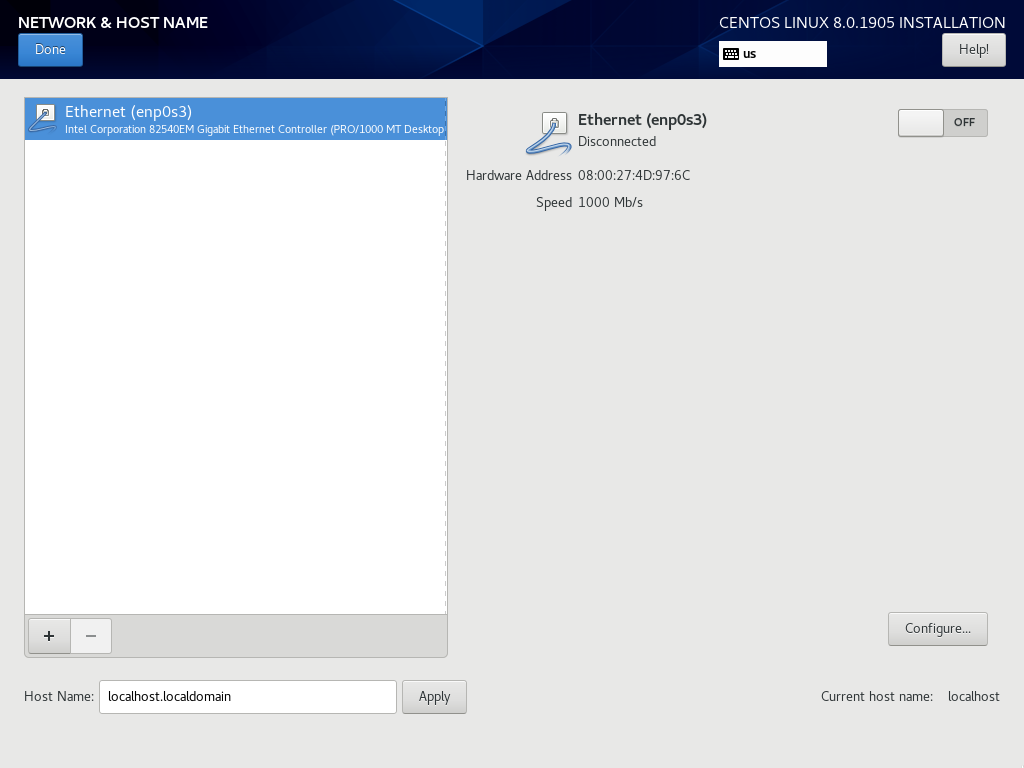
4.1) Network & Hostname
In this step you can set up your machine's hostname and configure your system network interfaces. I assume you already know you way around basic networking.
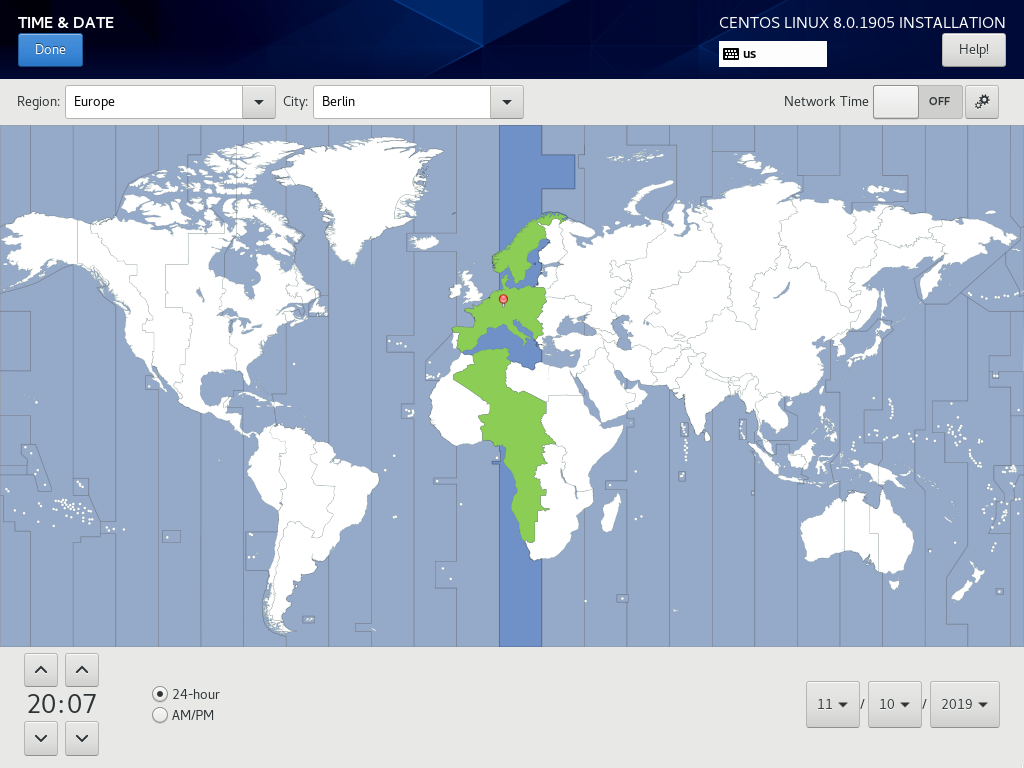
4.2) Date & Time
By clicking on Date & Time, this will be the screen you’ll be facing. Just select your time zone and set your current time. If you have selected (and I suggest you to) Network Time, time and date will be retrieved from the Internet. If you have no Internet connectivity, disable it by switching off the switch on the top-right corner.
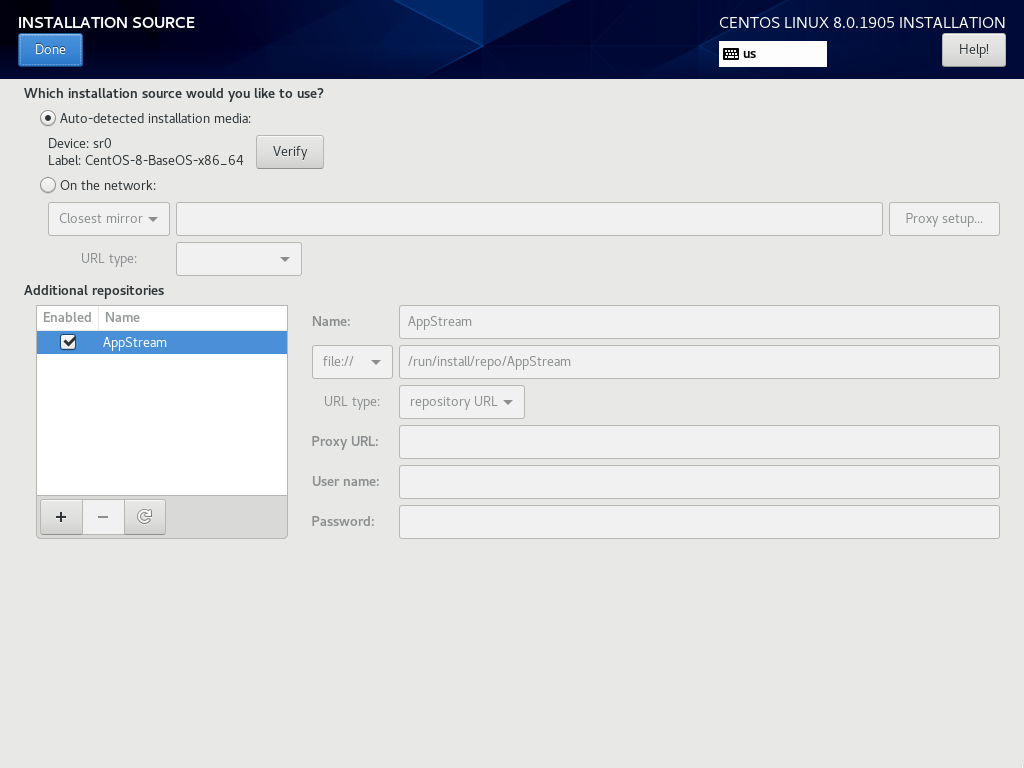
4.3) Installation source
Through this interface you can add external repositories from which you can install the operating system. Notice there is only one additional repository in this version of CentOS: AppStream. You can learn more about modules here.

4.4) Software selection
In this step you can select which type of installation you want to perform. In the left column you can find "presets", in the right column you can fine-tune the packages you want. Upon selecting an entry from the left column, the right column will change and you will need to select the appropriate packages from the right column.

4.5) Kdump
Kdump is a useful mechanism that allows for debugging in the case of a kernel crash. Enabling Kdump requires a portion of memory to be reserved at all times and that won't be available for other uses. If you don't know what this is, you probably don't need it, but in production environments it is highly suggested to keep it on.
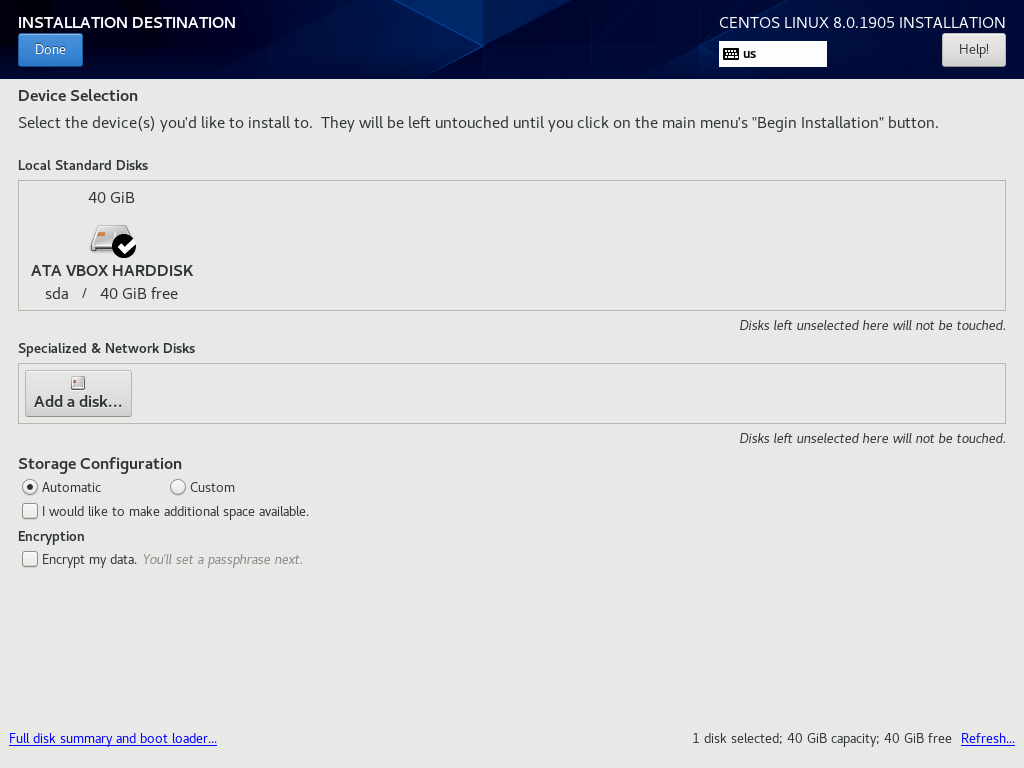
5.1) Selecting devices
This is the most crucial step in the whole installation, pay great attention to what you do, since messing here may mean data loss. If you're not acquainted with disks and layouts I highly suggest you read: Disks, partitions and file systems: a complete guide. In this step you need to select the devices where you want to install the operating system on (yes you can specify multiple devices, but if you’re not experienced, just check one). I assume you have a fair amount of experience in configuring partitions, and won't need help in case you have another operating system installed. You can select "Automatic" to let the installation create partitions automatically or "Custom" to customize your system.
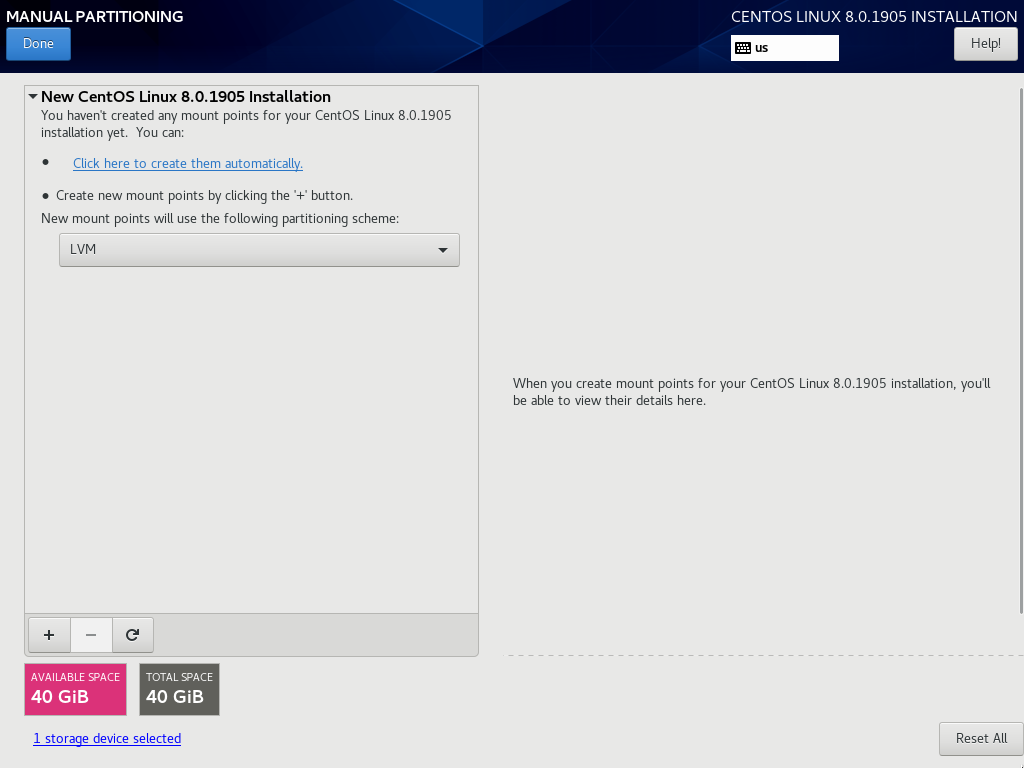
5.1.1) Manual partitioning
In the case you have an empty drive the screen will be like the one above. If you have enough knowledge you can partition your disk according to your own needs. But if you haven’t I suggest you click on “Click here to create them automatically” (it will have the same effects of “Automatic” in the precedent step.
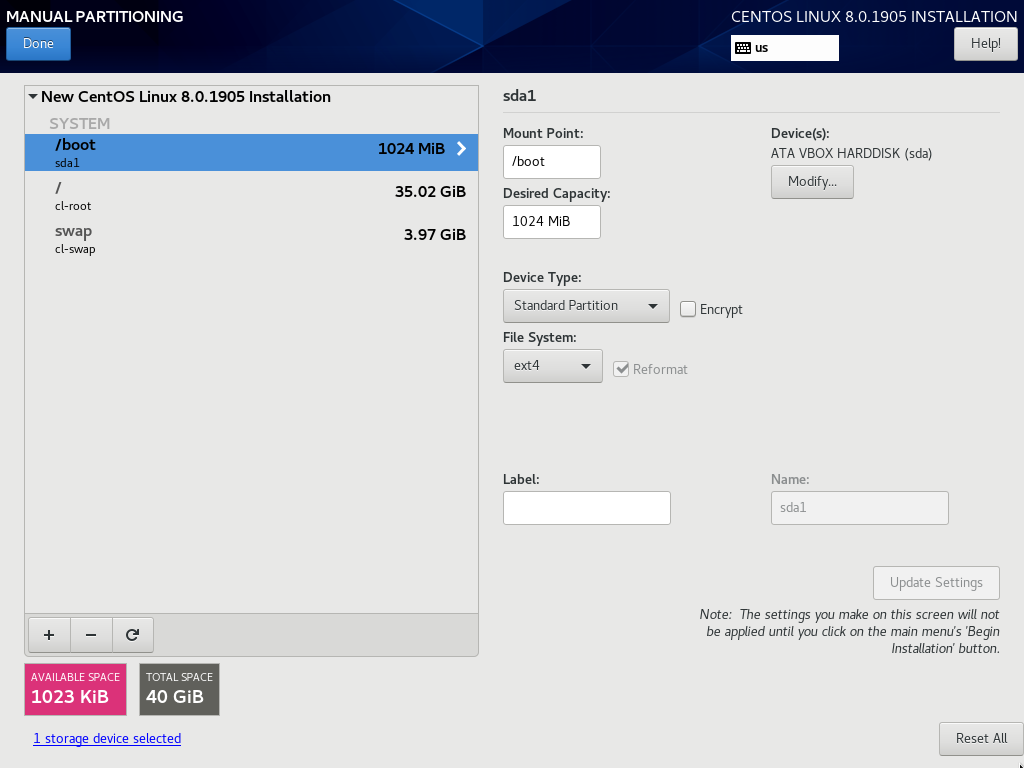
5.1.2) Manual partitioning example
In case you have an empty drive you will see a similar screen if you proceeded correctly.
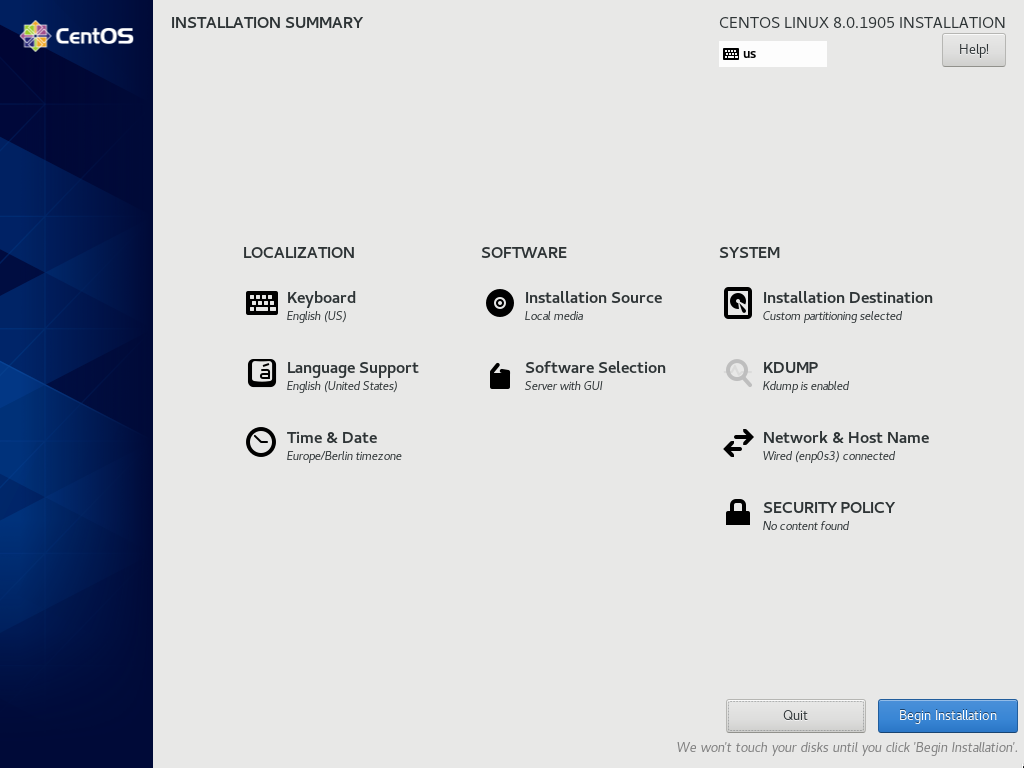
6) All ready!
At this point you will have everything configured, beware, now is your last chance to recognize mistakes, and if you click “Begin Installation” the installation will proceed and start modifying your disks. So be sure to double check everything if you have doubts, or ask the help of someone experienced.
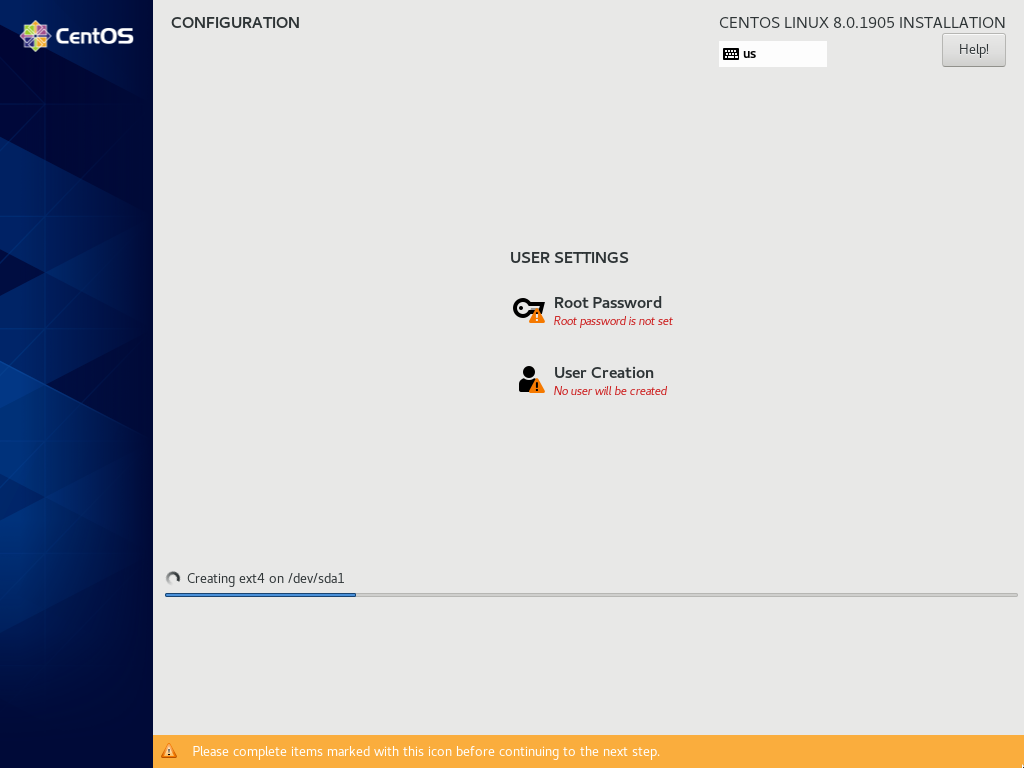
7) Installation Starts
As you can see the installation process has started, now don’t go away to take your coffee yet: you still have to configure your user and root user. One of them has to be filled and you have three choices:
- Configure only user (and make it an administrator)
- Configure user and root
- Configure only root
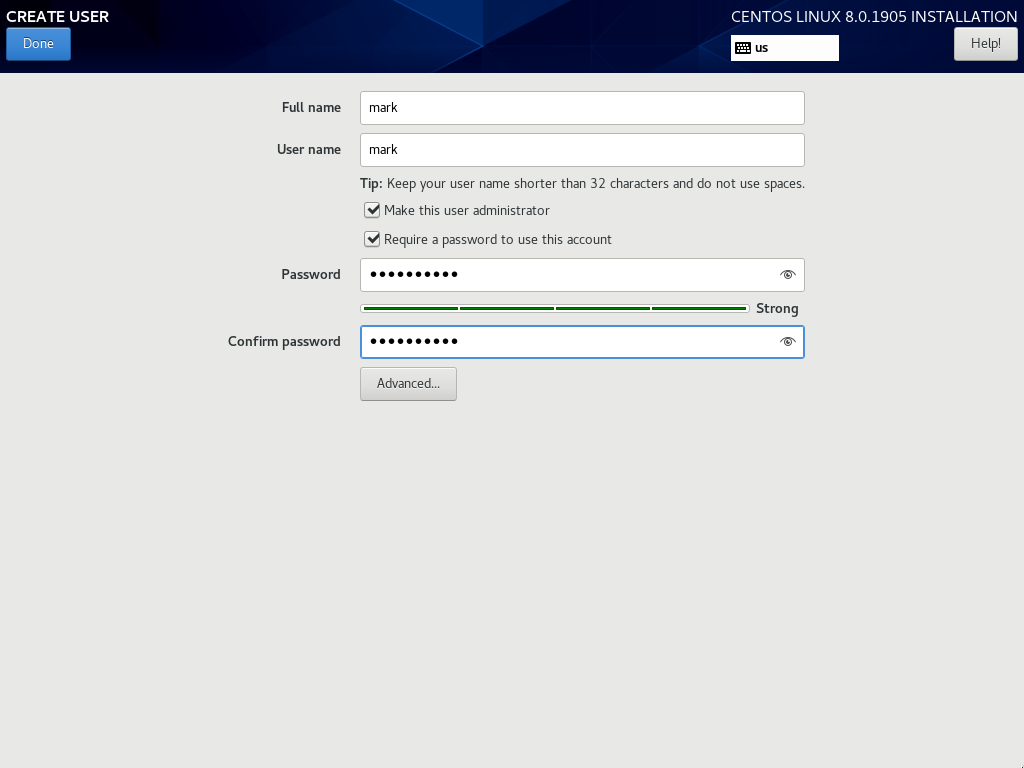
7.1) Configuring user
In this step you just configure your user, if you want to be an administrator be sure to check “Make this user administrator” (in this way you can skip the following step). I also suggest you to use a password.
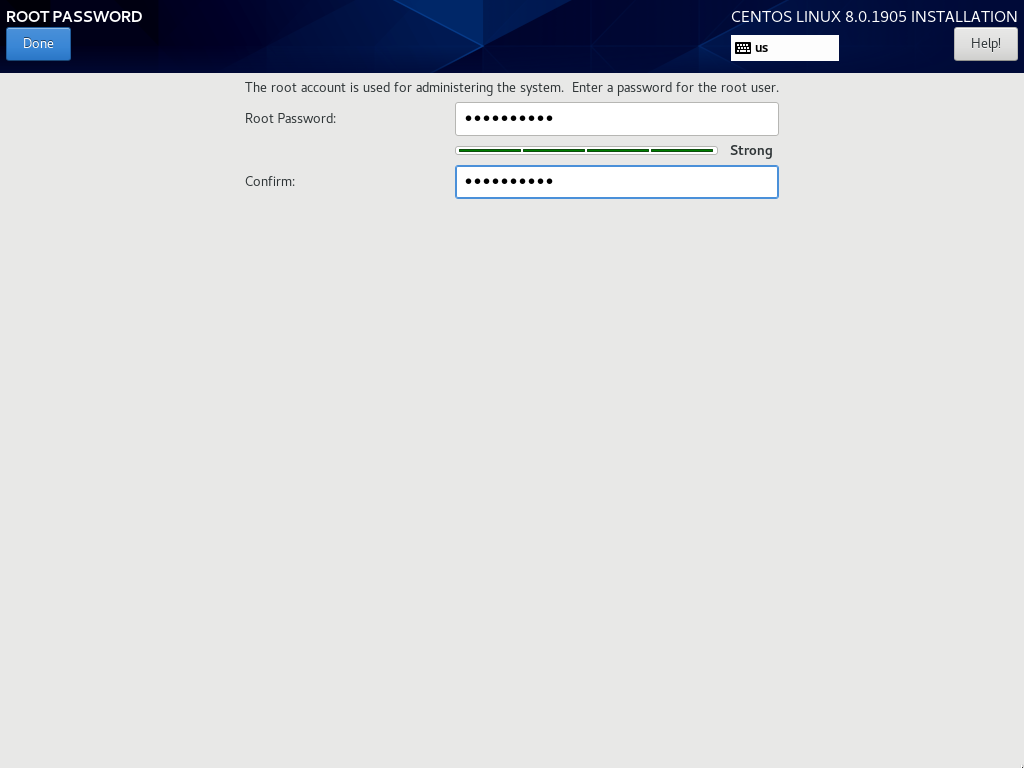
7.2) Configuring root
As you can see this step is much simpler, it just requires a password, be sure to pick something not-too-easy.
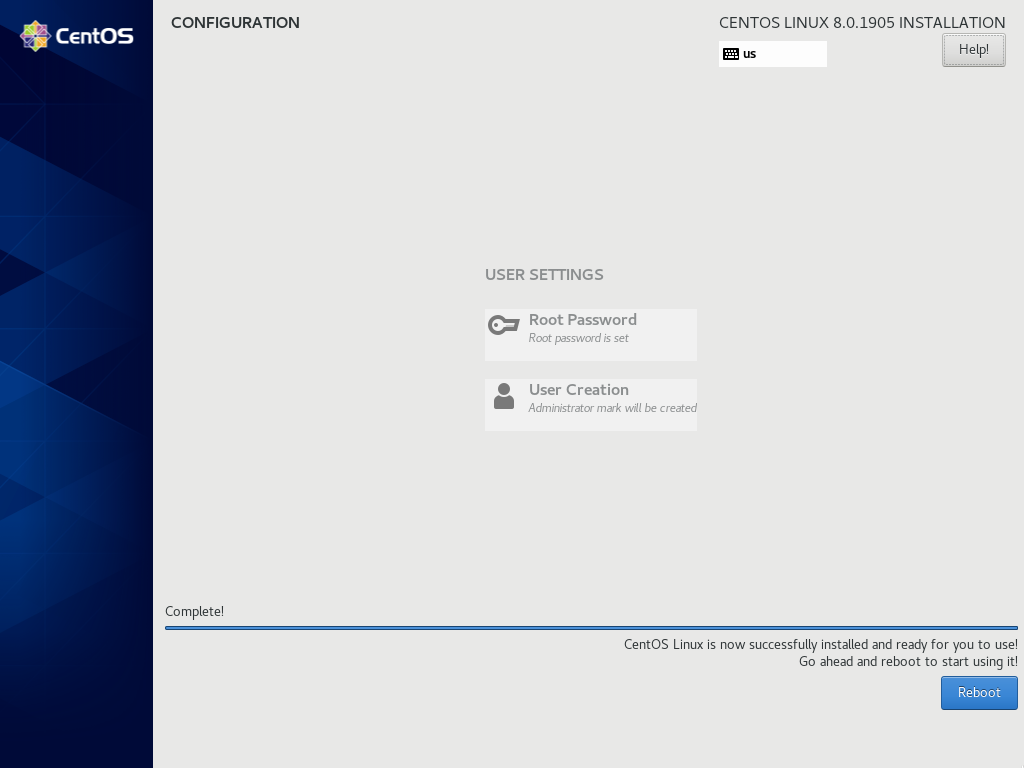
8) Done!
Everything is configured and the installation has been completed. Press "Reboot" to reboot the machine and boot into the installation, be sure to remove the installation media once the machine has been shut down to avoid rebooting into the installation once again.
- 2020 A year in review for Marksei.com - 30 December 2020
- Red Hat pulls the kill switch on CentOS - 16 December 2020
- OpenZFS 2.0 released: unified ZFS for Linux and BSD - 9 December 2020


Recent Comments