How to install Ubuntu 15.10 Wily Werewolf
Ubuntu 15.10 is the second release of Ubuntu for the year 2015. It doesn’t pack many exciting features, however it brings the usual updates to desktop environments. Learn how to install it by following this easy tutorial now!
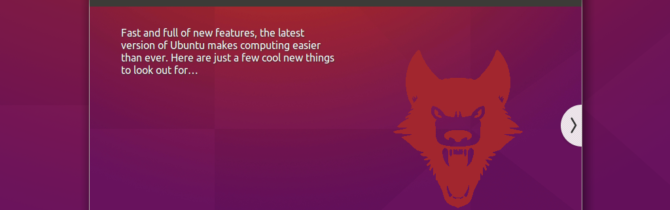
If you’re curious about the new features about Ubuntu 15.10 Wily Werewolf, visit this page to take a look at the principal features.
Important: I take absolutely NO responsibility of what you do with your machine; use this tutorial as a guide and remember you can possibly cause data loss if you touch things carelessly.
Ubuntu 15.10 Installation
1) Get the image, create media support, boot!
As always you should get the image of the live media to be burned onto a USB or CD or whatever. You can do it by going here. Once done, follow this guide to create a bootable media (USB or CD). Done? We’re ready to start! To do this you have to enter the boot menu of your computer. Shut down the operating system and press a key like F10 or whatever key your manufacturer has decided. In case you are on an EFI system, well it might be a little bit more complicated, search on the Internet for a tutorial for your motherboard so that you can understand better the process (since it is specific).
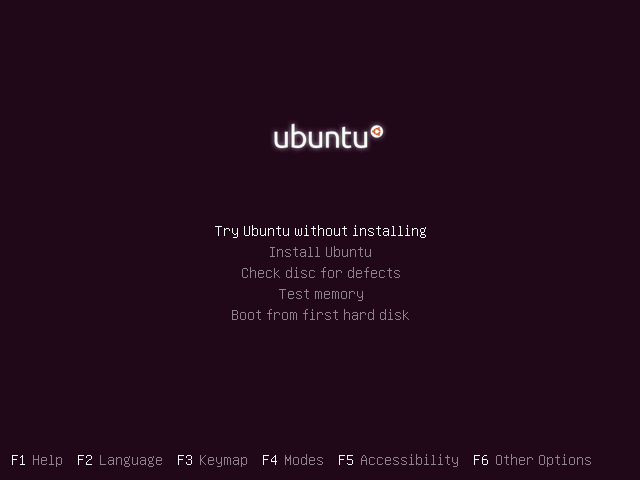
2) Welcome to Ubuntu 15.10 Wily Werewolf
If everything went good you’ll just have to wait a bit before you can see the image above. Be sure to select the language now. As always I suggest to press Try Ubuntu before installing it, since some of your devices might not work correctly. We’re far from the age when even most common wi-fi adapters weren’t supported out of the box, so do this only out of precaution. When you’re sure everything is good click on the icon on the desktop. If you are sure NOW click Install Ubuntu.
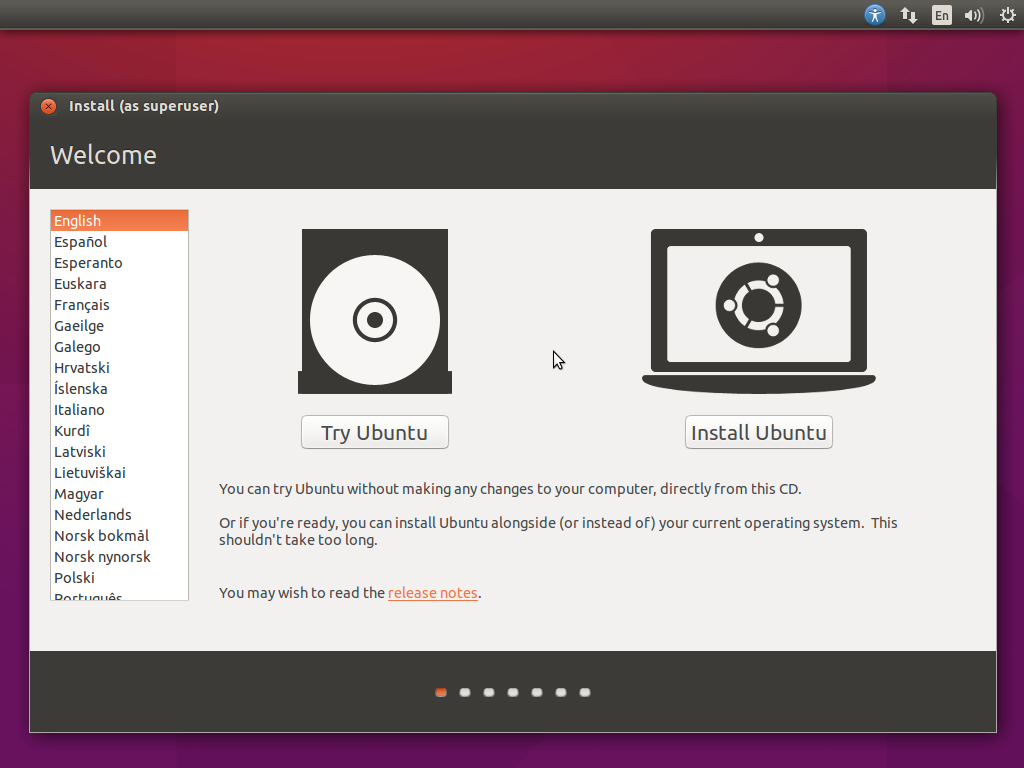
3) Network and requirements
Before starting to get into the installation I suggest you to configure the network. If you're connected by cable you should be ready to go, if you have a wireless connection click on the icon on the top/right corner of the screen with the two arrows / waves. Keep in mind a connection to Internet is not required. If you do have however, I suggest you to check both boxes Download updates while installing and Install this third-party software for a better experience. Do mind however that checking the first one will take more time and Internet access. Once done click Continue.
4) CASE 1 - You have an empty disk
Dealing with disks is the most delicate part of every installation, so be careful. I highly suggest you to read this article before operating disks. In this case you have no operating system or data on the disk you're using, you can just use the default option Erase and install Ubuntu. If you want you can also encrypt the Ubuntu installation or use LVM, these are advanced options however and you should not touch them if you don't know what you're doing. Once you proceed, there's no going back, so you will be asked once more if you're sure.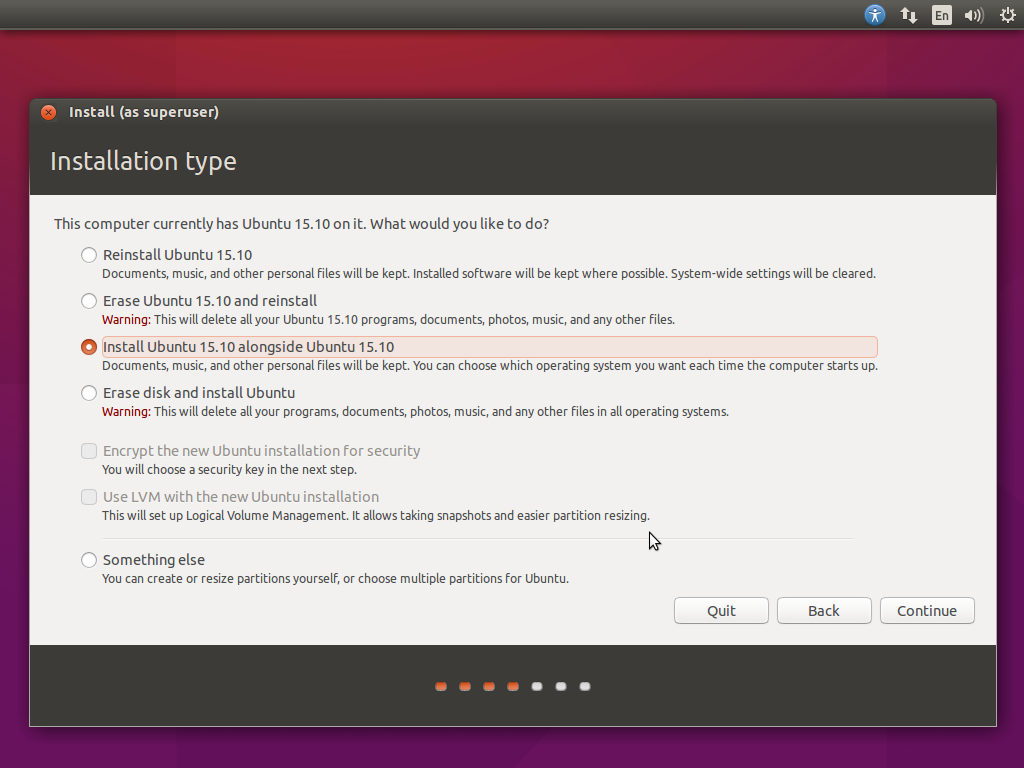
4) CASE 2 - One or more OS installed
In this case you have one or more OS installed on the disk. In my example I installed Ubuntu 15.10 beforehand to show what the installer will show you. In this case you can just go with the default option. If you wish to you can also erase the whole disk to give Ubuntu more space. Once you proceed, there's no going back, so you will be asked once more if you're sure.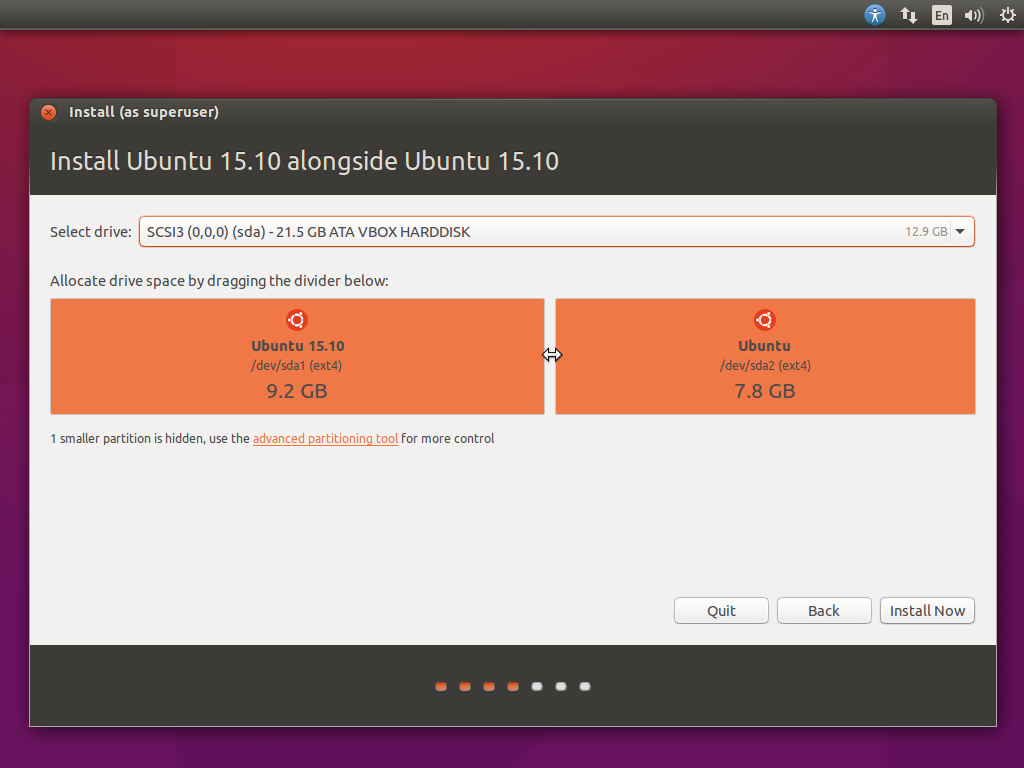
4) CASE 2 - Resizing
In the case you have selected to install Ubuntu alongside another operating system, you might see this screen to help you resize the partitions. By dragging your mouse clicking in the gap between partitions you can easily decide how much space will each installation have.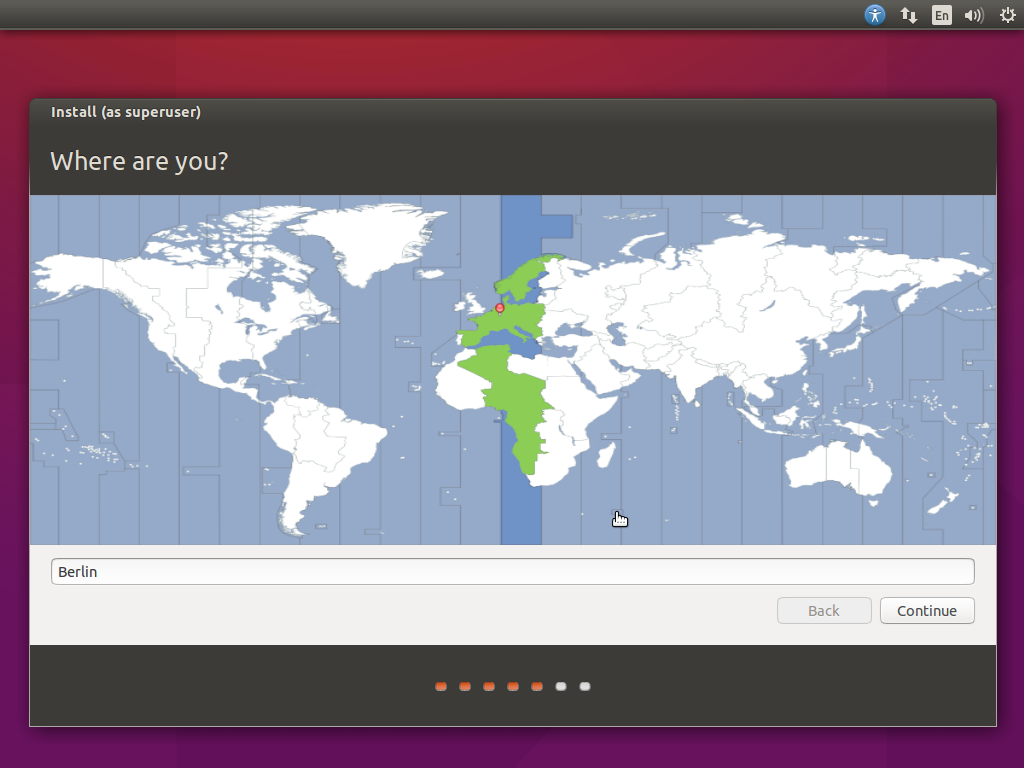
5) Localization
In this step you just have to select the time-zone you belong to in order for your clock to be correctly set. Once done you can continue.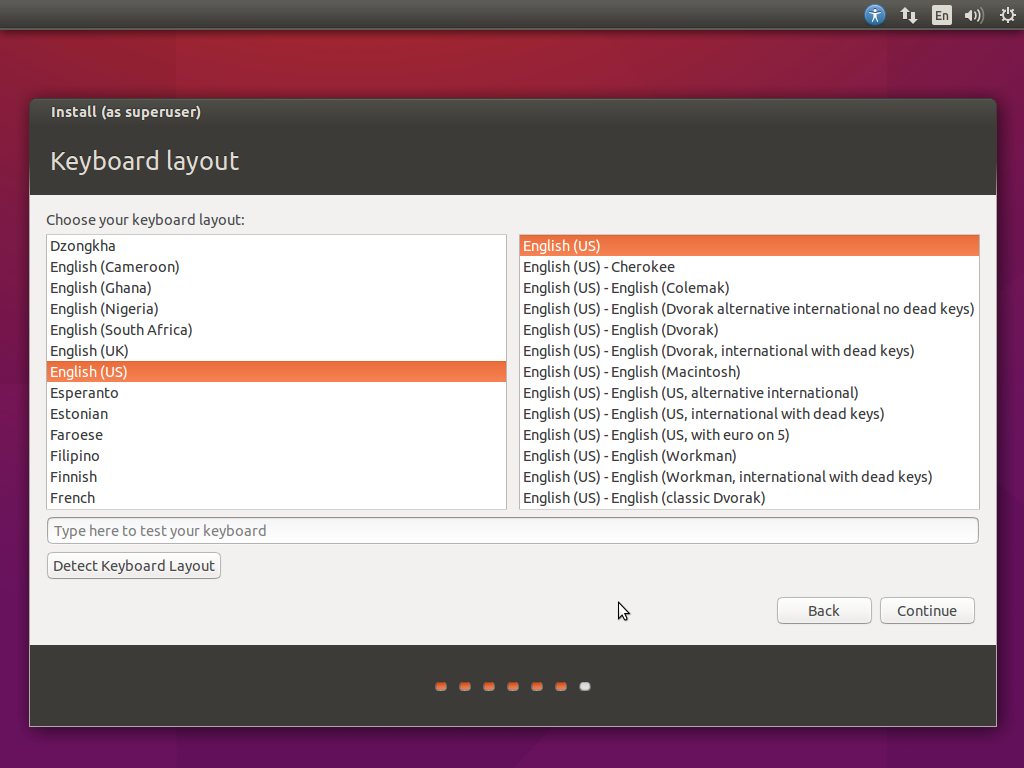
6) Keyboard Layout
In this step select the correct keyboard layout for your keyboard model. Most of the time it will be the same keyboard as the language you set previously. If you want you can also click Detect Keyboard Layout, this way you will be asked to type a few keys and the system will automatically guess what your keyboard is.
7) Username and Hostname
This is the last step before installation, pick a username, a computer name (hostname) and a password. Be sure to pick a strong one if you want to be safe. If you decide to encrypt your folder it's even more important. When you're ready, click continue to start the installation.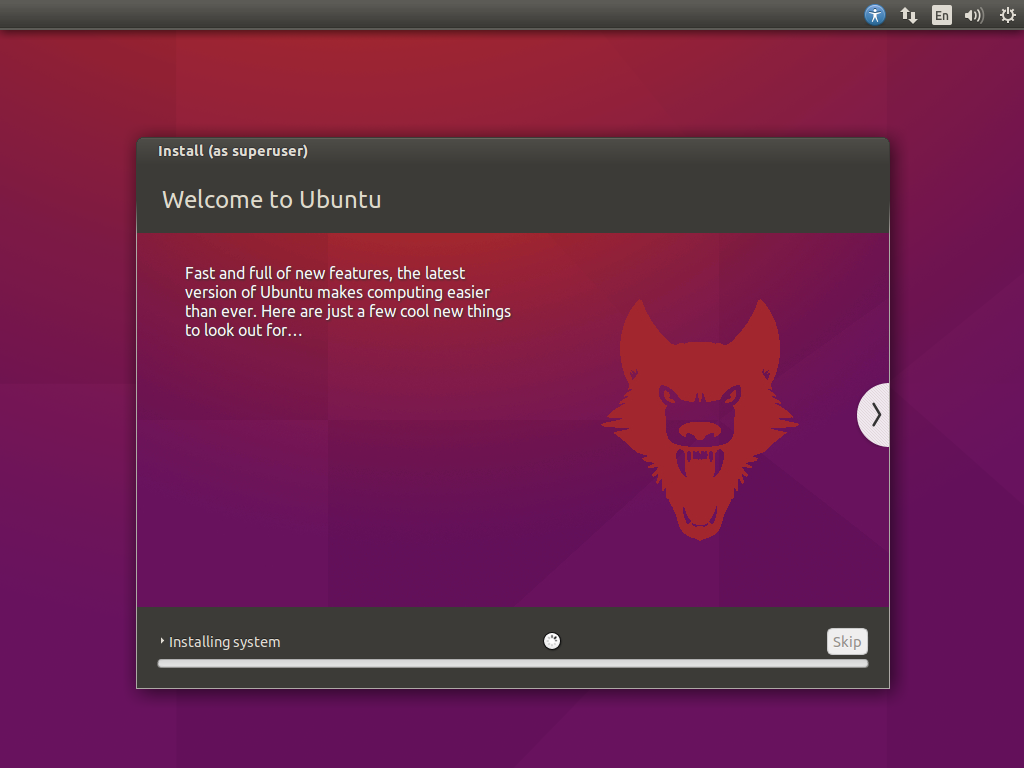
8) Installing
If you did everything correctly up until now, you are now facing the installation process. You can go and grab your coffee or wait until the process is done. Upon completion you will be prompted to reboot your machine.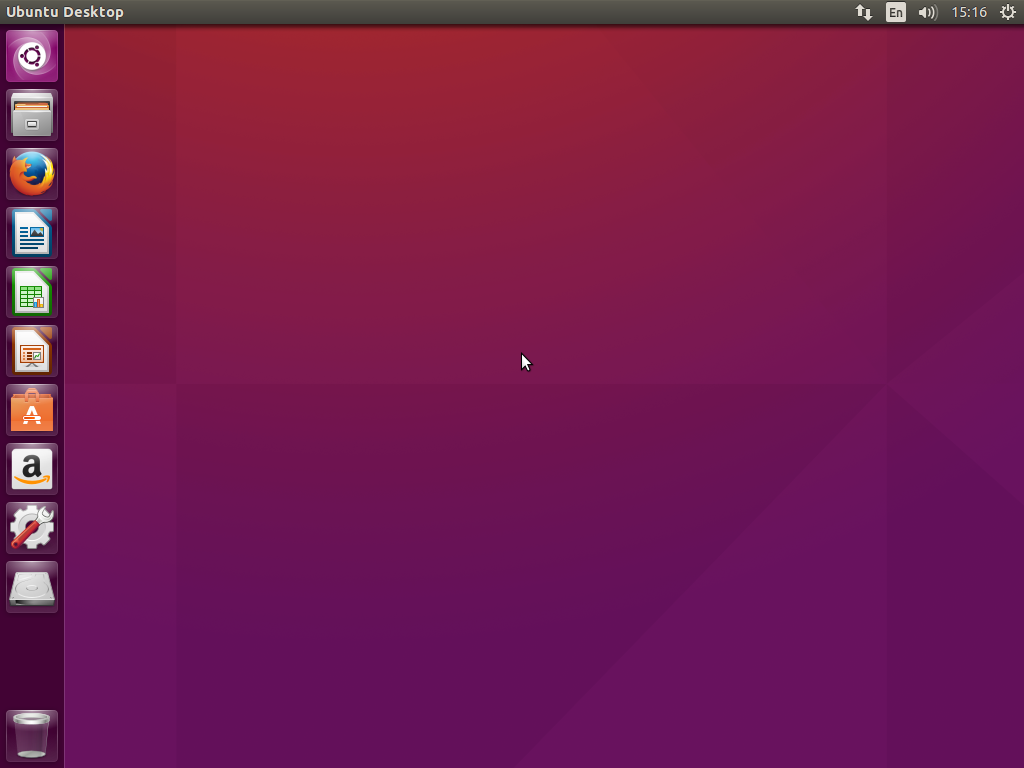
9) Done! Everything installed
Once again, if everything went correctly you will be facing the login screen. Once you will have inserted your password you will be facing this, your desktop. Enjoy Ubuntu 15.10!
The installation process is not much different from the Ubuntu 15.04 installer. This is the last release of Ubuntu before the next LTS: Ubuntu 16.04 Xenial Xerus. Stay tuned for more updates!
- 2020 A year in review for Marksei.com - 30 December 2020
- Red Hat pulls the kill switch on CentOS - 16 December 2020
- OpenZFS 2.0 released: unified ZFS for Linux and BSD - 9 December 2020


Recent Comments