How to install Linux Mint 19 in 10 easy steps
After two years since Linux Mint 18 “Sarah”, a new version of the popular Linux distribution geared towards desktop users is available. Meet the new Linux Mint 19 “Tara” and learn how to install it in 10 easy steps.
Linux Mint 19 new features
In the case you missed the features, you can find a full list here.
Linux Mint 19 Installation guide
1) Boot from media
The first thing you need to do is to get the image from the Linux Mint official website. Once you have downloaded the image you prefer (either Cinnamon or MATE) it's time to burn it on a media support. Once done, boot from the USB or CD/DVD and you will be facing this screen. Wait 10 seconds or select the first option.
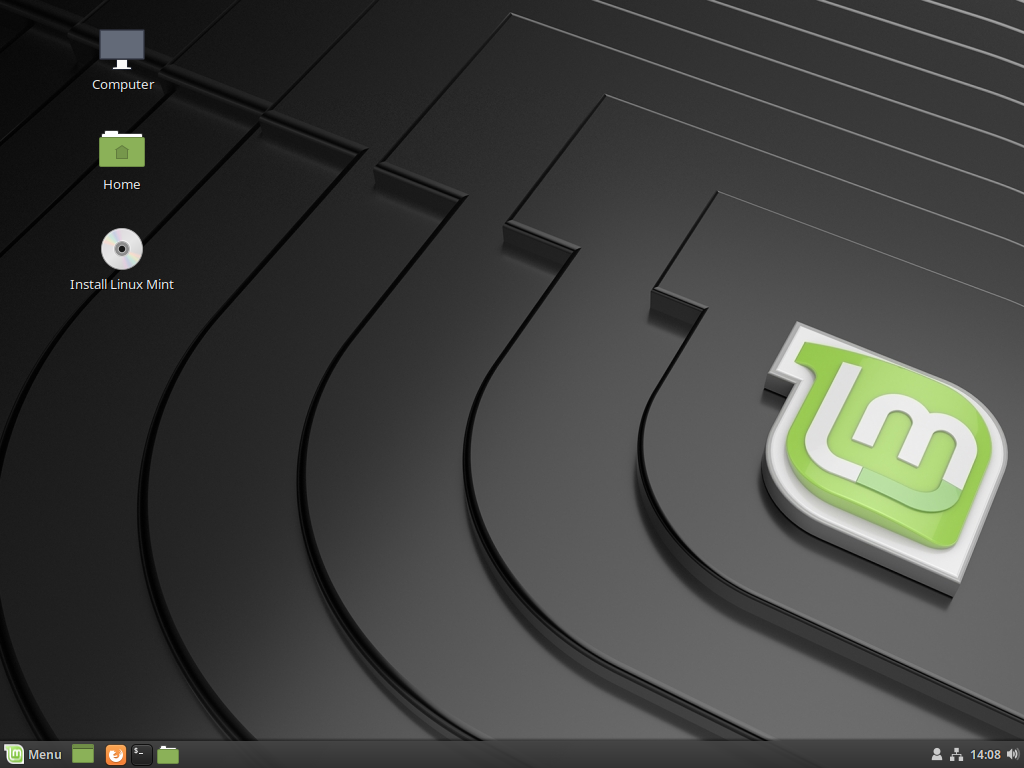
2) Linux Mint 19 "Tara"
Once you are sure everything is working correctly, click on the desktop icon Install Linux Mint to get the installation started.
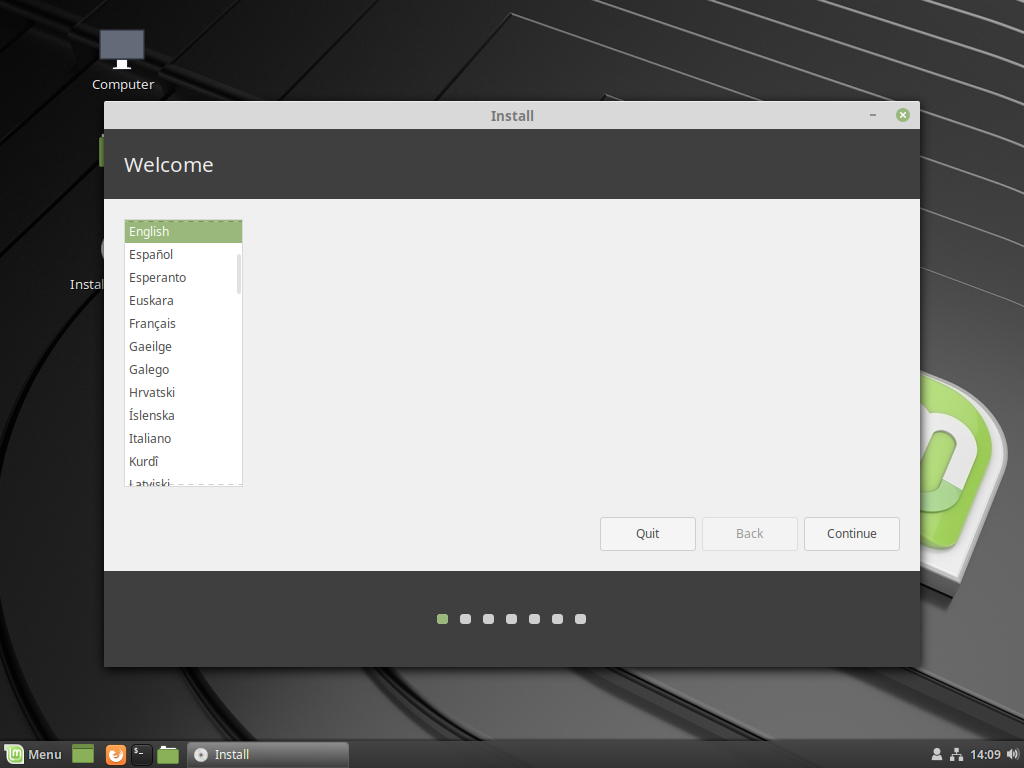
3) Welcome
In this step you just need to select the desired language for the installation (both process and resulting operating system).
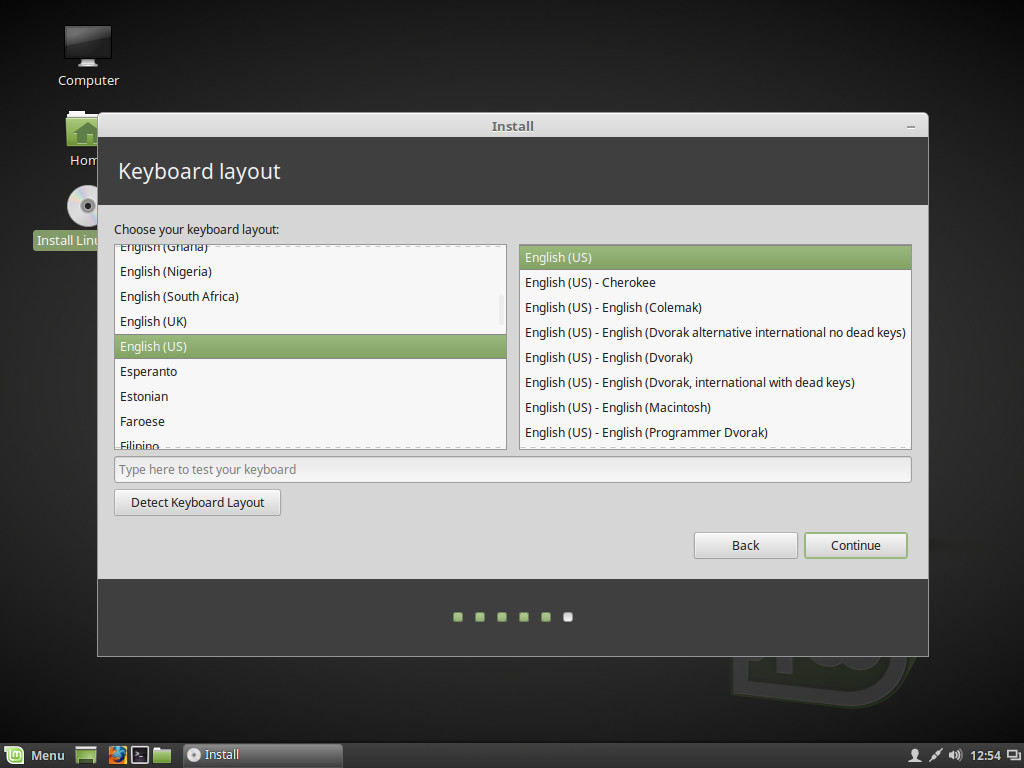
4) Keyboard Layout
Here you can select the keyboard layout according to the keyboard you own. You can select it manually or press Detect Keyboard Layout and follow the instructions to identify the layout.
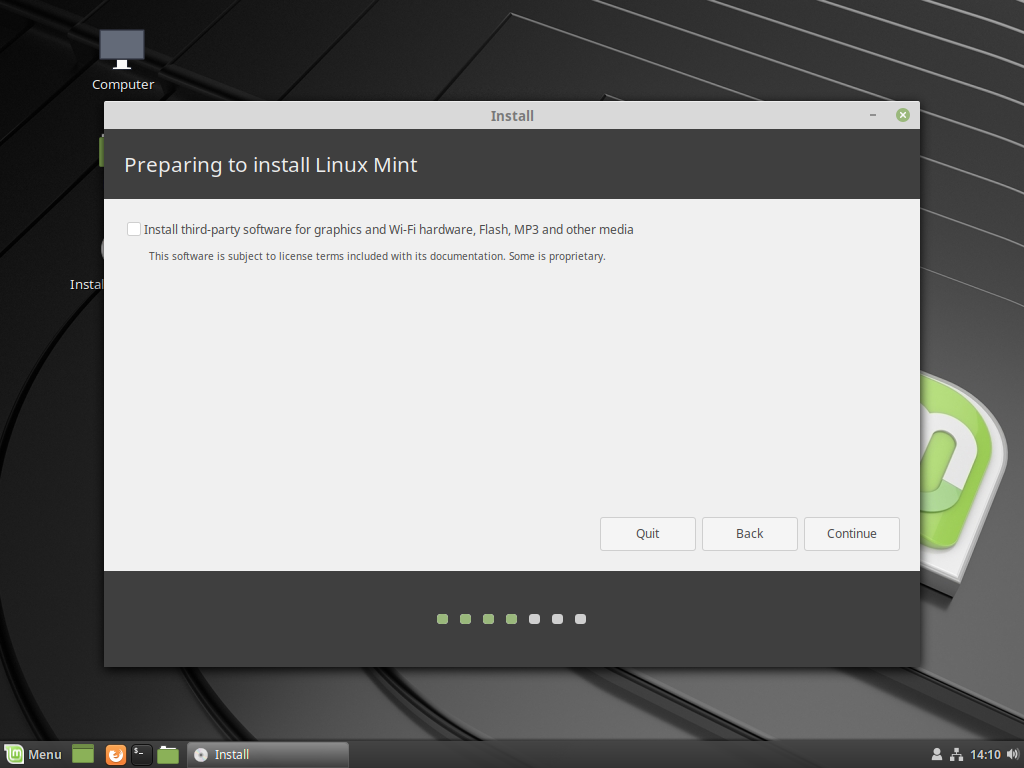
5) Third-party software
Here you can select whether or not you want to install third-party software along with the system. This option mostly includes software for graphic cards, Wi-Fi cards and codecs (and the everlasting Adobe Flash Player). Remember you can do this also after the installation.
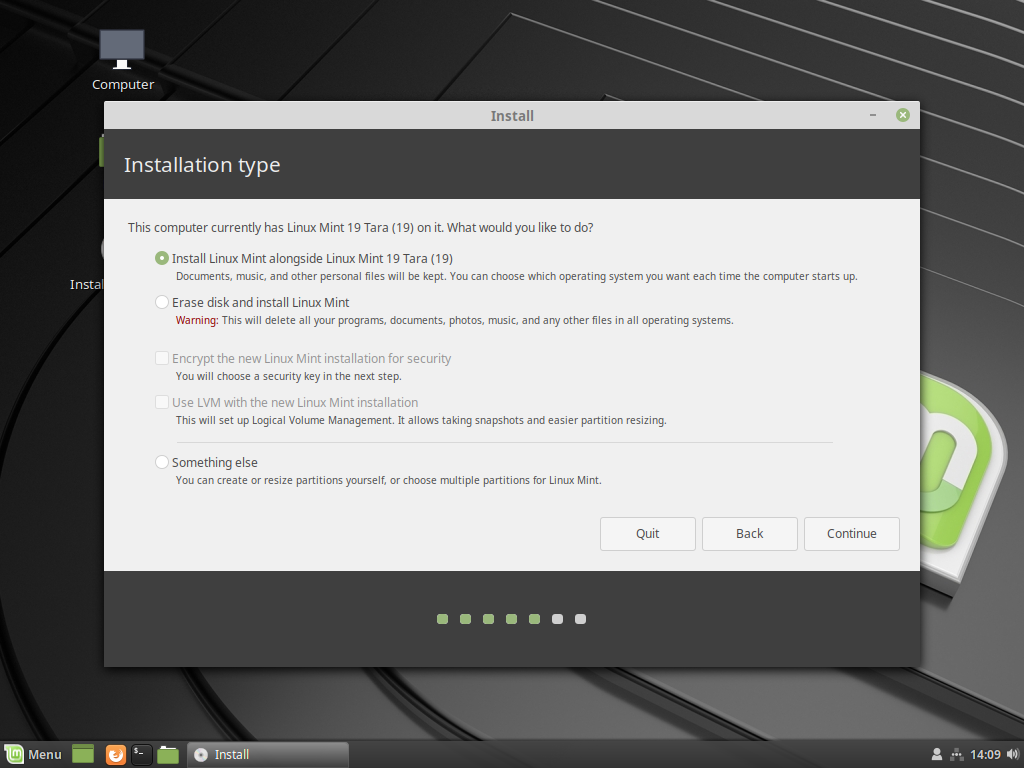
6) Partitions
In this step you have multiple choices:

In this case you have one or more operating systems on the disk where you plan to install Linux Mint 19. You can wipe everything by selecting Erase disk and install Linux Mint or try to install it along with the other(s) operating systems by selecting Install Linux Mint alongside “other Operating System name”. In that case you will see the screen above. You can easily resize the installations using your mouse from that point. When ready click on Install now.
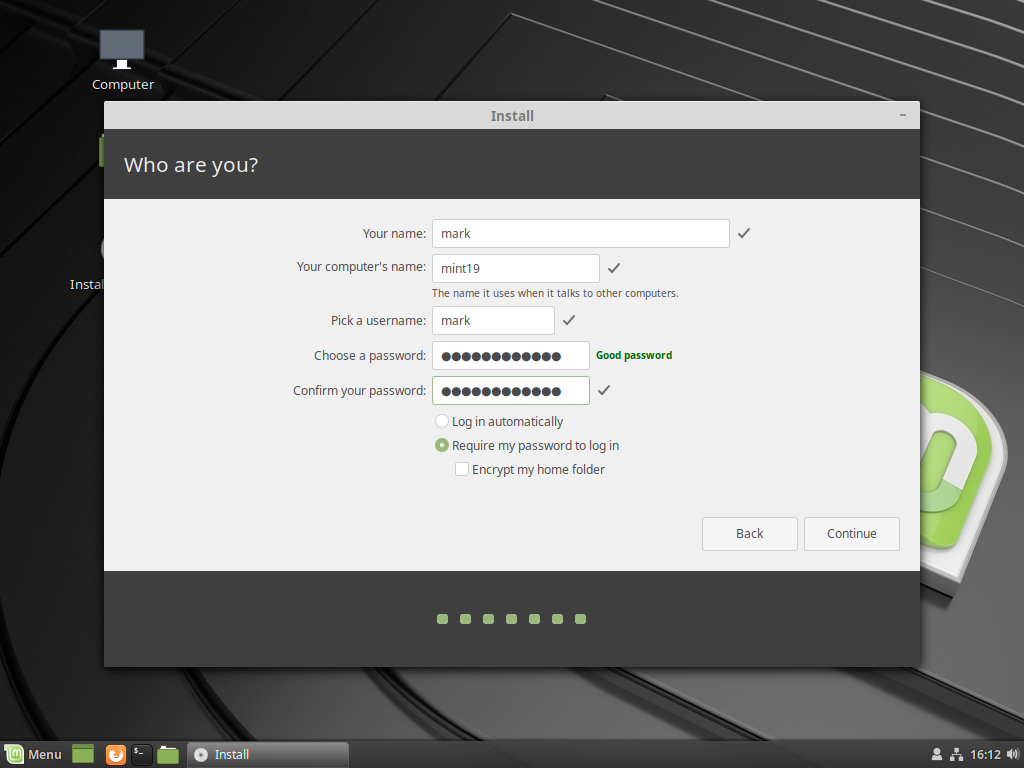
8) User configuration
Here you can configure your user name, password and the computer name (hostname). You can also decide if you want to automatically log in or not and whether to encrypt or not your home folder. When you're done click on Continue to proceed.
- 2020 A year in review for Marksei.com - 30 December 2020
- Red Hat pulls the kill switch on CentOS - 16 December 2020
- OpenZFS 2.0 released: unified ZFS for Linux and BSD - 9 December 2020


Recent Comments