How to set up a Data Science environment on Windows using Anaconda

So you’ve just started learning about Data Science and don’t know how to *practically* get started using Python. Well this is the right place. While you might think this is a difficult thing to do, it actually is a very simple task with Anaconda, let’s get started!
Requirements
There are literally no requirements to start your environment. Later down the road, you might find that certain tasks such as training Artificial Neural Networks (ANN) may require specific hardware such as a supported Graphics Processor Unit (GPU). Apart from the exception of ANN most of Machine Learning techniques will not require such power, and in any case when you have developed something interesting you want to transfer that something onto a serious production cluster.
Generally speaking the better the machine you have, the faster algorithms will run and you will be able to tackle entire dataset rater than subsets of them.
Anaconda: the great Python experience
The silent Data Science revolution is brought by Anaconda: a package manager (and more) for Python! Anaconda is an integrated environment that contains everything you need to get started. You can get it for free here. Unless there is a very specific reason, you will want to choose the Python 3 variant. This is due to the fact Python 2 is deprecated as of 1st Jan 2020.
Walk through the setup and be sure to check both “Add Anaconda to my PATH environment variable” and “Register Anaconda as my default Python 3.*“
That’s it! You now have your environment installed. Now let’s move onto making your environment a Data Science environment.
Anaconda: the first steps towards Data Science
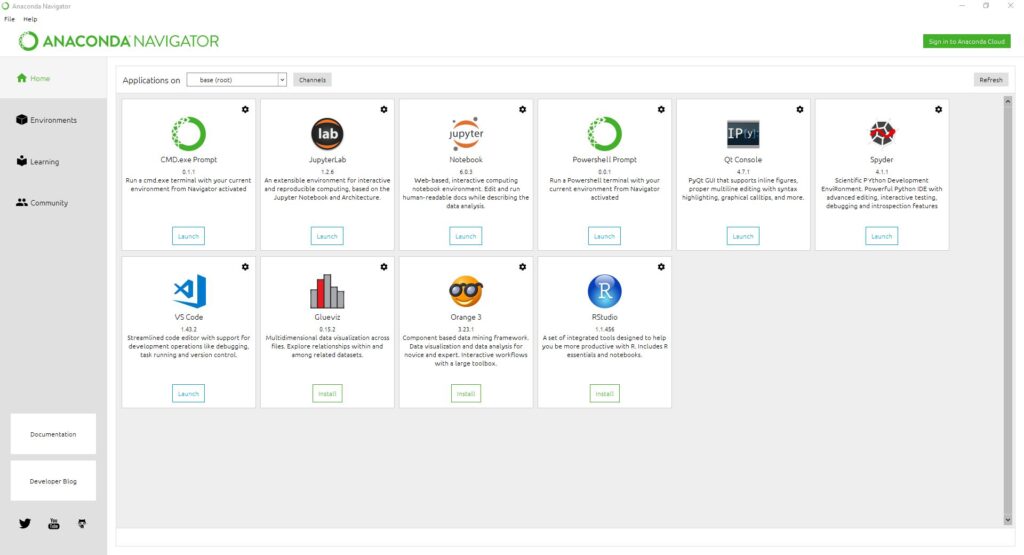
The first tool you may need is the Anaconda Navigator: a useful, handy, tool to manage your installation graphically. Here you can head to Environments and create a new environment. Environments are like separate installations of Python, you may have different environments with different versions of Python and packages.
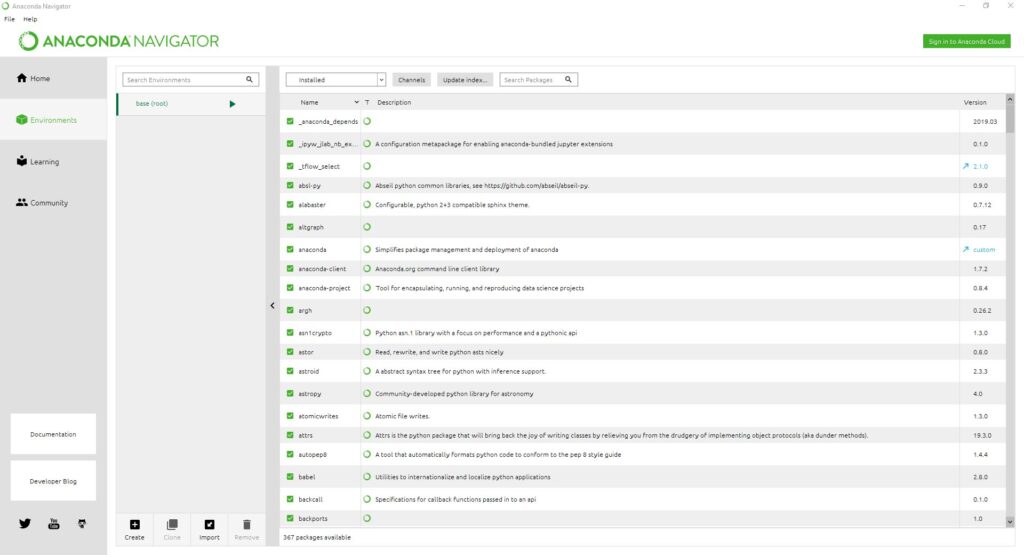
It’s always best to keep the base as it is and create a new environment for your needs. Once you have created an environment you can go on and install the following packages:
- numpy
- scikit-learn
- matplotlib
- pandas
- seaborn
In the case you’re wondering “why is there no Jupyter-notebook” it is because Anaconda installs Jupyter Notebook by default (you can find it in the Anaconda Navigator). You may also add other packages that you need such as Tensorflow.
If you are more of a command line guy (as most people reading on this site) you can do everything through the command line! If you search from your start menu for “Anaconda Prompt” you will be able to open a shell. From here do (the “>” is the prompt don’t include it in your commands!):
> conda create --name myenv
> conda activate myenv
> conda install numpy scikit-learn matplotlib pandas seaborn
The first command will create a new environment named “myenv”, the second one will activate the environment (all commands will be executed within the environment), the third one installs the suggested packages.
That’s it!
Whether you used the graphical method or the command line you now have a Python Data Science environment. Your principal point of access is the Jupyter Notebook (you can also try JupyterLab if you want to). You can start Jupyter through the Anaconda Navigator or through the command line using “jupyter notebook” in the Anaconda prompt. Anaconda will also create a useful Jupyter shortcut in your start menu.
- 2020 A year in review for Marksei.com - 30 December 2020
- Red Hat pulls the kill switch on CentOS - 16 December 2020
- OpenZFS 2.0 released: unified ZFS for Linux and BSD - 9 December 2020


Recent Comments